
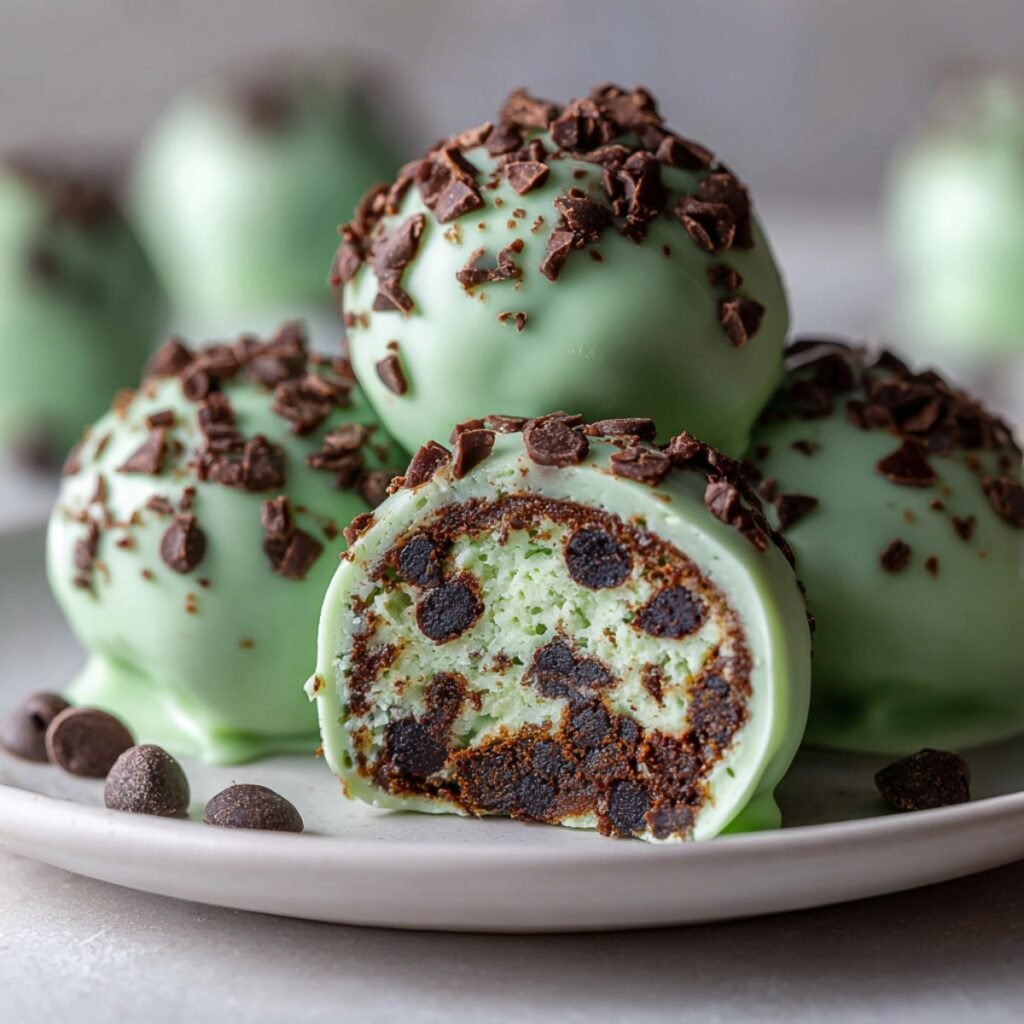
Finding a snack that feels like dessert but still fuels busy afternoons is exactly why these mint chocolate chip protein balls have become a family favorite. They deliver that classic cool mint-and-chocolate flavor everyone loves, wrapped in a creamy, protein-packed bite that's perfect for lunchboxes, after-school snacks, or meal prep days when you want something fun and nourishing.
Jump to:
- Why You Will Love These Mint Chocolate Chip Protein Balls
- Background: When We Make These Mint Chocolate Chip Protein Balls
- How To Make Mint Chocolate Chip Protein Balls
- Ingredients For These Mint Chocolate Chip Protein Balls
- Instructions For Making Mint Chocolate Chip Protein Balls
- Substitutions For Different Dietary Needs
- Variations To Try With This Recipe
- Equipment You Will Need
- Storing Your Mint Chocolate Chip Protein Balls
- Aunty's Top Family Secret
- FAQs About Mint Chocolate Chip Protein Balls
- Healthy Treats Done Right
- Related
- Mint Chocolate Chip Protein Balls
Why You Will Love These Mint Chocolate Chip Protein Balls
This recipe creates healthy treats disguised as indulgent dessert. The creamy base uses protein powder providing nutritious fuel. Natural peppermint extract delivers authentic mint flavor. Mini chocolate chips add satisfying crunch. Green coating makes them look fun. No baking required.
Anna loves that these taste like ice cream but she can eat them anytime. I love that they pack protein keeping her satisfied. The bright green color makes them exciting.
This delivers nutrition without sacrificing taste. Kids enjoy sweet minty flavor. Adults appreciate clean ingredients perfect for meal prep.
Background: When We Make These Mint Chocolate Chip Protein Balls
This shines year round when we need healthy portable snacks. Summer benefits from these refreshing mint treats. We make big batches Sunday for weekday lunches.
Anna requests these for birthday party treats. During busy school weeks these become our afternoon snack. The 15 minute timeline works perfectly.
Meal prep Sundays feature these prominently. Moms requested the recipe saying their kids actually eat them. This works beautifully for post workout fuel.
How To Make Mint Chocolate Chip Protein Balls
Quick Overview
Blend cashews or almonds into fine meal. Mix with protein powder, honey, coconut oil, peppermint extract, and vanilla creating sticky dough. Fold in mini chocolate chips. Roll into balls and freeze briefly. Coat with melted green candy melts or white chocolate with green food coloring. Sprinkle with extra chocolate chips creating beautiful finish.
Ingredients For These Mint Chocolate Chip Protein Balls
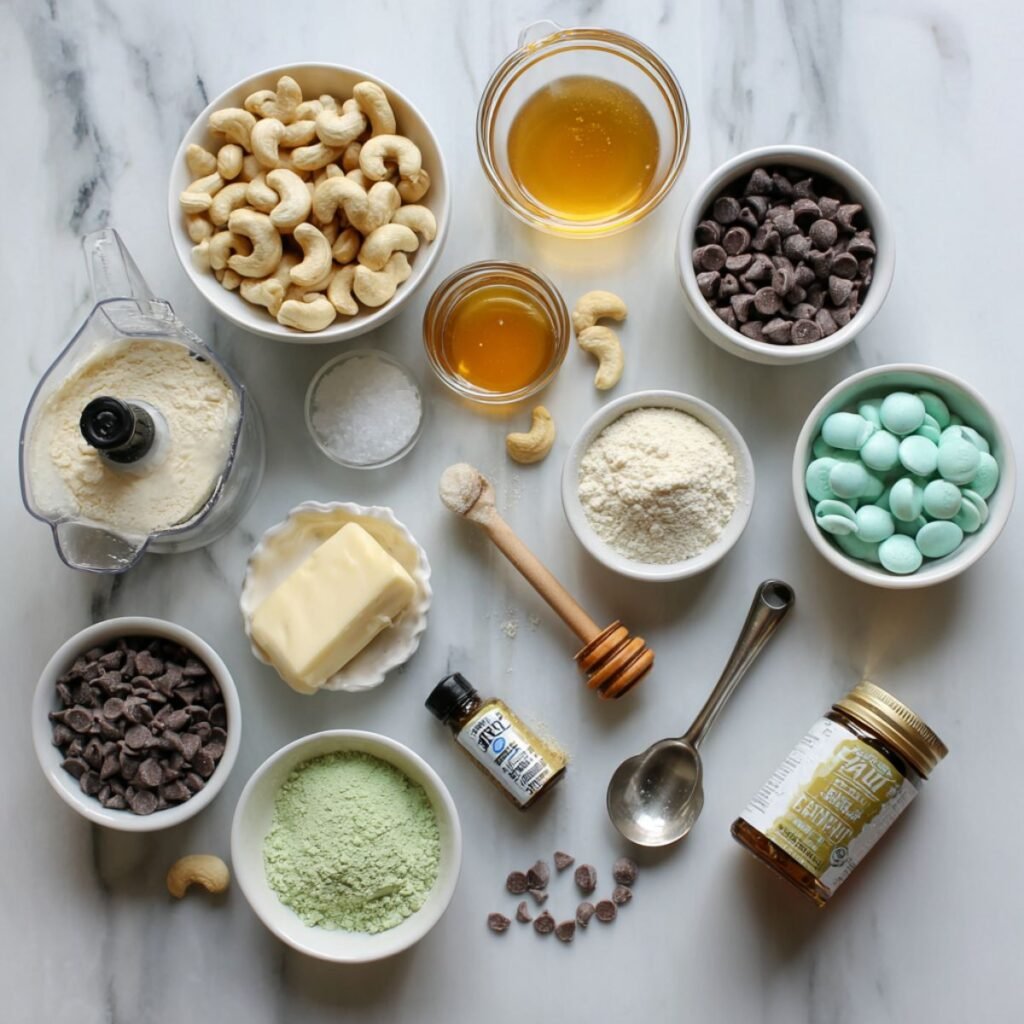
For The Base:
- Raw cashews or almonds
- Vanilla protein powder
- Honey or maple syrup
- Coconut oil
- Peppermint extract
- Vanilla extract
- Salt
- Mini chocolate chips
For The Coating:
- Green candy melts or white chocolate
- Green food coloring
- Coconut oil
- Extra mini chocolate chips
Aunty's Ingredient Notes:
Anna insists we use vanilla protein powder not chocolate because it lets mint flavor shine in these mint chocolate chip protein balls. I learned that cashews create creamier texture than almonds though both work. Natural peppermint extract tastes better than mint extract. Anna loves helping roll balls saying the dough feels like play dough but smells amazing.
Instructions For Making Mint Chocolate Chip Protein Balls
Preparing The Base
Add cashews to food processor and blend until they form fine meal. This takes about 1 minute stopping to scrape sides. The cashews will go from whole to crumbly.
Add protein powder, honey, melted coconut oil, peppermint extract, vanilla extract, and salt. Process until mixture comes together into sticky dough. Anna loves watching transformation.
Adding Chocolate Chips
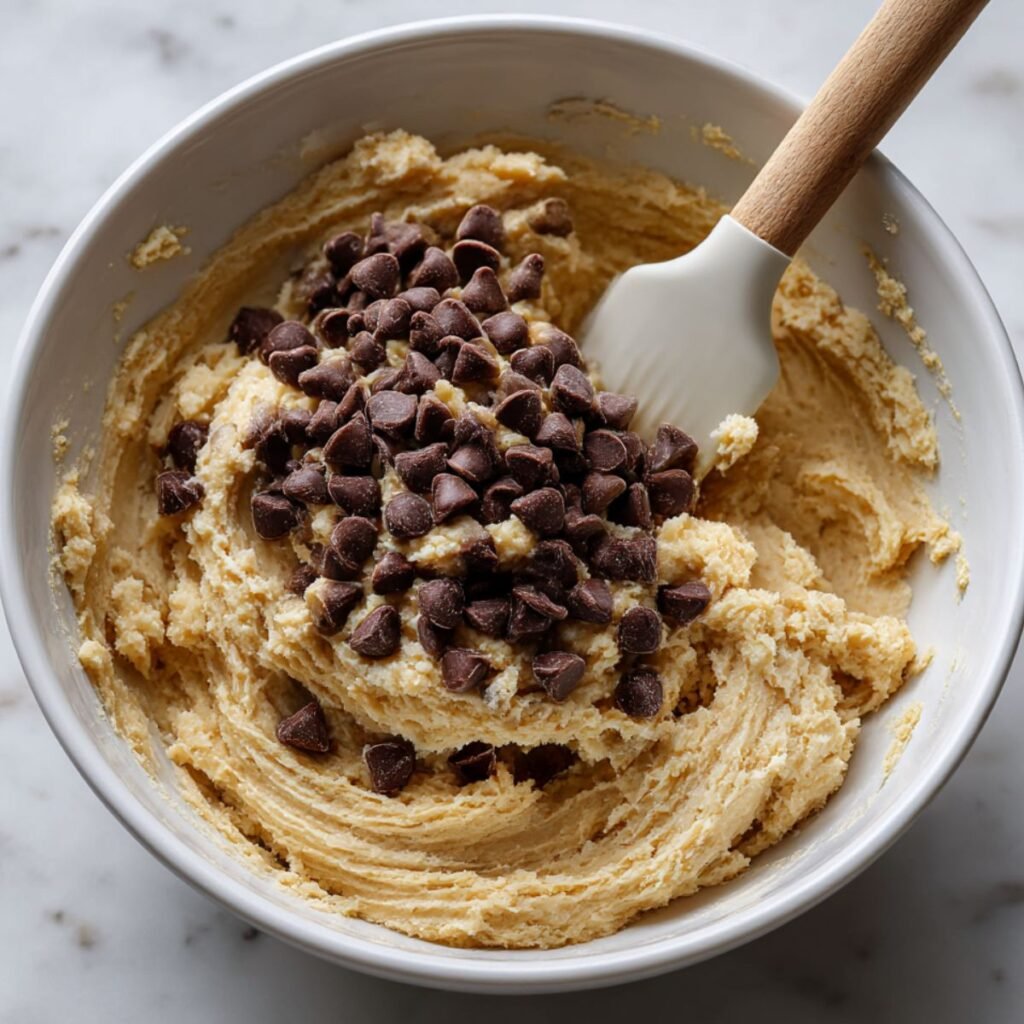
Transfer mixture to bowl and fold in mini chocolate chips distributing evenly throughout. The dough should feel sticky but manageable. If too dry add more honey. If too wet add more protein powder.
Anna carefully folds chocolate chips ensuring every ball will have chocolatey bites. The mini chips work better than regular size creating better distribution throughout these mint chocolate chip protein balls.
Rolling And Freezing
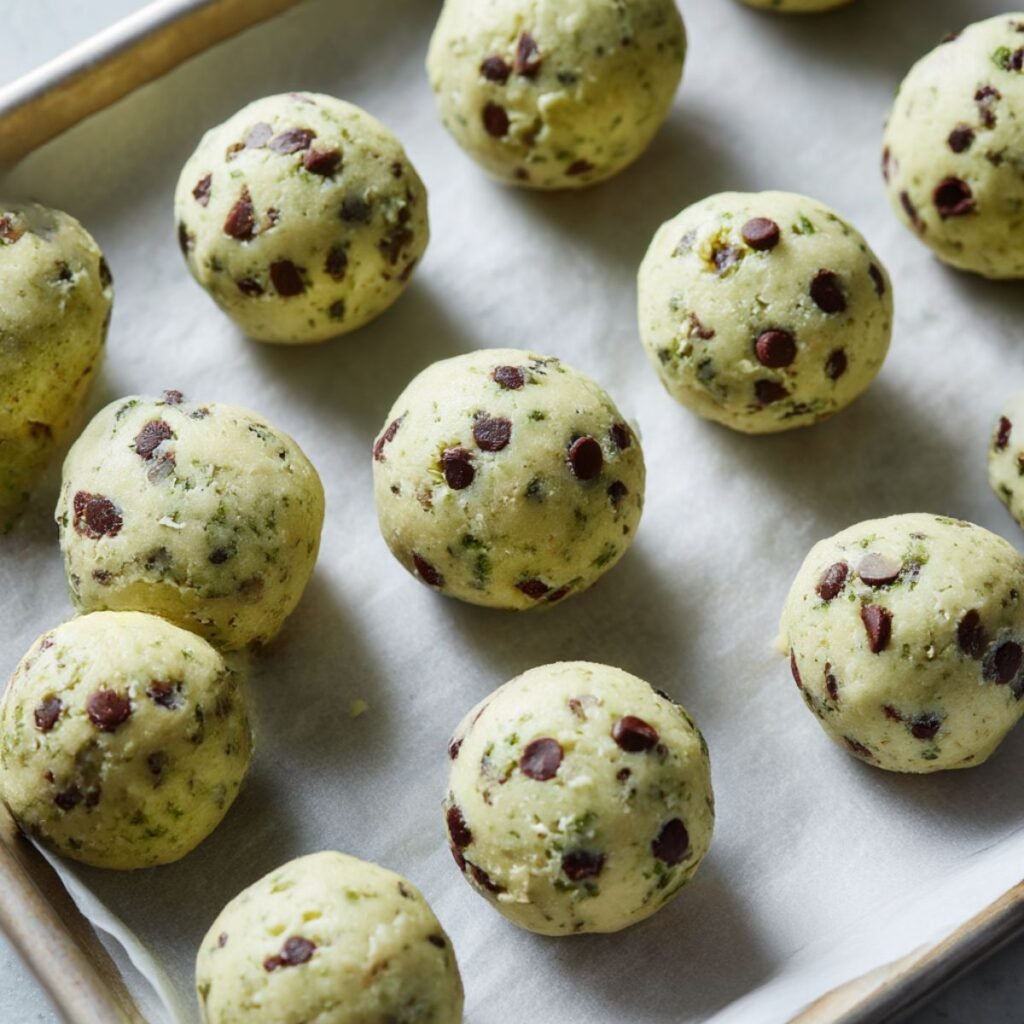
Scoop dough using cookie scoop rolling between palms into smooth balls about 1 inch diameter. Place on parchment lined sheet. You should get about 20 balls.
Freeze for 15 to 20 minutes until firm. This prevents them from falling apart when coating. Anna sets timer because chilling is crucial.
Coating With Chocolate
Melt green candy melts or white chocolate with coconut oil in microwave stirring every 20 seconds until smooth. If using white chocolate stir in green food coloring drop by drop until desired shade.
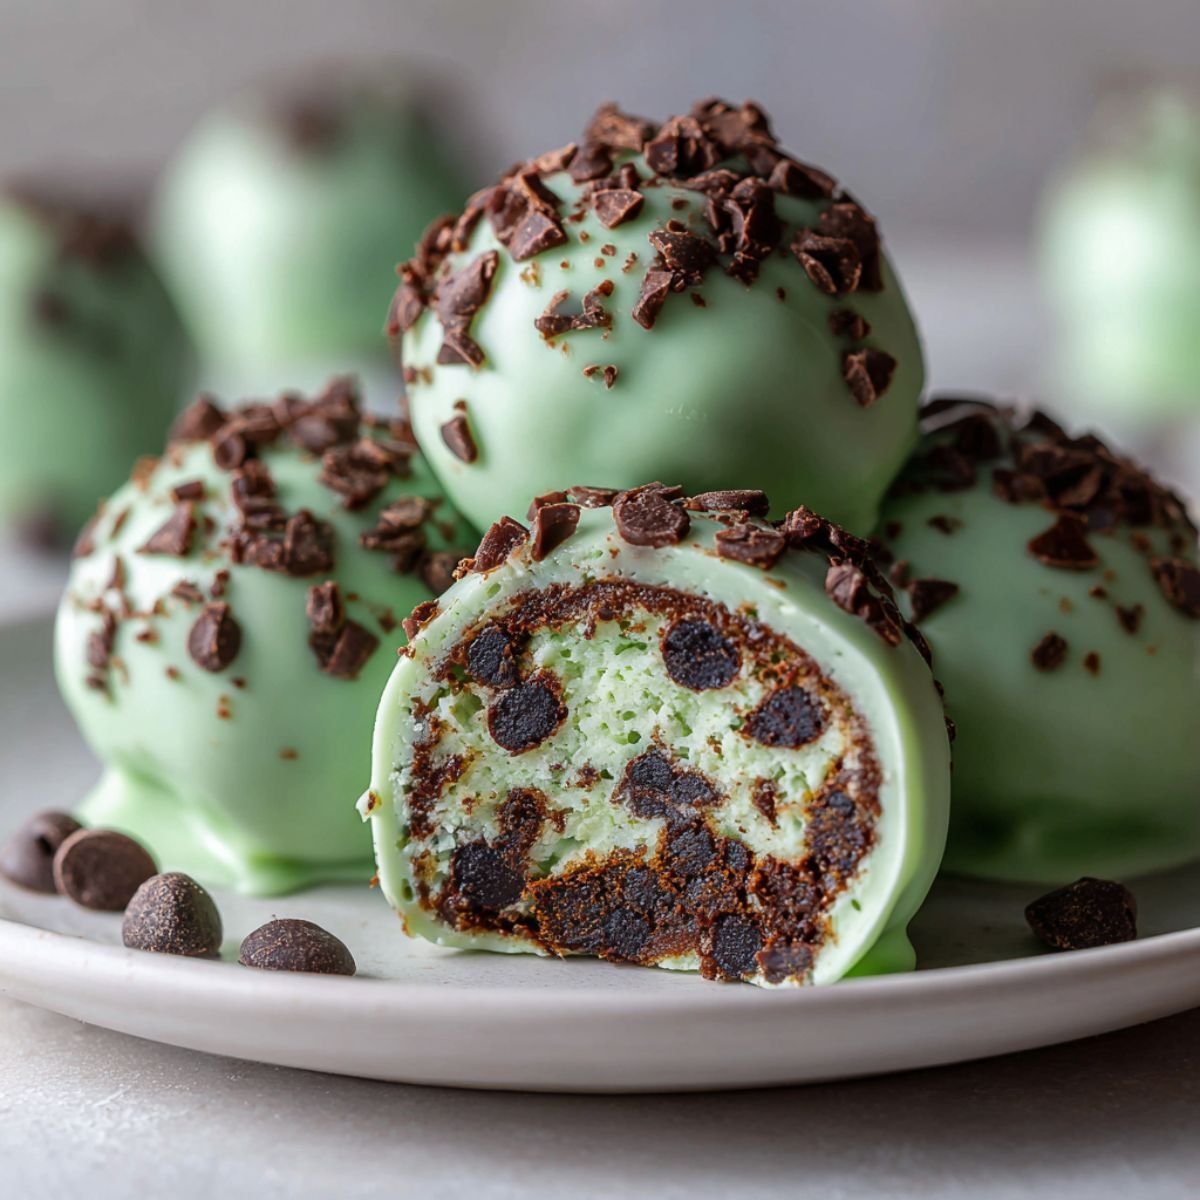
Working quickly dip each frozen ball into melted chocolate using fork to lift out letting excess drip off. Return to parchment lined sheet. Immediately sprinkle with mini chocolate chips before coating sets.
Final Setting
Refrigerate coated balls for 10 minutes until chocolate hardens completely. The coating should look smooth and shiny. Store in airtight container refrigerated keeping them fresh and firm.
Anna loves the moment when chocolate hardens creating that satisfying crack when you bite through coating into creamy mint filling of these mint chocolate chip protein balls.
Substitutions For Different Dietary Needs
For nut free use sunflower seed butter instead of cashews. For vegan use plant based protein powder and maple syrup instead of honey. For sugar free use sugar free chocolate chips and stevia sweetened coating.
For different flavors try vanilla extract only skipping peppermint. Adding cocoa powder creates double chocolate version. For allergen free use oat flour instead of nuts though texture changes slightly.
Different coatings like dark chocolate or milk chocolate work beautifully. Rolling in crushed Oreos or graham crackers instead of coating creates different texture for these mint chocolate chip protein balls.
Variations To Try With This Recipe
Cookies and Cream: Skip peppermint add crushed Oreos. Coat with white chocolate. Classic combination kids love.
Peanut Butter: Use peanut butter instead of cashews. Coat with chocolate. Elvis would approve of this version.
Birthday Cake: Add sprinkles to base use vanilla extract. Coat with white chocolate add more sprinkles. Party ready treats.
Coffee: Add instant coffee powder. Coat with chocolate. Adult friendly energy boost in treat form.
Coconut: Add shredded coconut to base. Coat with chocolate. Tropical twist on protein balls.
Equipment You Will Need
You need one food processor for blending these mint chocolate chip protein balls. Cookie scoop creates uniform size. Baking sheets hold balls. Parchment paper prevents sticking. Small bowl melts chocolate. Fork dips balls easily.
Storing Your Mint Chocolate Chip Protein Balls
Refrigerator Storage
Store in airtight container refrigerated for up to 2 weeks. The protein balls stay fresh and firm. Let sit room temperature 5 minutes before eating for best texture though many prefer them cold.
Freezer Storage
Freeze for up to 3 months in freezer safe container. The balls maintain texture perfectly. Thaw in refrigerator overnight or eat frozen for firmer texture. Great for long term meal prep.
Lunchbox Tips
Pack in small container with ice pack. The chocolate coating stays intact. Anna loves finding these in her lunchbox saying they make healthy eating exciting.
Portion Control
Pre portion into snack bags or small containers for these mint chocolate chip protein balls. Each serving equals 2 to 3 balls. This helps with grab and go convenience.
Aunty's Top Family Secret
The real secret to perfect mint chocolate chip protein balls is freezing them before coating with chocolate and working quickly during dipping process. Anna learned this watching me struggle with first batch when I didn't freeze balls long enough causing them to fall apart in warm chocolate creating messy disaster instead of smooth coated treats. Now we always freeze at least 15 minutes ensuring balls stay firm during coating. The peppermint extract amount is crucial because too much tastes like toothpaste but too little doesn't taste minty enough so start with half teaspoon tasting before adding more.
FAQs About Mint Chocolate Chip Protein Balls
Is mint chocolate chip an American thing?
Mint chocolate chip ice cream was invented in America in 1973, becoming popular flavor combination, though mint and chocolate pairing exists globally in various desserts and candies across cultures.
Why is mint chocolate chip so good?
Mint chocolate chip tastes good because cool refreshing mint perfectly balances rich sweet chocolate creating complementary flavor contrast that feels refreshing yet indulgent satisfying multiple taste preferences simultaneously.
Are there mint flavored chocolate chips?
Yes, mint flavored chocolate chips called Andes mints chips or mint chocolate morsels are available, though regular chocolate chips with peppermint extract work perfectly for most recipes.
What kind of person likes mint chocolate chip ice cream?
People who like mint chocolate chip tend to enjoy refreshing flavors, appreciate balance between sweet and cool, and often described as adventurous eaters who enjoy unique flavor combinations.
Healthy Treats Done Right
These mint chocolate chip protein balls bring nutritious snacking to your family without sacrificing fun or flavor and deliver protein in every bite. Anna's excitement proves healthy doesn't mean boring. The bright green coating with chocolate chips makes nutritious eating appealing.
Try our Cranberry Pistachio Shortbread Cookies, Holiday Moscow Mule Recipe, or Rotisserie Chicken Mushroom Soup for more amazing recipes your family will love repeatedly.
Come make these mint chocolate chip protein balls tonight for your meal prep. Your kids will think you made treats when really you created nutritious snacks. Happy cooking from our kitchen to yours!
Recipe by: Emma Miller
Family Rating: ⭐⭐⭐⭐⭐ (5/5 - Anna approved!)
Best Season: Year round
Kid Approved: Yes! Anna gives it two thumbs up
Related
Looking for other recipes like this? Try these:


Mint Chocolate Chip Protein Balls
Ingredients
Equipment
Method
- Add cashews to food processor blend until fine meal about 1 minute
- Add protein powder honey melted coconut oil peppermint extract vanilla extract salt process until sticky dough forms
- Transfer to bowl fold in mini chocolate chips distributing evenly
- Scoop and roll into 1 inch balls place on parchment lined sheet
- Freeze 15 to 20 minutes until firm
- Melt green candy melts with coconut oil stirring every 20 seconds until smooth
- Using fork dip each frozen ball in melted chocolate let excess drip return to sheet
- Immediately sprinkle with mini chocolate chips before coating sets
- Refrigerate 10 minutes until chocolate hardens completely
- Store in airtight container refrigerated up to 2 weeks or freeze 3 months


Leave a Reply