
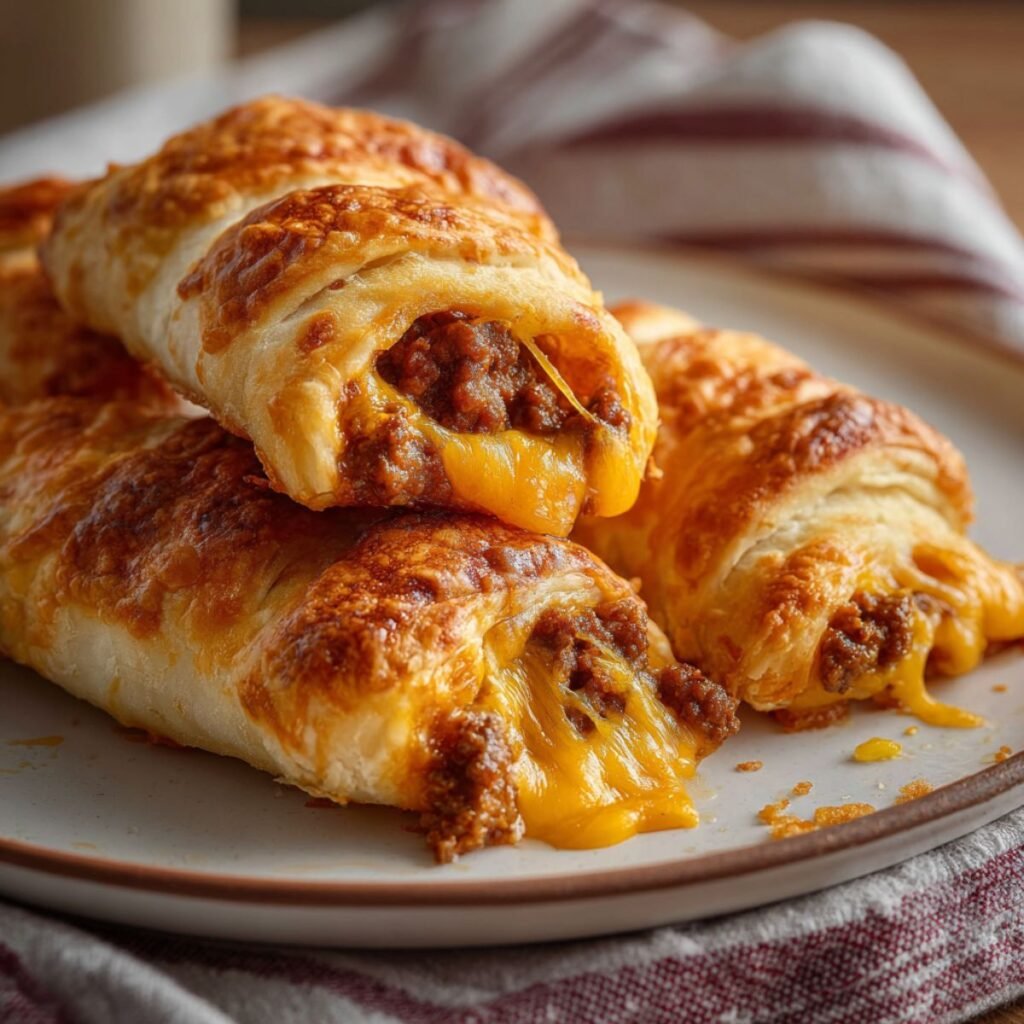
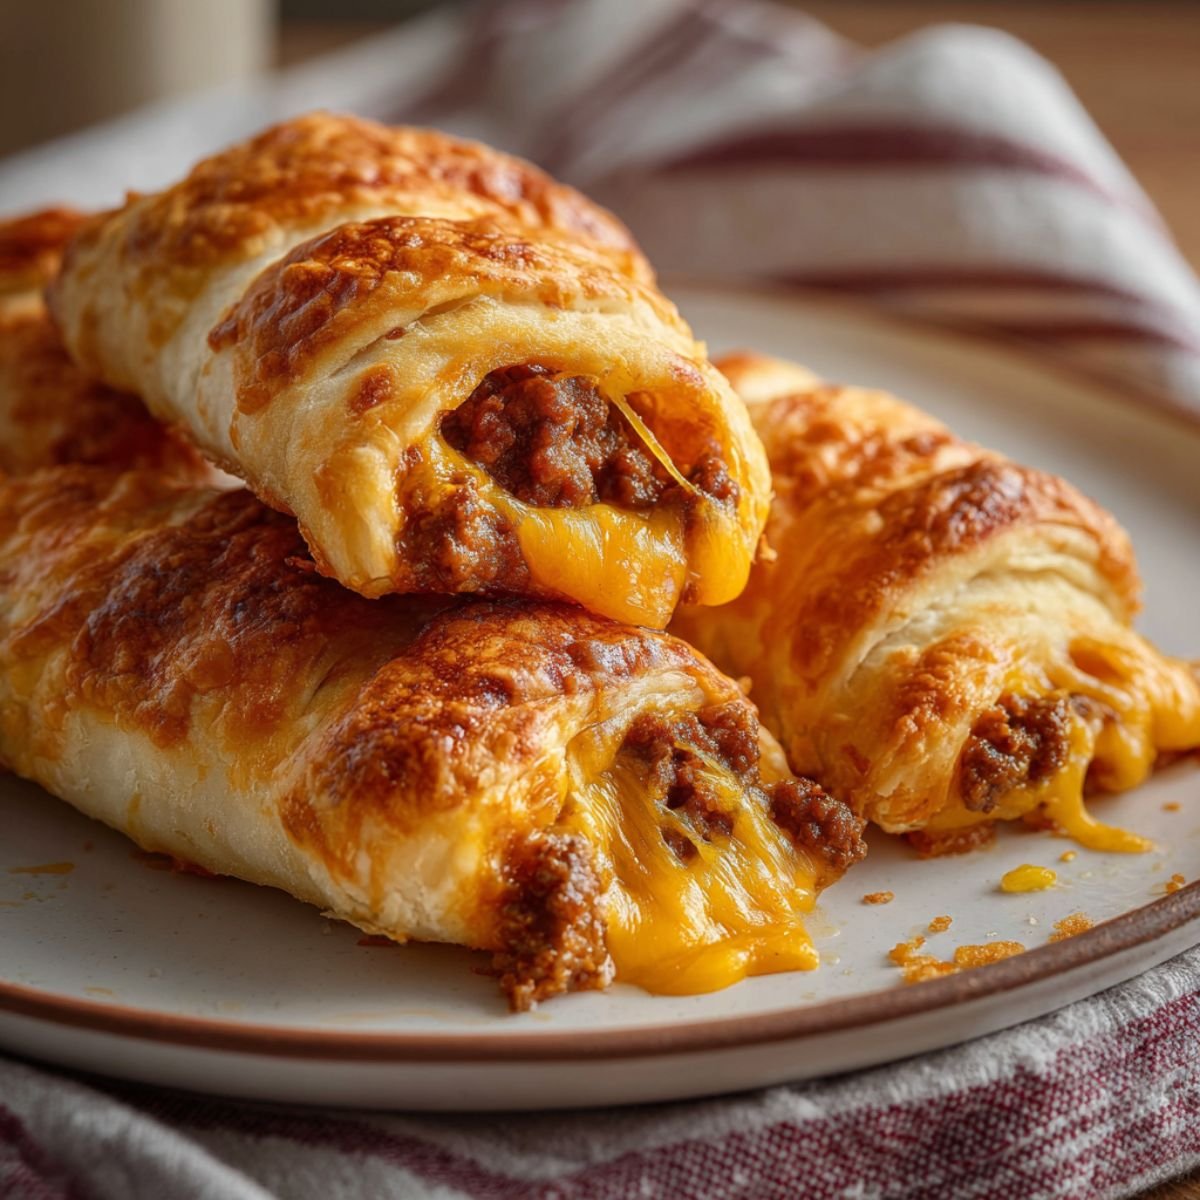
"Aunty, these look like fancy hot dogs!" Anna laughed last Sunday as we lined up our cheesy taco sticks on the baking sheet. What started as a quick snack idea turned into one of those family recipes that disappears faster than it bakes. Between the flaky crescent dough, seasoned taco beef, and melty cheese, this recipe feels playful, comforting, and totally kid-approved; the kind of easy food that brings everyone into the kitchen without stress.
Jump to:
- Why You'll Love These Cheesy Taco Sticks
- How To Make Cheesy Taco Sticks
- Ingredients
- Aunty's Step By Step Instructions
- Cheesy Taco Sticks Substitutions
- Cheesy Taco Sticks Variations
- Equipment
- Storage
- Aunty's Top Tip For Best Cheesy Taco Sticks
- FAQs About Cheesy Taco Sticks
- Party Food Made Simple
- Related
- Cheesy Taco Sticks
Why You'll Love These Cheesy Taco Sticks
These simple cheesy taco sticks have revolutionized our snack game and turned ordinary ingredients into something that feels special and indulgent. The combination of flaky crescent roll dough, seasoned ground beef, and gooey melted cheese creates the perfect handheld treat; crispy on the outside, warm and cheesy on the inside. We especially love making these for game day parties, school potlucks, or whenever we want something that feels like party food without the complicated prep work. Anna rates them 10/10 for "cheesy factor" and "easy eating," while I appreciate how they use simple ingredients most families already have on hand.
How To Make Cheesy Taco Sticks
Quick Overview
These easy taco sticks combine seasoned ground beef and melted cheese wrapped in golden crescent roll dough. The secret is getting the beef mixture just right; not too wet, not too dry; so the dough bakes perfectly crispy while keeping all those delicious flavors sealed inside.
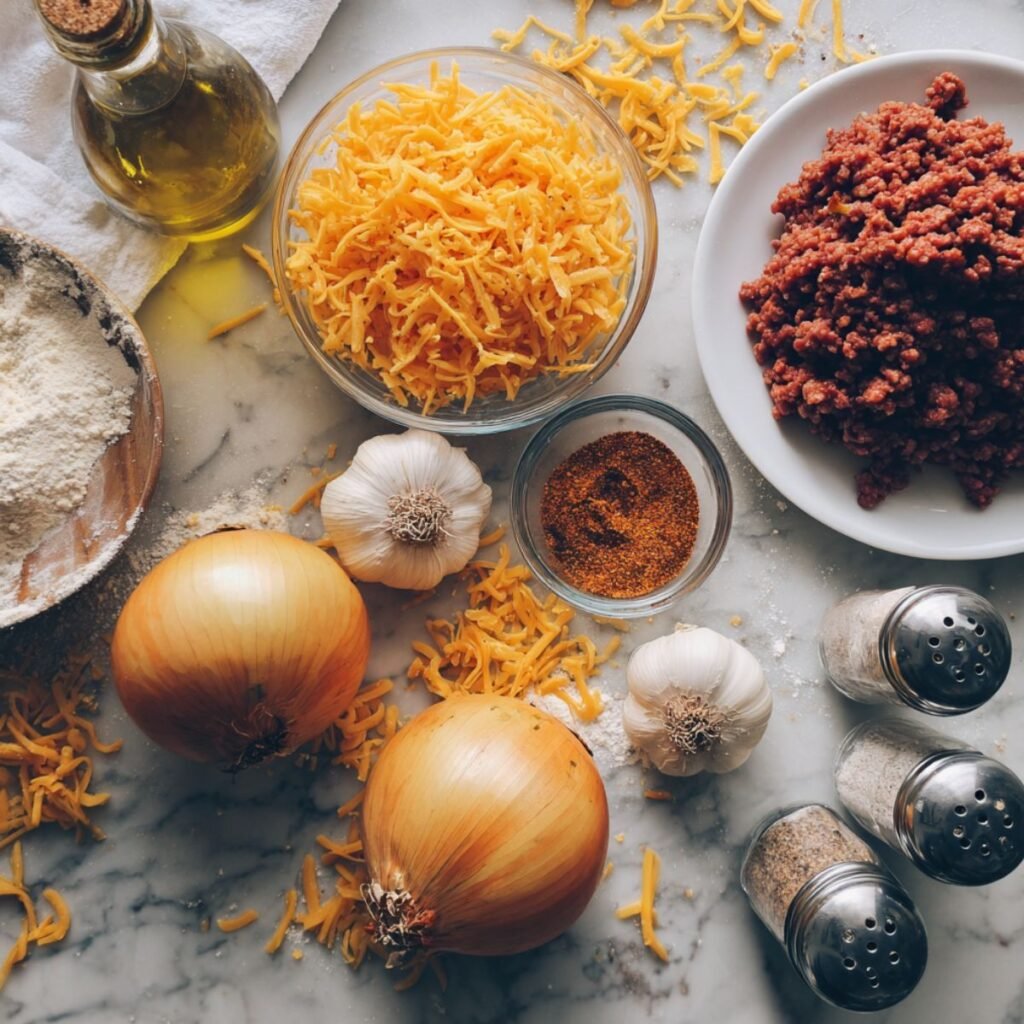
Ingredients
Aunty's note: Don't overstuff these or they'll burst open during baking; less is more!
- Refrigerated crescent roll dough Two tubes give you plenty for a hungry family; Anna calls these "magic triangles."
- Ground beef 80/20 blend works perfectly; gives great flavor without too much grease.
- Taco seasoning packet Store-bought is fine, but homemade tastes even better if you have time.
- Shredded cheddar cheese Sharp cheddar melts beautifully and adds that tangy bite we love.
- Shredded Mexican cheese blend For extra melty goodness; my curious niece's favorite addition.
- Small onion Diced fine so it cooks quickly and adds sweet flavor depth.
- Garlic cloves Fresh garlic makes everything better; don't skip this flavor builder.
- Water Just a splash to help the taco seasoning distribute evenly.
- Olive oil For browning the beef and sautéing those onions perfectly.
- Salt and black pepper Basic seasoning that enhances all the other flavors.
- Egg For brushing the tops; gives that beautiful golden brown finish.
- Sesame seeds Optional but Anna loves the extra crunch on top.
- Fresh cilantro For serving; adds a fresh pop of color and flavor.
- Sour cream Perfect for dipping these crispy, cheesy sticks.
Aunty's Step By Step Instructions
Preparing the Beef Filling
- Preheat oven to 375°F and line a large baking sheet with parchment paper for easy cleanup
- Heat olive oil in a large skillet over medium-high heat until it shimmers nicely
- Add diced onions and cook for 2-3 minutes until they start to soften and smell sweet
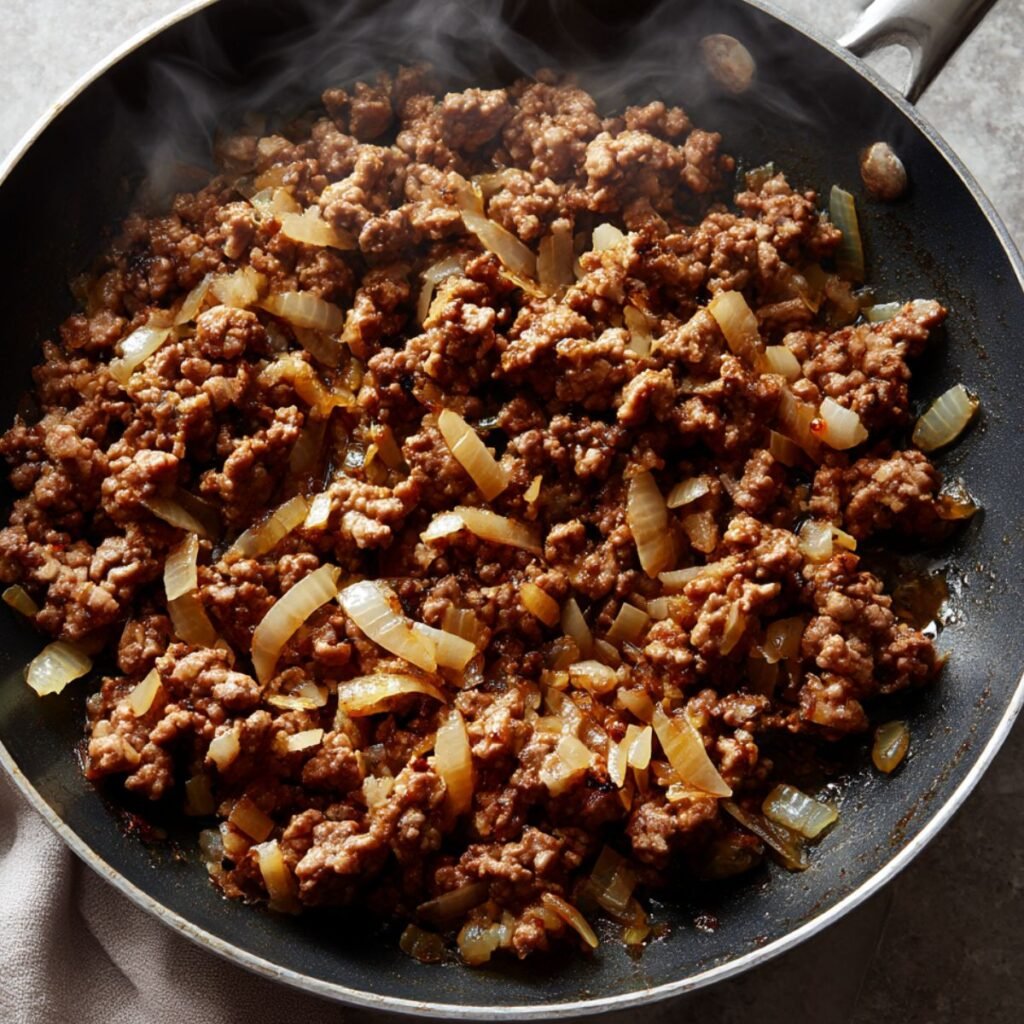
- Add ground beef, breaking it up with a wooden spoon as it browns evenly
- Cook beef for 5-6 minutes until no pink remains and it's nicely browned throughout
Seasoning the Perfect Base
- Drain any excess grease from the beef mixture; too much liquid will make soggy sticks
- Add minced garlic and cook for 1 minute until fragrant and aromatic
- Stir in taco seasoning packet along with the recommended water amount from package
- Let mixture simmer for 2-3 minutes until liquid is mostly absorbed and flavors meld
- Remove from heat and let cool for 5 minutes; this prevents the cheese from melting too quickly
Assembling the Taco Sticks
- Unroll crescent roll dough and separate into individual triangles on a clean work surface
- Place about 2 tablespoons of beef mixture at the wide end of each triangle
- Sprinkle a generous pinch of both cheeses over the beef filling; don't overdo it
- Starting from the wide end, roll up each triangle tightly, pinching seams to seal completely
- Place seam-side down on prepared baking sheet, spacing them about 2 inches apart
Achieving Golden Perfection
- Beat the egg in a small bowl and brush it over the tops of each taco stick
- Sprinkle with sesame seeds if using; Anna loves this extra touch of texture
- Bake for 12-15 minutes until golden brown and puffed beautifully
- Let cool for 3-4 minutes before serving; the cheese will be molten hot inside
- Serve warm with sour cream, salsa, or your family's favorite dipping sauce
Cheesy Taco Sticks Substitutions
These cheesy taco sticks adapt wonderfully to different dietary needs and preferences. My curious niece loves experimenting with "what else can we put inside these?"
- Ground turkey - substitute for beef, just add extra seasoning as turkey can be mild
- Vegetarian - use seasoned black beans or lentils instead of ground beef for plant-based protein
- Different cheese - try pepper jack for heat, or mozzarella for extra stretchy melts
- Gluten-free - use gluten-free puff pastry instead of crescent rolls, adjusting baking time
- Spicy version - add diced jalapeños to the beef mixture for extra heat and crunch
Cheesy Taco Sticks Variations
Your family might want to put their own creative spin on these taco sticks! Anna's creativity knows no bounds when it comes to "improving" recipes.
- Pizza style - use marinara sauce, mozzarella, and pepperoni for Italian-inspired sticks
- Breakfast version - fill with scrambled eggs, bacon, and cheese for morning treats
- Air fryer method - cook at 350°F for 8-10 minutes for extra crispy results
- Mini versions - cut each triangle in half for bite-sized party appetizers
- Doritos twist - crush Doritos and mix with cheese for that popular flavor combination
Equipment
The right tools make these cheesy taco sticks much easier to assemble and bake perfectly. Anna learned that organization makes cooking more fun and less messy.
- Large baking sheet for even browning
- Parchment paper for easy cleanup
- Large skillet for cooking beef mixture
- Wooden spoon for breaking up meat
- Small bowl for egg wash
- Pastry brush for golden tops
- Sharp knife for dicing onions
- Cutting board for safe prep work
- Measuring spoons for accurate seasoning
Storage
Refrigerator Storage
Store leftover taco sticks in airtight containers for up to 3 days in the refrigerator. They're actually delicious cold; Anna often grabs them for quick snacks. The flavors continue to meld, making them taste even better the next day.
Freezing Guidelines
These freeze beautifully! Wrap individually in plastic wrap, then store in freezer bags for up to 3 months. You can freeze them before or after baking; just adjust cooking times accordingly. Frozen unbaked sticks need an extra 5-7 minutes in the oven.
Reheating Tips
Reheat in a 350°F oven for 5-8 minutes until warmed through and crispy again. Avoid the microwave if possible; it makes the dough soggy rather than crispy. For frozen cooked sticks, thaw overnight and reheat as directed.
Make-Ahead Magic
Prepare the beef filling up to 2 days ahead and store refrigerated. You can even assemble the sticks in the morning and bake them fresh for afternoon snacks or dinner appetizers.
Aunty's Top Tip For Best Cheesy Taco Sticks
Here's my family secret for the most perfectly crispy cheesy taco sticks: let that beef mixture cool completely before assembling, and don't overfill each triangle. I know it's tempting to stuff them full of all that delicious beef and cheese, but restraint is key here. My curious niece learned this lesson when she made "super-stuffed" versions that burst open in the oven, creating a delicious but messy situation. Now she's learned that about 2 tablespoons of filling is the magic amount; enough to get great flavor in every bite, but not so much that the dough can't seal properly. This patience pays off with perfectly golden, intact taco sticks that hold their shape beautifully!
FAQs About Cheesy Taco Sticks
What are taco sticks?
Taco sticks are seasoned ground beef and cheese wrapped in crescent roll dough and baked until golden. Think of them as handheld tacos in breadstick form; Anna calls them "portable taco magic!"
How to cook taco stick?
Bake at 375°F for 12-15 minutes until golden brown and puffed. The key is sealing the edges well and not overfilling, so they hold their shape perfectly while baking.
Are taco sticks a healthy snack option?
While they're more indulgent than vegetables, they do provide protein from the beef and calcium from the cheese. My curious niece says "everything in moderation," and she's not wrong!
What kind of meat works best in taco sticks?
Ground beef with 80/20 fat content gives the best flavor and texture. Ground turkey or chicken work too, just add extra seasoning since they're milder than beef.
Party Food Made Simple
These cheesy taco sticks have become our go-to recipe whenever we need something that looks impressive but comes together quickly and easily. There's something magical about watching golden, flaky dough puff up in the oven while that cheese gets perfectly melty inside. Anna now considers herself the official "taco stick expert" and loves helping friends make them for their own family gatherings. The best part? Watching everyone's faces light up when they take that first bite and get that amazing cheese pull that makes these sticks so irresistible.
You might also enjoy Loaded Nachos, Cheesy Quesadillas, or Buffalo Chicken Dip for more crowd-pleasing party foods. Each recipe brings that same easy-to-make, hard-to-resist appeal to your gatherings.
We'd love to hear about your cheesy taco stick adventures! Did your family fall in love with the crispy-outside, melty-inside texture as much as ours did?
Star Rate this cheesy taco sticks recipe and tell us how your golden, cheesy creations turned out!
Emma Miller.
Related
Looking for other recipes like cheesy taco sticks? Try these:
These are my favorite dishes to serve with Cheesy Taco Sticks:

Cheesy Taco Sticks
Ingredients
Equipment
Method
- Preheat oven to 375°F, line baking sheet with parchment paper
- Heat olive oil in large skillet over medium-high heat
- Add diced onions, cook 2-3 minutes until softened
- Add ground beef, cook 5-6 minutes until no pink remains
- Drain excess grease from beef mixture
- Add garlic, taco seasoning, and water, simmer 2-3 minutes
- Remove from heat, let beef mixture cool 5 minutes
- Separate crescent roll dough into triangles
- Place 2 tablespoon beef mixture and cheese on wide end of each triangle
- Roll up tightly from wide end, pinch seams to seal
- Place seam-side down on prepared baking sheet
- Beat egg, brush over tops, sprinkle with sesame seeds
- Bake 12-15 minutes until golden brown and puffed
- Let cool 3-4 minutes before serving
Leave a Reply