
Anna found the puff pastry in the freezer while I was draining the ricotta and immediately asked if we were making something fancy. I told her we were making something that looked fancy but was actually one of the easiest desserts we had ever put together in this kitchen. She raised one eyebrow the way she does when she is not fully convinced. By the time we stacked the second layer and dusted the powdered sugar, she had already decided this was going on her birthday request list. Classic Cannoli Squares will do that to a person the very first time.
Jump to:
Why You Will Love These Classic Cannoli Squares
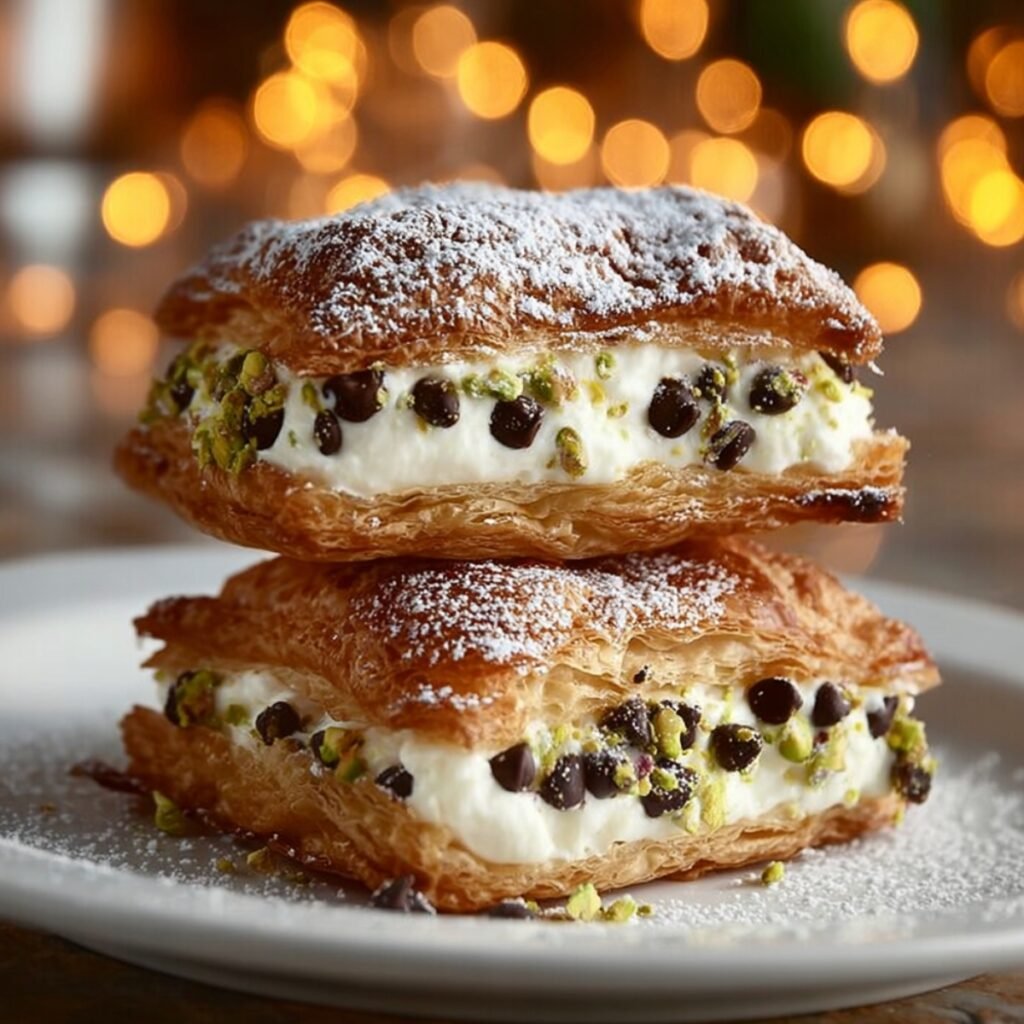
Everything you love about a traditional cannoli is here: the sweet ricotta cream, the chocolate chips, the pistachios, and that satisfying contrast between the crisp shell and the soft filling. The difference is that these require no frying, no piping tubes, and no shells that crack before you can serve them. You build them flat, fill them generously, stack them high, and dust the top with powdered sugar right before they go to the table.
How To Make Classic Cannoli Squares
The first time I made these, I filled them too early and the pastry softened by the time we sat down. Anna bit into hers and looked at me with polite disappointment, which is somehow worse than loud disappointment. That experience taught me the rule that now governs this recipe: bake the pastry, cool it completely, fill it right before serving, and never let the cream sit between the layers for more than an hour before it reaches the table. That timing detail makes all the difference between crisp and soggy.
Main Ingredients
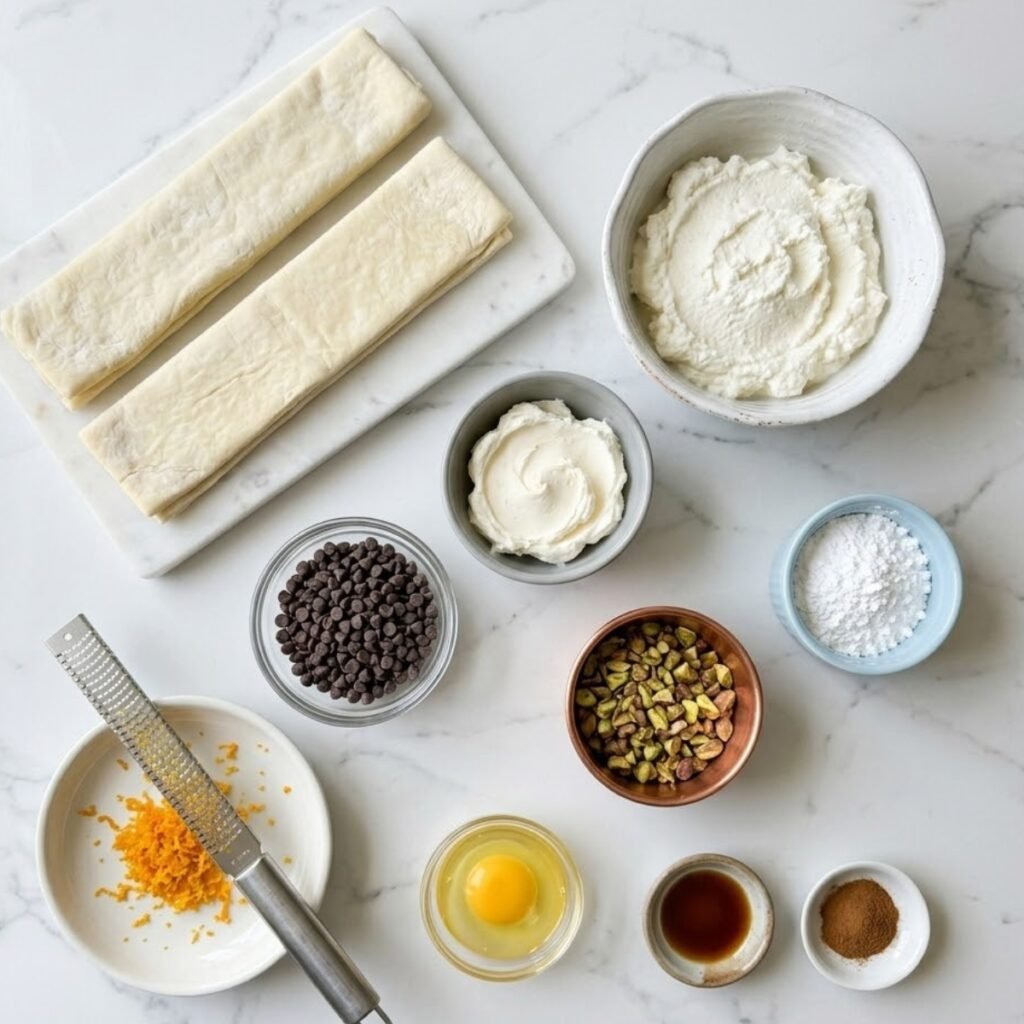
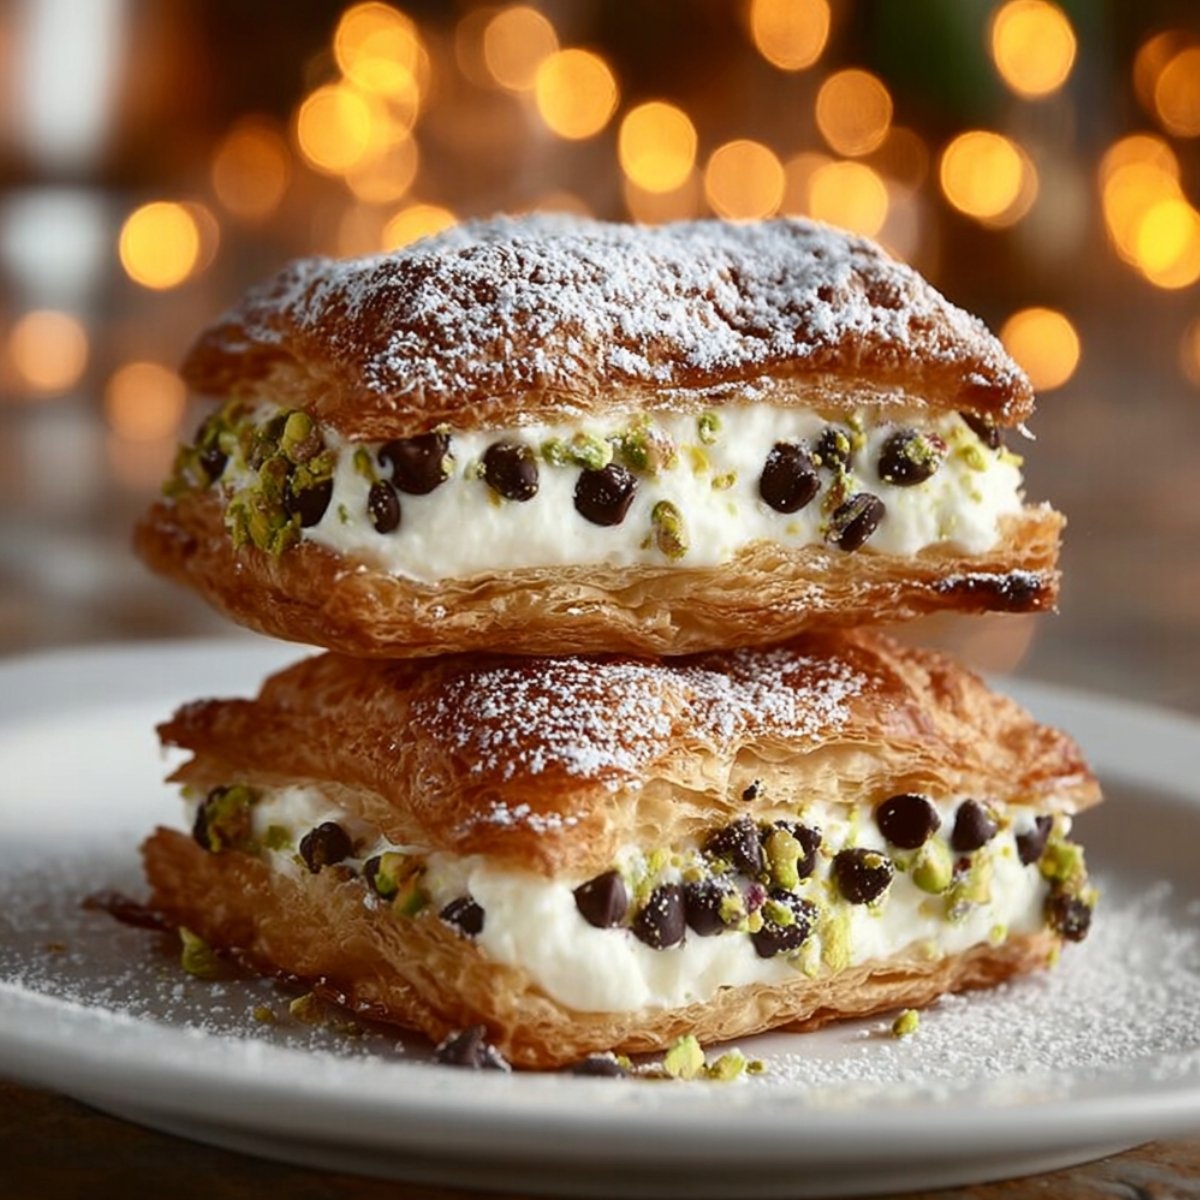
- 2 sheets puff pastry, thawed (the golden, flaky shell visible in the image; store-bought works perfectly and bakes up beautifully with very little effort)
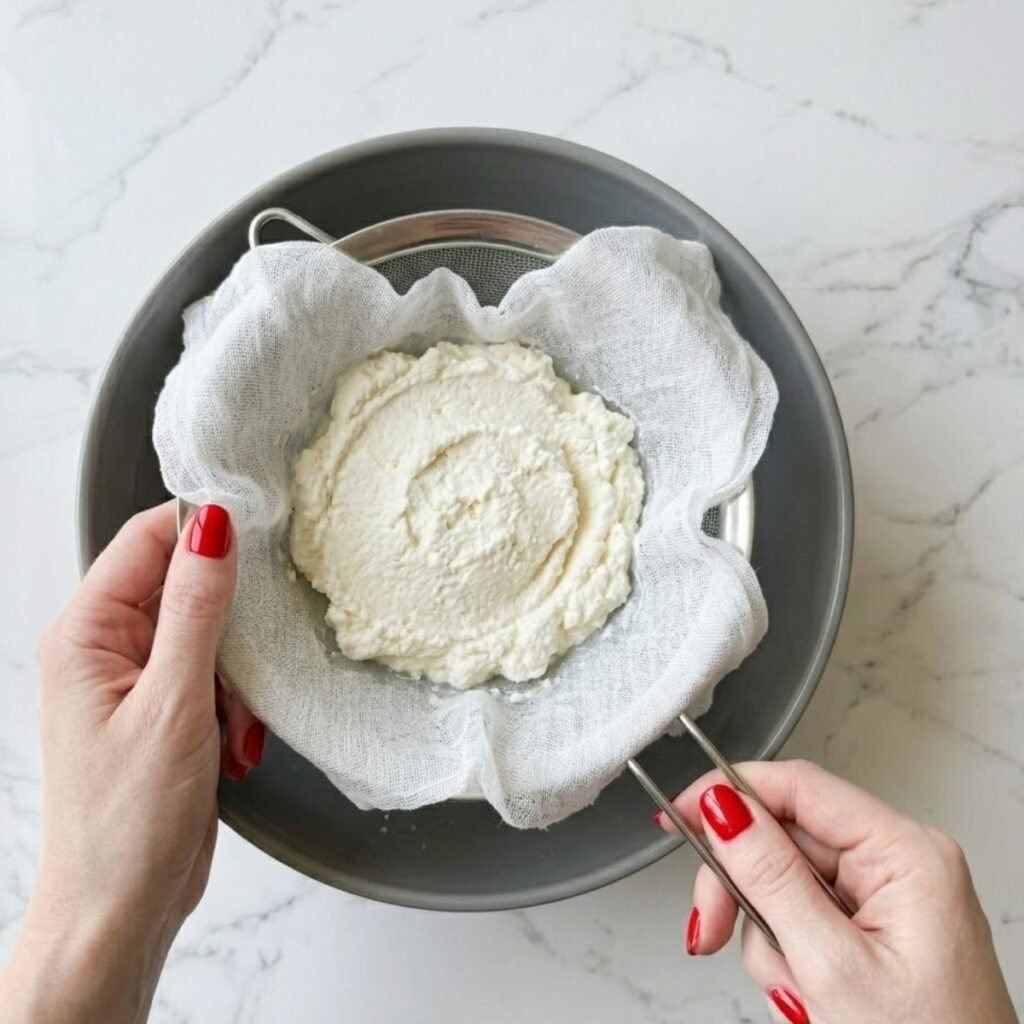
- 500g full-fat ricotta, drained overnight (the base of the cannoli cream; draining overnight removes moisture and keeps the filling thick and stable between the layers)
- 250g mascarpone cheese (mixed with the ricotta for a richer, creamier filling that holds its shape when sliced)
- ¾ cup powdered sugar, plus extra for dusting (sweetens the filling and provides the snowy dusting on the finished top layer)
- 1 teaspoon vanilla extract (a classic cannoli flavor note that rounds out the ricotta and mascarpone)
- ½ teaspoon cinnamon (a subtle warmth that is traditional in cannoli filling)
- Zest of 1 orange (brightens the filling and adds an authentic Sicilian cannoli character)
- ¾ cup mini chocolate chips (folded into the cream and scattered on top as shown throughout the image)
- ½ cup roughly chopped pistachios (folded into the filling and scattered across the powdered sugar top for color and crunch)
- 1 egg, beaten (for brushing the pastry before baking so it turns that deep golden color)
Step by Step Instructions
Step 1: Drain the Ricotta and Prep the Pastry
- Line a fine mesh strainer with cheesecloth, add the ricotta, and refrigerate overnight so excess moisture drains away completely
- Remove puff pastry sheets from the freezer and thaw in the refrigerator overnight or at room temperature for 30 to 40 minutes until pliable but still cold
- Preheat the oven to 200°C and line two large baking sheets with parchment paper so the pastry does not stick during baking
- Unfold each pastry sheet onto a lightly floured surface and cut each one into equal rectangles or squares depending on the serving size you want
Step 2: Bake the Puff Pastry Layers
- Place the cut pastry pieces onto the lined baking sheets leaving at least 2cm between each piece for even air circulation
- Brush the top surface of every piece lightly and evenly with beaten egg so the pastry bakes to a deep, glossy golden brown
- Prick the center of each piece several times with a fork so the pastry rises evenly without puffing too dramatically in the middle
- Bake for 18 to 22 minutes until deeply golden, fully puffed at the edges, and crisp all the way through, then transfer to a wire rack and cool completely before filling
Step 3: Make the Cannoli Cream Filling
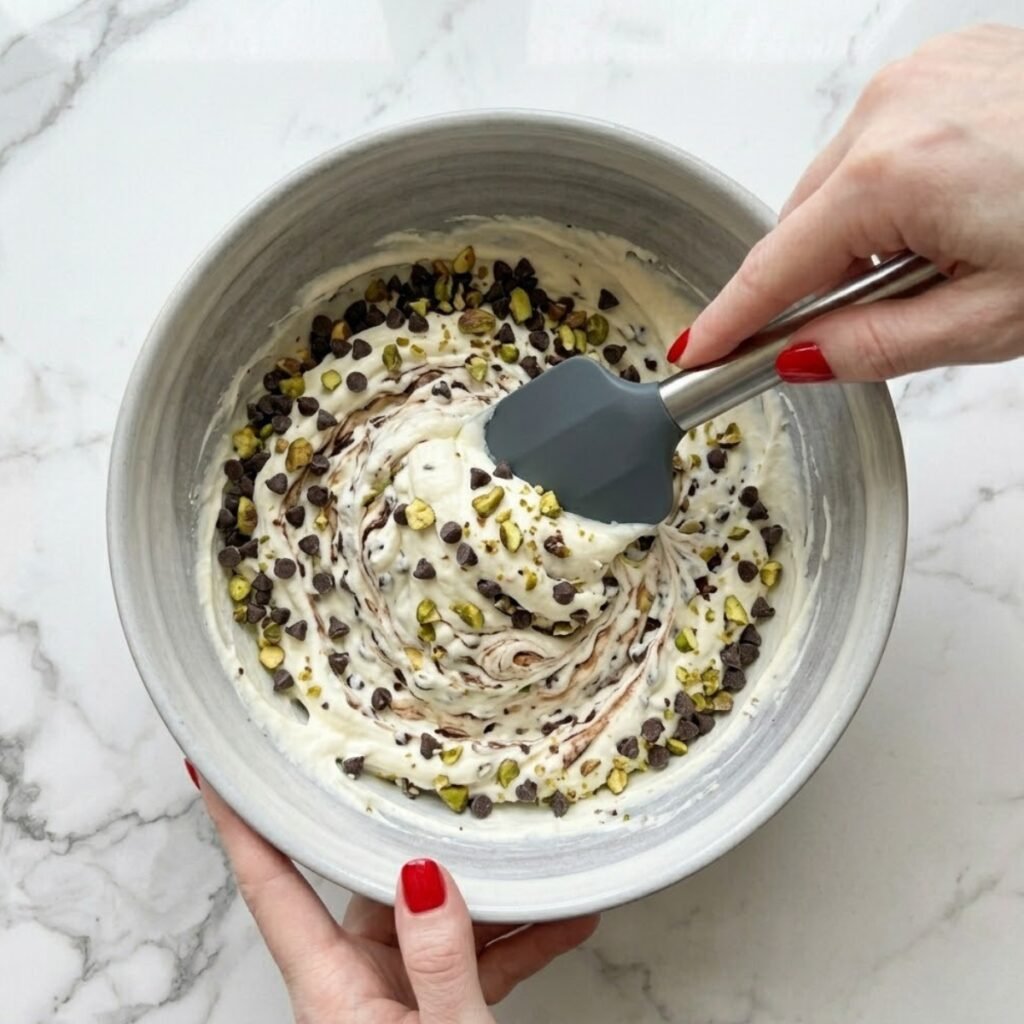
- Beat the drained ricotta and mascarpone together in a large bowl with a hand mixer on medium speed for 2 minutes until completely smooth and no lumps remain
- Add powdered sugar, vanilla extract, cinnamon, and orange zest then beat briefly until evenly combined and the filling smells fragrant and sweet
- Fold in most of the mini chocolate chips and most of the chopped pistachios using a spatula, reserving some of each for the top garnish
- Refrigerate the filling until the pastry is completely cool and you are ready to assemble, at least 30 minutes
Step 4: Assemble, Stack, and Finish
- Place one baked pastry rectangle on a white serving plate as the base layer of the stack
- Spoon a generous, thick layer of cannoli cream onto the pastry and spread it evenly to the edges so the filling is visible from all sides when stacked
- Set a second pastry layer directly on top of the cream, pressing very gently so it sits flat and level without squishing the filling out the sides
- Dust the top pastry layer heavily with powdered sugar, scatter reserved chocolate chips and roughly chopped pistachios across the surface as shown in the image, and serve within one hour
Classic Cannoli Squares Variations
Ricotta Cannoli Squares With Chocolate Drizzle
- Melt 50g of dark chocolate and drizzle it over the assembled squares just before the powdered sugar dusting
- The warm chocolate sets into thin lines across the cream and top pastry for a more dramatic visual finish
- Anna requested this version for the first time after seeing melted chocolate in a shop window and it has become her preferred variation
- Keep the pistachio topping and chocolate chip filling the same for the full classic cannoli flavor profile underneath
Cannoli Squares With Honey and Ricotta
- Stir 2 tablespoons of warm honey into the ricotta and mascarpone mixture before adding the powdered sugar
- Reduce the powdered sugar by 2 tablespoons to account for the sweetness the honey brings
- Drizzle a thin line of honey over the cream filling before placing the top pastry layer for a visible sweet layer inside
- Finish with a light honey drizzle over the powdered sugar top alongside the pistachios for an extra golden finish
Cannoli Bars With Hazelnut and Chocolate
- Replace the chopped pistachios with roughly chopped toasted hazelnuts throughout the filling and on top
- Add 1 tablespoon of cocoa powder to the ricotta mixture for a chocolate-tinted filling that looks striking against the golden pastry
- Use dark chocolate chips instead of mini chips for larger pockets of chocolate flavor in every bite
- This variation has a Nutella-adjacent flavor profile that works well served at room temperature for a brunch spread
Substitutions
Mascarpone Cheese: Full-fat cream cheese beaten until completely smooth can replace mascarpone in equal quantity. The filling will be slightly tangier and a little less rich but it holds its shape very well between the pastry layers and slices cleanly.
Full-Fat Ricotta: Cottage cheese blended completely smooth in a food processor works as a lower-fat substitute. Drain it through a cheesecloth for at least 4 hours before using to remove the same excess moisture you would drain from ricotta overnight.
Puff Pastry: Phyllo dough brushed with melted butter between layers and baked until golden can replace puff pastry for a crispier, thinner shell. Stack 6 to 8 sheets per layer and bake at the same temperature for 15 minutes until deep gold and shatteringly crisp.
Mini Chocolate Chips: Finely chopped dark chocolate bar works as a direct swap and actually looks more rustic and artisan in the finished filling. Use the same total quantity and fold in gently so the pieces stay distinct rather than melting into the cream.
Equipment
- Two large baking sheets lined with parchment
- Fine mesh strainer and cheesecloth for draining ricotta
- Hand mixer or stand mixer
- Sharp knife or pastry cutter for cutting pastry
- Offset spatula for spreading the cream filling evenly
- Wire cooling rack
- Fine mesh sieve for dusting powdered sugar
Emma Tip: If you do not have a fine mesh sieve for dusting, place the powdered sugar in a small strainer and tap it gently over the top of the assembled squares. The result is the same even snow-like dusting visible in the image without any special equipment.
Storage Tips
Make Ahead Strategy
- Bake the pastry layers up to 24 hours ahead and store them in an airtight container at room temperature once completely cooled
- Make the cannoli cream filling up to 24 hours ahead and store it covered in the refrigerator until assembly
- Assemble the squares no more than 1 hour before serving so the pastry stays crisp and the layers hold their definition
Refrigeration
- Assembled squares can be refrigerated for up to 2 hours before serving without significant loss of texture
- After 2 hours the pastry begins to absorb moisture from the filling and loses the crispness visible in the image
- Store any leftover assembled squares covered loosely in the refrigerator and eat within 24 hours; the texture softens but the flavor remains very good
Freezing
- Baked and fully cooled pastry layers freeze well for up to 1 month in a sealed freezer bag with parchment between each piece
- Thaw frozen pastry layers at room temperature for 20 minutes before assembling so they crisp back up slightly
- Do not freeze assembled squares as the cream filling breaks down after thawing and the pastry becomes completely soft
My Grandma's Secret Worth Sharing
Emma's grandmother made cannoli filling by feel rather than recipe. She said the cream was ready when it smelled right, which drove young Emma absolutely mad until the day it suddenly made sense. What she meant was that the orange zest and cinnamon need a full minute of beating before anything else goes in so the oils release fully into the ricotta. Anna learned this the impatient way, rushing past the step, and noticed immediately that her filling tasted flatter than mine. One extra minute of beating those aromatics into the cheese before adding sugar is the quiet detail that makes this filling taste like it came from a pasticceria in Palermo rather than a home kitchen in the suburbs.
FAQs
Why did my puff pastry turn soggy after filling?
The pastry was either not cooled completely before filling or the squares sat assembled for too long before serving. Puff pastry must be cooled entirely on a wire rack before any cream touches it. Filling while warm traps steam inside and softens the layers immediately. Assemble within one hour of serving and never cover filled squares with plastic wrap as condensation accelerates the softening.
How do I get the cannoli cream to hold its shape between the layers?
Draining the ricotta overnight is the most important step. Undrained ricotta contains too much liquid which thins the mascarpone mixture and causes the filling to slide when stacked. After draining, beat the ricotta and mascarpone together until completely smooth and refrigerate the finished filling for at least 30 minutes before assembling so it firms up enough to stay in place.
What is the best way to cut cannoli squares cleanly?
Use a sharp serrated knife and a gentle sawing motion rather than pressing straight down. Pressing down crushes the layers and pushes the filling out the sides. Wipe the blade clean between each cut for the neatest edges. Chilling the assembled squares in the refrigerator for 20 minutes before slicing also helps the filling hold its position during cutting.
Powdered Sugar in the Air and Two Stacked Squares Left on the Plate
Anna ate her square in four careful bites, making sure to get pastry and cream in every single one. She looked up after the last bite and said nothing for a moment, then asked if we could make these for her school bake sale. That quiet approval is the best kind. If you are building a full Italian-inspired dessert spread, Honey Orange Ricotta Mousse Dome belongs on the same table for its creamy elegance and citrus brightness that echoes the orange zest in this filling. When something layered and nutty is needed to round out the menu, Pistachio Tiramisu brings that same pistachios-and-cream language in a completely different form. And for a dessert that surprises people with something fruity and unexpected, Hawaiian Guava Cake offers a gentle tropical sweetness that contrasts beautifully with the richness of everything else. Make these squares once and leave a comment below letting us know how your layers turned out.
Related
Looking for other recipes like Classic Cannoli Squares? Try these:
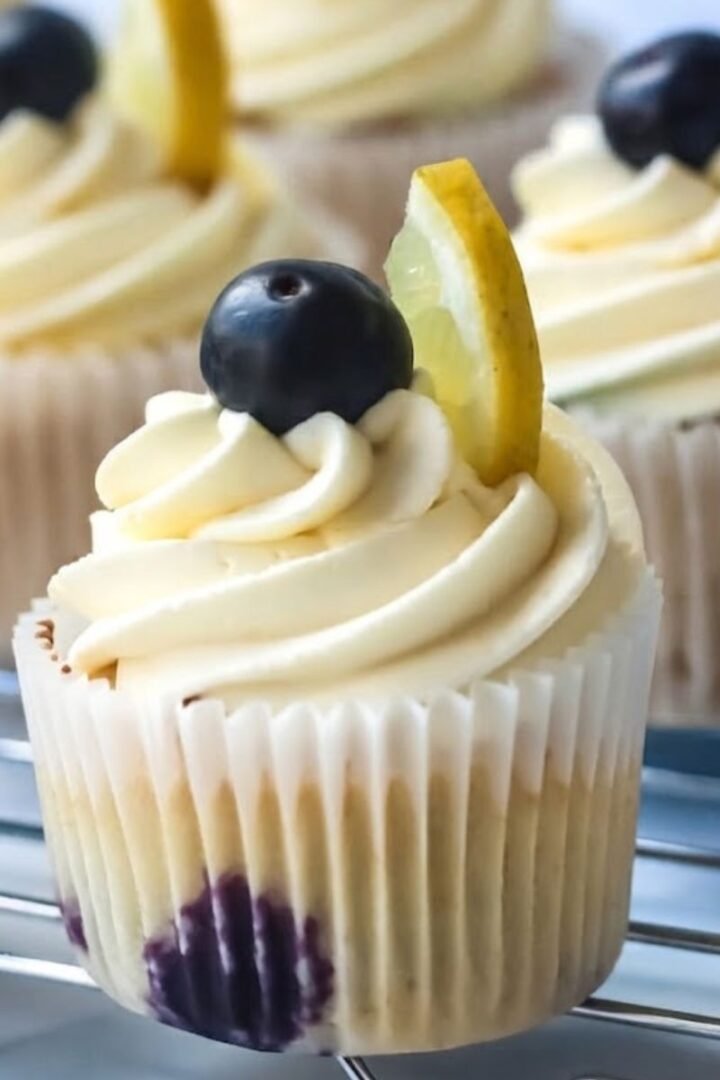
- Blueberry Lemonade Cupcakes35 Minutes
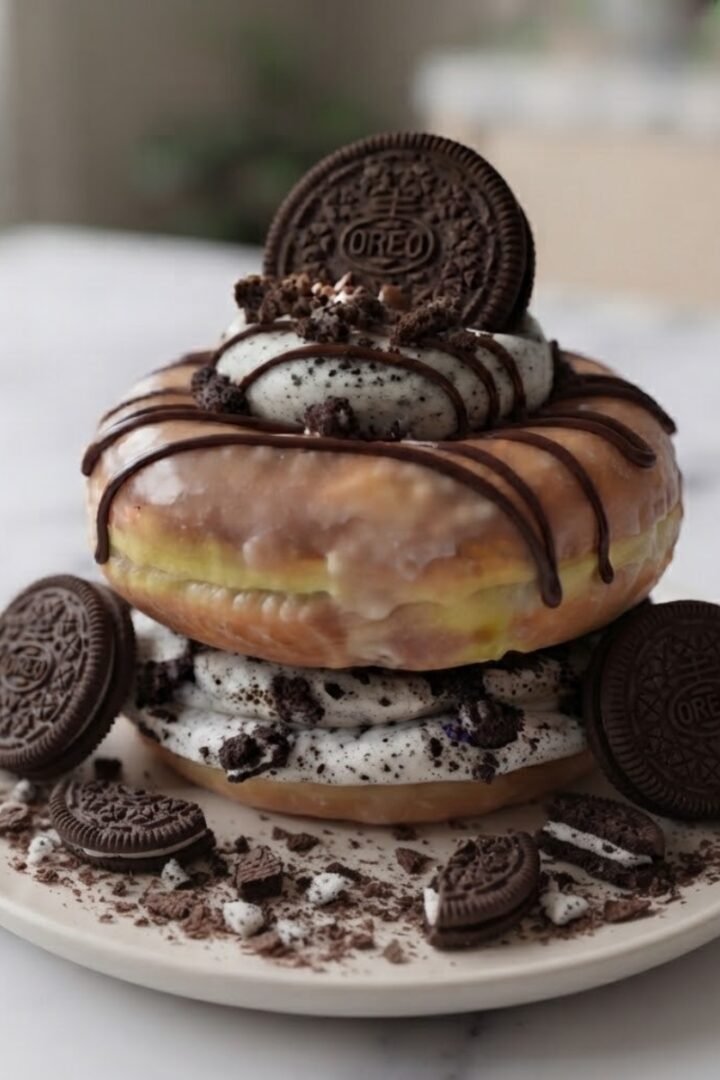
- Oreo Cheesecake Donut Burger15 Minutes
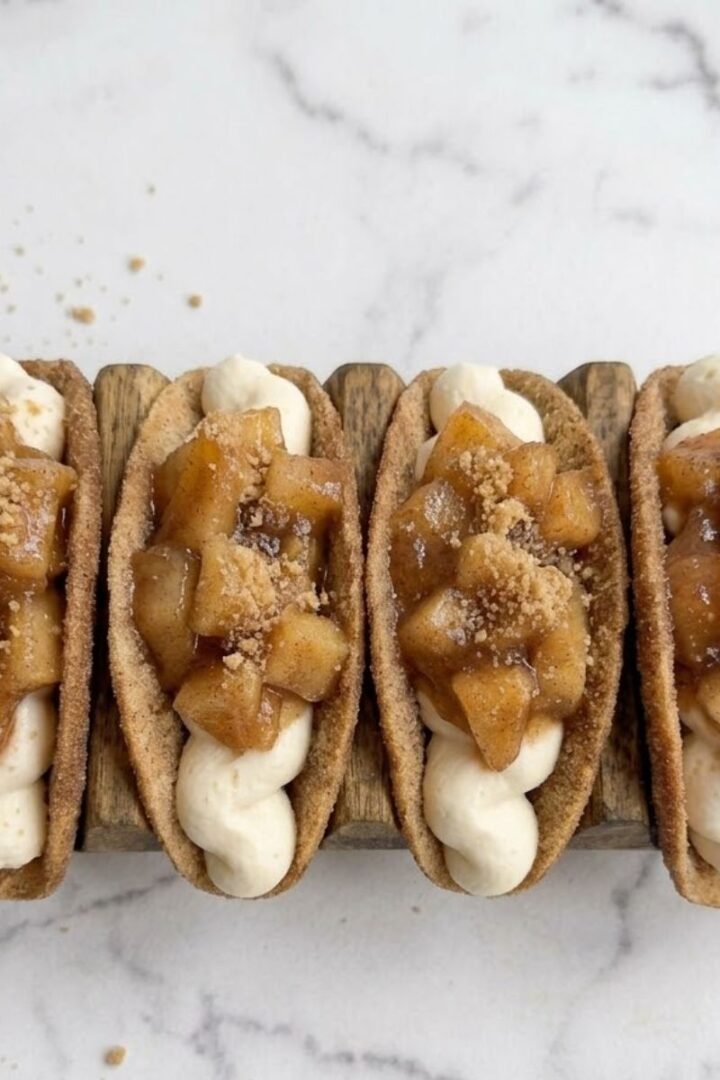
- Apple Pie Cheesecake Tacos25 Minutes
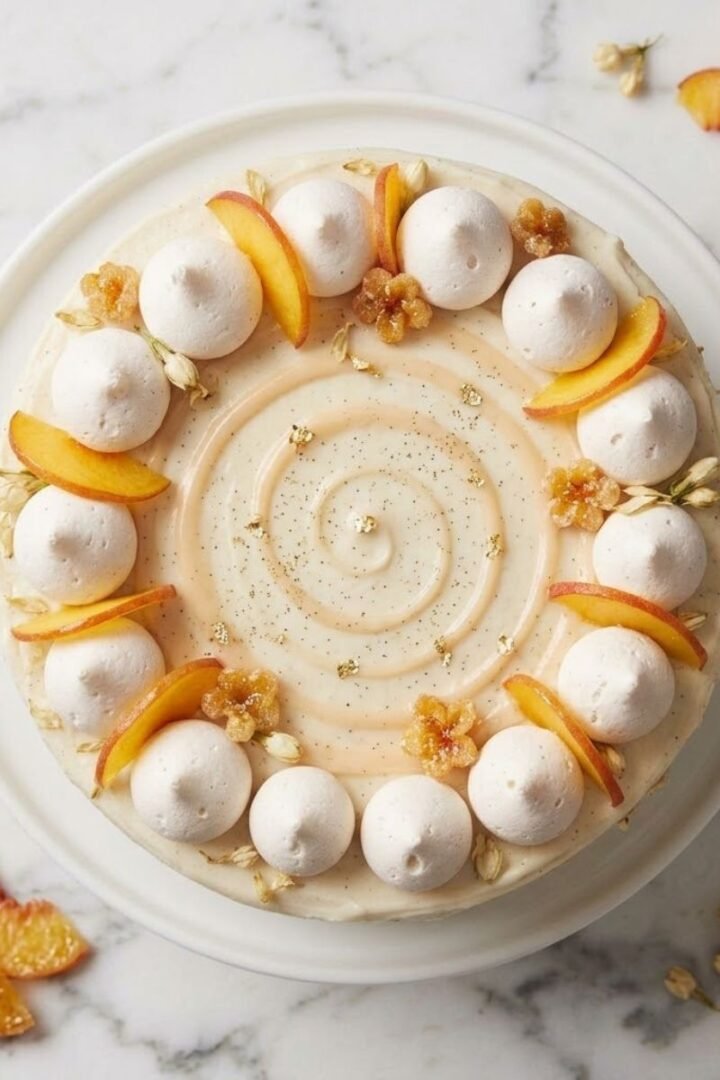
- Jasmine Peach Vanilla Cake50 Minutes
Classic Cannoli Squares
Ingredients
Equipment
Method
- Line a fine mesh strainer with cheesecloth, add ricotta, and refrigerate overnight to drain completely so the filling stays thick and stable.
- Thaw puff pastry sheets in the refrigerator overnight or at room temperature for 30 to 40 minutes until pliable but still cold to the touch.
- Preheat oven to 200°C, line two baking sheets with parchment, and cut each pastry sheet into equal rectangles on a lightly floured surface.
- Place pastry pieces on the lined baking sheets with 2cm between each piece, brush the tops evenly with beaten egg, and prick the centers with a fork several times.
- Bake for 18 to 22 minutes until deeply golden and crisp all the way through, then transfer immediately to a wire rack and cool completely before touching.
- Beat drained ricotta and mascarpone together on medium speed for 2 full minutes until completely smooth with no visible lumps remaining.
- Add powdered sugar, vanilla, cinnamon, and orange zest and beat briefly until evenly combined, then fold in most of the chocolate chips and most of the pistachios.
- Refrigerate the filling for at least 30 minutes until the pastry is completely cool and the cream has firmed up enough to hold its shape between the layers.
- Place one pastry rectangle on a serving plate and spoon a generous thick layer of cannoli cream over it, spreading evenly to the edges with an offset spatula.
- Set a second pastry layer on top, press gently so it sits flat, then dust heavily with powdered sugar and scatter reserved chocolate chips and chopped pistachios across the top exactly as shown in the image before serving within one hour.
Leave a Reply