
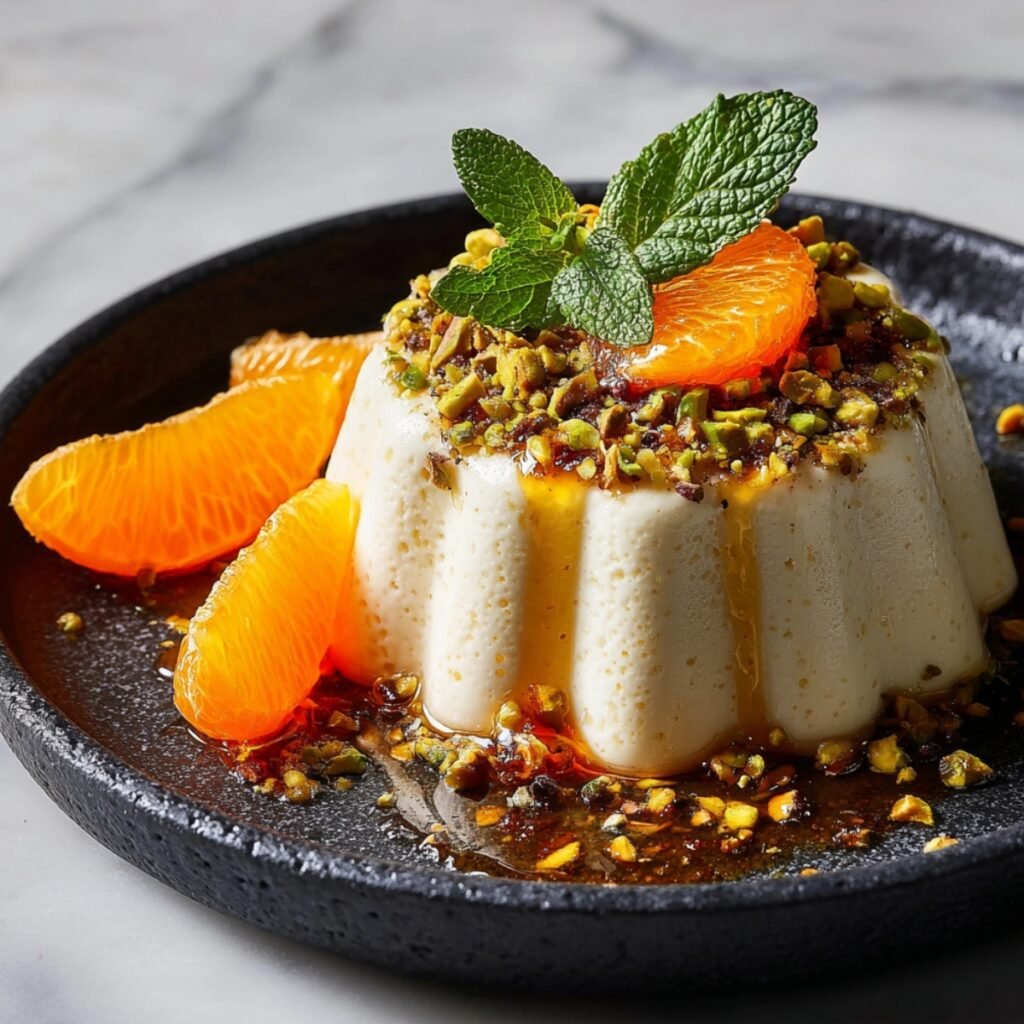
Anna had been staring at the fluted mold on the counter for ten minutes before I finally told her what we were making. When I said the word dome, she straightened up like it was the most important thing she had ever heard. We worked slowly that afternoon, folding the ricotta until it felt like clouds, then tucking the molds into the freezer and waiting. The moment I turned the first Honey Orange Ricotta Mousse Dome onto a dark plate and drizzled honey over the top, she went completely quiet.
Jump to:
- Why You Will Love These Honey Orange Ricotta Mousse Domes
- How To Make Honey Orange Ricotta Mousse Domes
- Main Ingredients
- Step by Step Instructions
- Honey Orange Ricotta Mousse Domes Variations
- Substitutions
- Equipment
- Storage Tips
- My Grandma's Secret Worth Sharing
- FAQs
- The Honey Is Still Dripping and Anna Has Already Asked for a Second One
- Related
- Honey Orange Ricotta Mousse Domes
Why You Will Love These Honey Orange Ricotta Mousse Domes
These desserts look like something from a restaurant but come together with ingredients that are easy to find and steps that are genuinely manageable at home. The texture is light and creamy, the honey drizzle adds warmth against the cool mousse, and the crushed pistachios give every bite a gentle crunch. They are the kind of thing you make for a dinner party and watch people pick up their phones to photograph before tasting.
How To Make Honey Orange Ricotta Mousse Domes
The first time I made these, I skipped straining the ricotta because I thought it looked smooth enough from the container. Anna watched the mousse come out slightly grainy and asked why it was lumpy. That one missed step taught me the most important thing about this recipe: strained ricotta makes all the difference. Once I started draining it overnight through a cheesecloth, the texture turned silky and the domes unmolded cleanly with those perfect fluted edges intact.
Main Ingredients
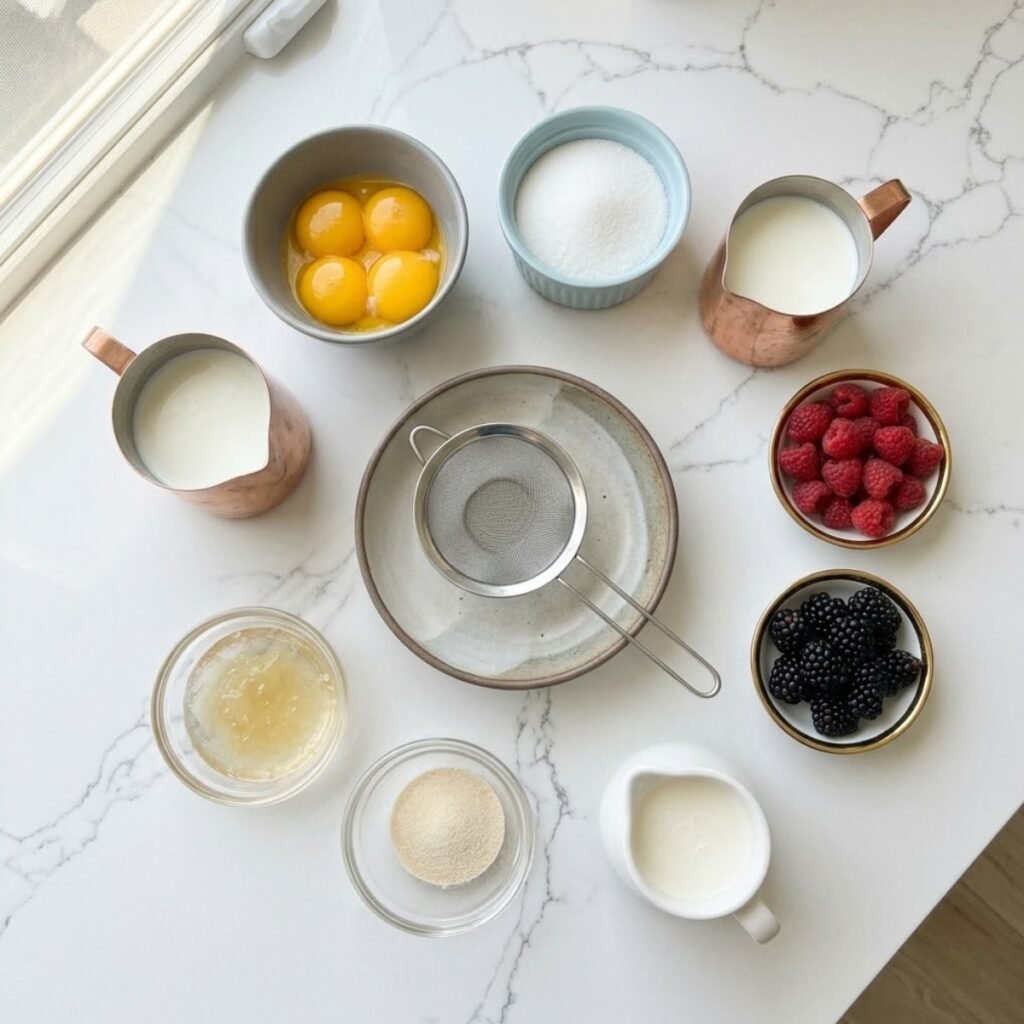
- 500g full-fat ricotta, well drained overnight (the foundation of the mousse; draining removes excess liquid and guarantees a smooth, firm texture)
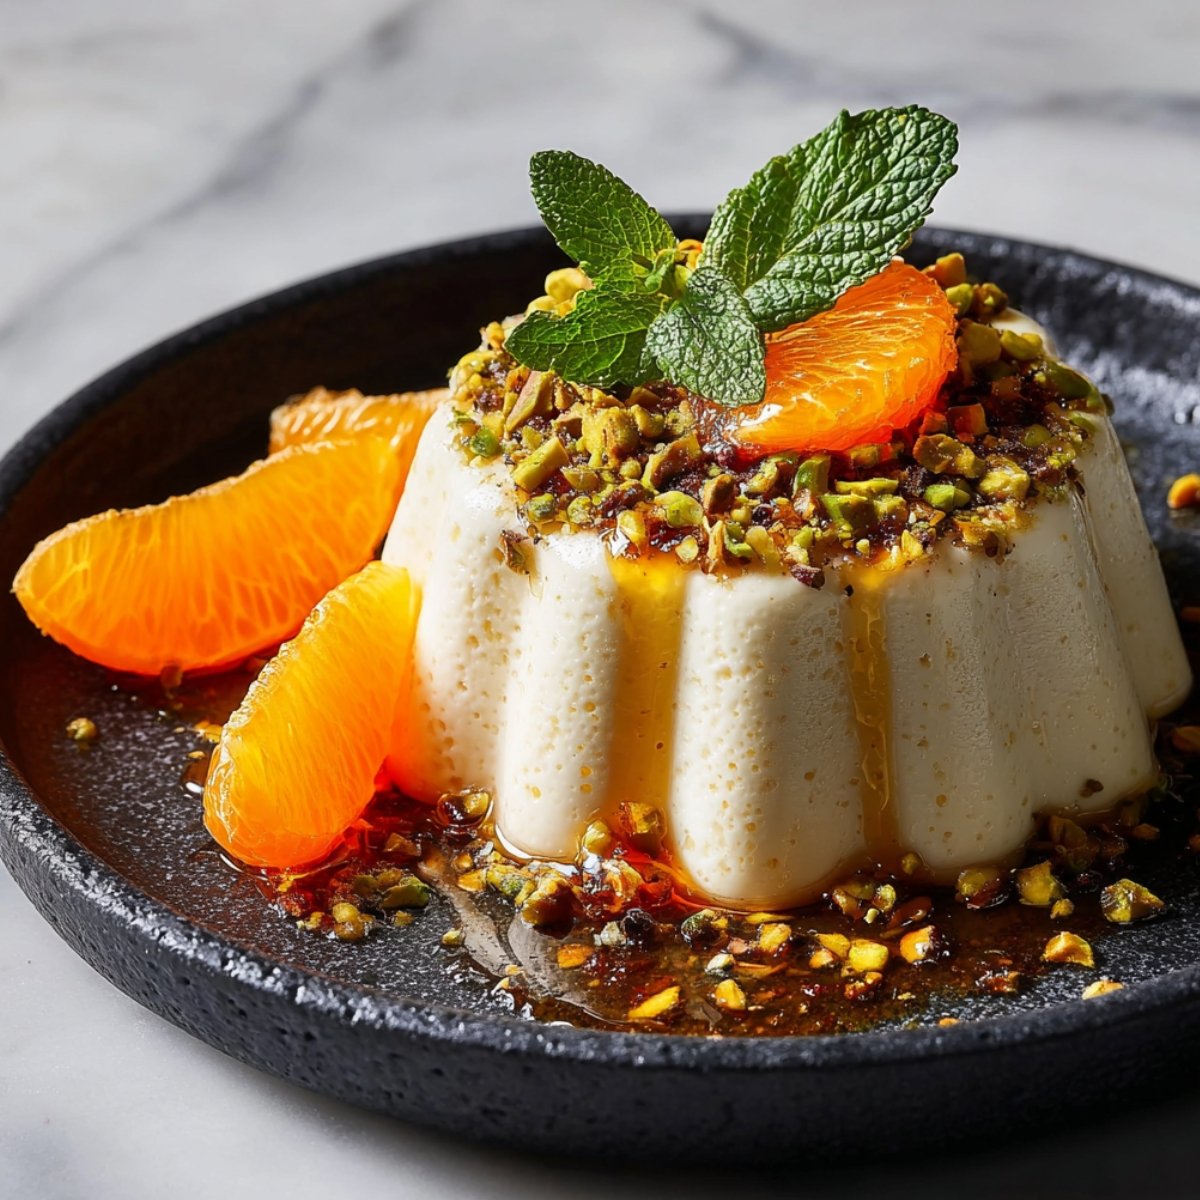
- 200ml heavy whipping cream (whipped to soft peaks and folded in for lightness and the cloud-like texture visible in the image)
- 3 tablespoons honey, plus extra for drizzling (sweetens the mousse and provides the glossy amber drizzle that runs down the sides)
- Zest of 1 large orange (infuses the mousse with bright citrus flavor without adding liquid)
- 1 teaspoon vanilla extract (rounds out the flavor and adds warmth to the ricotta base)
- 2 teaspoons powdered gelatin, bloomed in 2 tablespoons cold water (sets the domes firmly enough to unmold cleanly while keeping the texture soft)
- 3 to 4 mandarin orange segments, lightly glazed (the jewel-like topping sitting at the center of each dome)
- 3 tablespoons crushed pistachios (scattered over the top for color, crunch, and that elegant green-gold contrast)
- Fresh mint sprigs (tucked into the top of each dome just before serving for the finishing touch)
Step by Step Instructions
Step 1: Drain and Prepare the Ricotta Base
- Line a fine mesh strainer with cheesecloth and set it over a bowl in the refrigerator overnight
- Spoon the ricotta into the lined strainer and allow it to drain for at least 8 hours or up to 24 hours
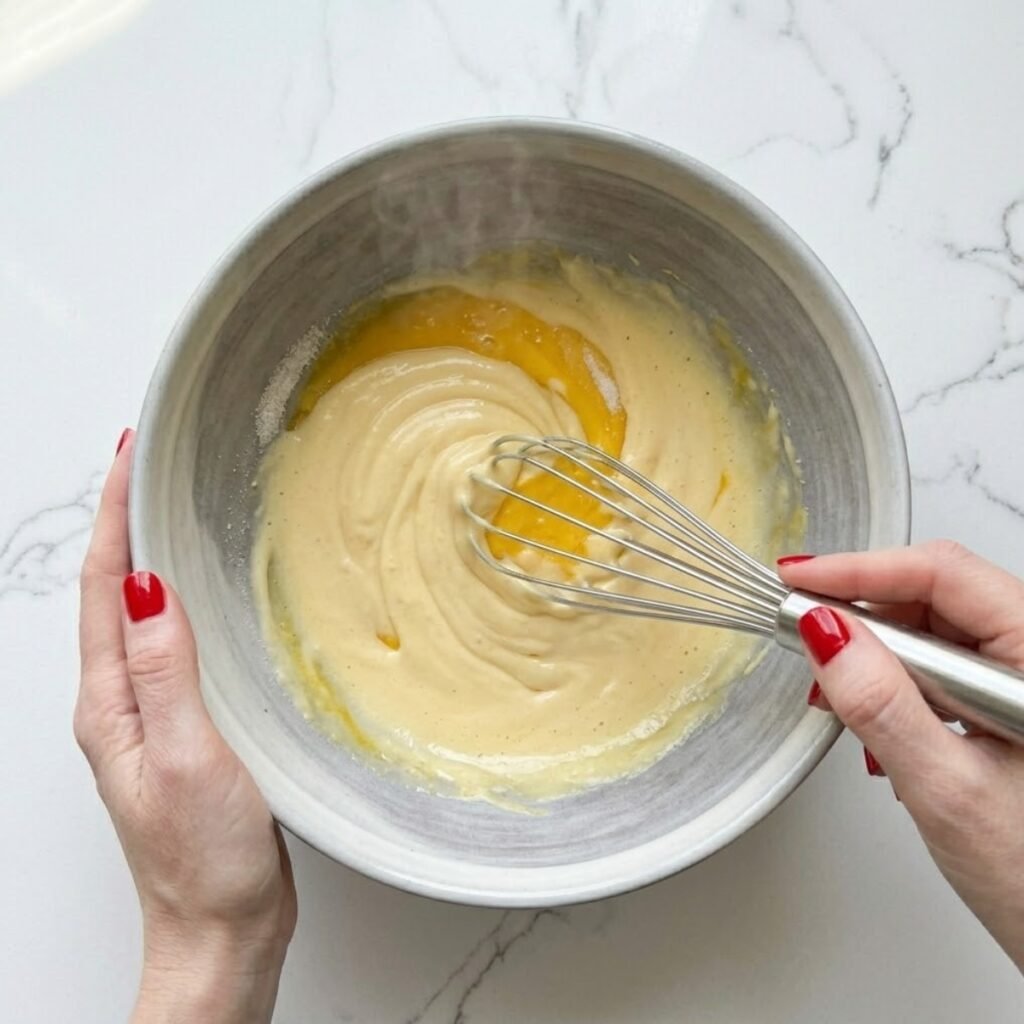
- Transfer the drained ricotta to a large bowl and beat it with a hand mixer for 2 minutes until completely smooth
- Add honey, orange zest, and vanilla extract then beat again briefly until evenly combined and no lumps remain
Step 2: Bloom the Gelatin and Fold in the Cream
- Sprinkle powdered gelatin over 2 tablespoons of cold water in a small bowl and let it sit for 5 minutes until it swells and turns spongy
- Warm the bloomed gelatin gently by placing the bowl in a larger bowl of hot water and stirring until fully dissolved and clear
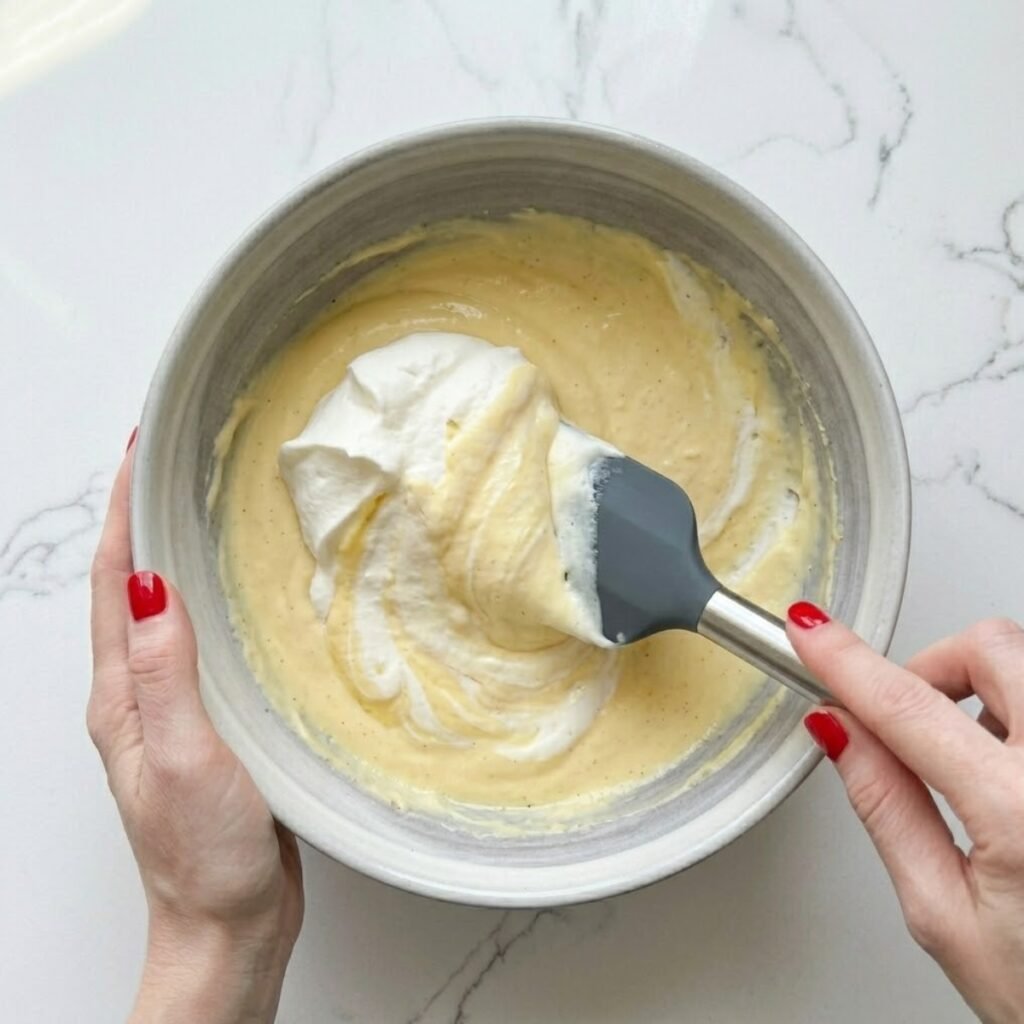
- Whip the heavy cream in a separate bowl to soft peaks so it holds a gentle shape but still moves slightly when the bowl is tilted
- Fold the dissolved gelatin into the ricotta mixture first, then fold in the whipped cream in two additions using slow circular strokes to keep the air in
Step 3: Fill the Molds and Freeze
- Lightly grease fluted individual dessert molds or silicone domes with a neutral oil so the mousse releases cleanly
- Spoon the mousse mixture into the molds, filling each one to the top without leaving any air gaps at the sides
- Smooth the surface of each mold with a small offset spatula or the back of a spoon so the base sits flat when unmolded
- Cover the molds with plastic wrap and place them in the freezer for a minimum of 4 hours or overnight for the cleanest unmolding
Step 4: Unmold, Garnish, and Serve
- Remove molds from the freezer and let them sit at room temperature for 3 to 4 minutes so the edges release slightly
- Place a dark plate face down over each mold then flip quickly and lift the mold straight up in one smooth motion
- Drizzle honey generously over the top of each dome so it runs down the ridged sides and pools at the base just like the image
- Scatter crushed pistachios over the honey drizzle, place a glazed mandarin segment in the center, and finish with fresh mint sprigs
Honey Orange Ricotta Mousse Domes Variations
Pistachio and Honey Dome
- Fold 2 tablespoons of finely ground pistachios directly into the ricotta mousse before filling the molds
- This creates a subtle green tint inside the dome and a nuttier flavor throughout
- Keep the crushed pistachio topping as shown and skip the orange zest for a purely nutty profile
- Anna loves this version and calls it the green snow dome
Orange Blossom and Citrus Dome
- Replace vanilla extract with 1 teaspoon of orange blossom water for a more floral, Middle Eastern-inspired flavor
- Use blood orange segments on top instead of mandarin for a deeper red-orange color contrast against the white mousse
- Drizzle with orange blossom honey specifically for a more aromatic finish
- This variation suits elegant dinner party plating and looks particularly striking on dark slate plates
Lighter Ricotta Mousse Dome
- Replace half the heavy cream with full-fat Greek yogurt folded in at the same stage
- The texture will be slightly less airy but still smooth and the flavor takes on a pleasant gentle tang
- Increase the gelatin by half a teaspoon to compensate for the extra moisture from the yogurt
- Top with fresh orange slices and a light honey drizzle for a less sweet, more refreshing version
Substitutions
Full-Fat Ricotta: Cream cheese can be used in the same quantity for a denser, cheesecake-like texture. Beat it very well before folding in the cream and expect a slightly firmer unmolded dome that holds its shape even more cleanly at room temperature.
Powdered Gelatin: Agar agar can replace gelatin at a 1 to 1 ratio for a vegetarian version. Dissolve it in warm liquid on the stovetop rather than cold water and note that it sets firmer than gelatin, so reduce the quantity by a quarter teaspoon to keep the mousse soft.
Heavy Whipping Cream: Full-fat coconut cream chilled overnight works as a dairy-free alternative. Whip it cold and fold it in carefully. The flavor will have a faint coconut note that actually pairs well with the orange zest.
Mandarin Orange Segments: Any sweet citrus segment works here including navel orange, clementine, or blood orange. Lightly warm the segments in a small pan with a teaspoon of honey for 30 seconds before placing them on top to get that glazed, jewel-like appearance shown in the image.
Equipment
- Fluted individual dessert molds or silicone dome molds
- Fine mesh strainer and cheesecloth for draining ricotta
- Hand mixer or stand mixer
- Small saucepan or double boiler setup for gelatin
- Offset spatula for smoothing mold surfaces
- Dark serving plates for the best visual contrast
Emma Tip: If you do not have fluted molds, use silicone cupcake molds or even small ramekins lined with plastic wrap. The texture will be identical and the plastic wrap makes unmolding just as easy. The ridged shape from the image comes specifically from a fluted silicone mold, which is inexpensive and worth buying if you plan to make this more than once.
Storage Tips
Make Ahead Strategy
- These domes are ideal for making 24 hours ahead of a dinner party or special occasion
- Fill and freeze the molds the night before then unmold and garnish just before serving
- Keep the crushed pistachios, honey, and mint separate until the last moment so the toppings stay fresh and crisp
Refrigeration
- Once unmolded, the domes can be refrigerated for up to 2 hours before serving without losing their shape
- Keep them covered loosely with plastic wrap on the serving plates so the surface stays clean
- Do not refrigerate for longer than 2 hours after unmolding as the gelatin begins to weep slightly at the base
Freezing
- The filled molds can stay in the freezer for up to 5 days before unmolding
- Wrap each mold tightly in plastic wrap then in foil to prevent any freezer odor from affecting the delicate flavor
- Remove from the freezer and allow 3 to 4 minutes of resting time at room temperature before unmolding for clean edges every time
My Grandma's Secret Worth Sharing
Emma's grandmother never trusted a dessert that rushed. She said the ones that waited always tasted better, and this recipe proves her right every single time. Anna learned that lesson standing at the freezer door, asking every twenty minutes if they were ready yet. The real secret though was the honey. Her grandmother always warmed it slightly before drizzling so it moved like liquid amber instead of sitting in one thick spot. That small detail is what creates the slow, elegant drip down the sides of the dome that makes the whole plated dessert look intentional rather than assembled.
FAQs
How long should I freeze the ricotta mousse domes?
A minimum of 4 hours is needed for a clean unmold, but overnight gives the most reliable results. If the center still feels soft when you press the base of the mold gently, return it to the freezer for another hour. The dome should feel completely firm from edge to center before you attempt to unmold it.
What type of mold is best for this recipe?
A fluted silicone mold gives the exact result shown in the image, with clean defined ridges and easy release. Silicone is preferable to rigid plastic or metal because it flexes slightly when you press the base, helping the dome release without cracking. Look for individual portion silicone molds between 150ml and 200ml capacity for the right serving size.
How do I get the mousse completely smooth?
The single most important step is draining the ricotta overnight through a cheesecloth-lined strainer. Without draining, even expensive full-fat ricotta contains enough moisture to make the mousse grainy and uneven. After draining, beat the ricotta on its own for a full 2 minutes before adding anything else, and the texture will be completely smooth before the cream even goes in.
The Honey Is Still Dripping and Anna Has Already Asked for a Second One
She carried the plate to the table with both hands and set it down like it was fragile, which in a way it was. The honey had pooled into a slow amber circle at the base of the dome, the pistachios caught the light, and the mint sat perfectly still at the top. It was one of those kitchen moments that stays. If you are building a dessert menu around something this elegant, Pistachio Tiramisu belongs on the same table for its gentle nuttiness and layered richness. For something fruity and light alongside it, Hawaiian Guava Cake brings a tropical softness that contrasts beautifully with the citrus here. And if you want one more showstopper that photographs as well as it tastes, Strawberry Shortcake Cheesecake Sushi Rolls bring a playful creativity that guests always remember. Make these domes once and you will understand why Anna asked for a second one before the first plate was cleared.
Related
Looking for other recipes like Honey Orange Ricotta Mousse Domes? Try these:
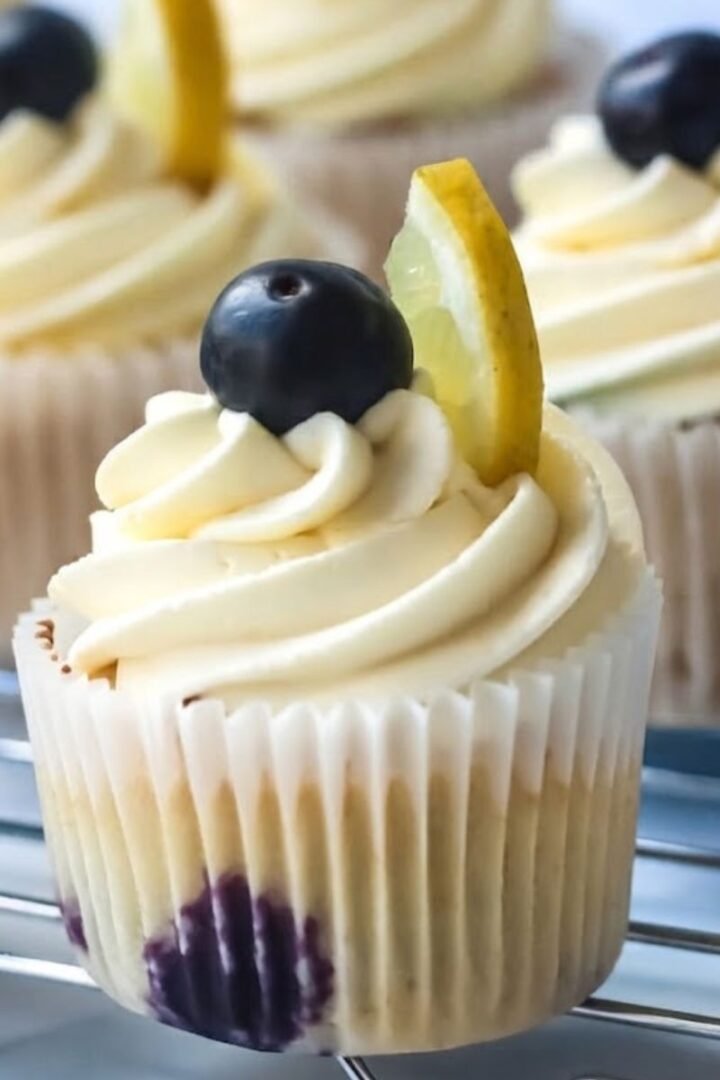
- Blueberry Lemonade Cupcakes35 Minutes
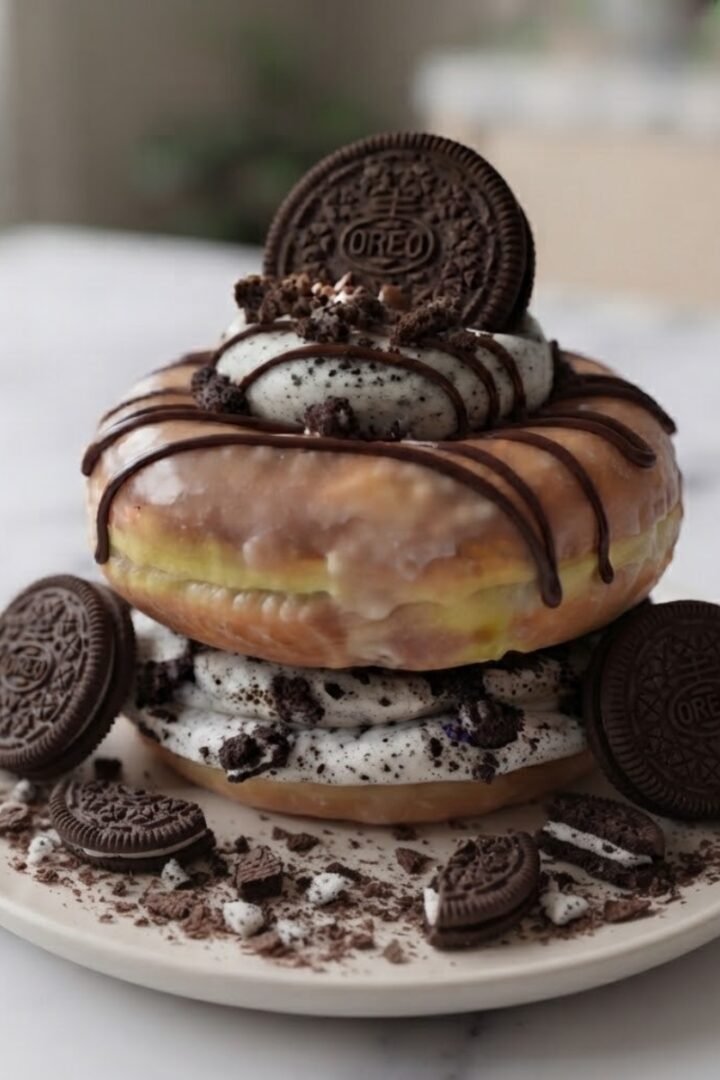
- Oreo Cheesecake Donut Burger15 Minutes
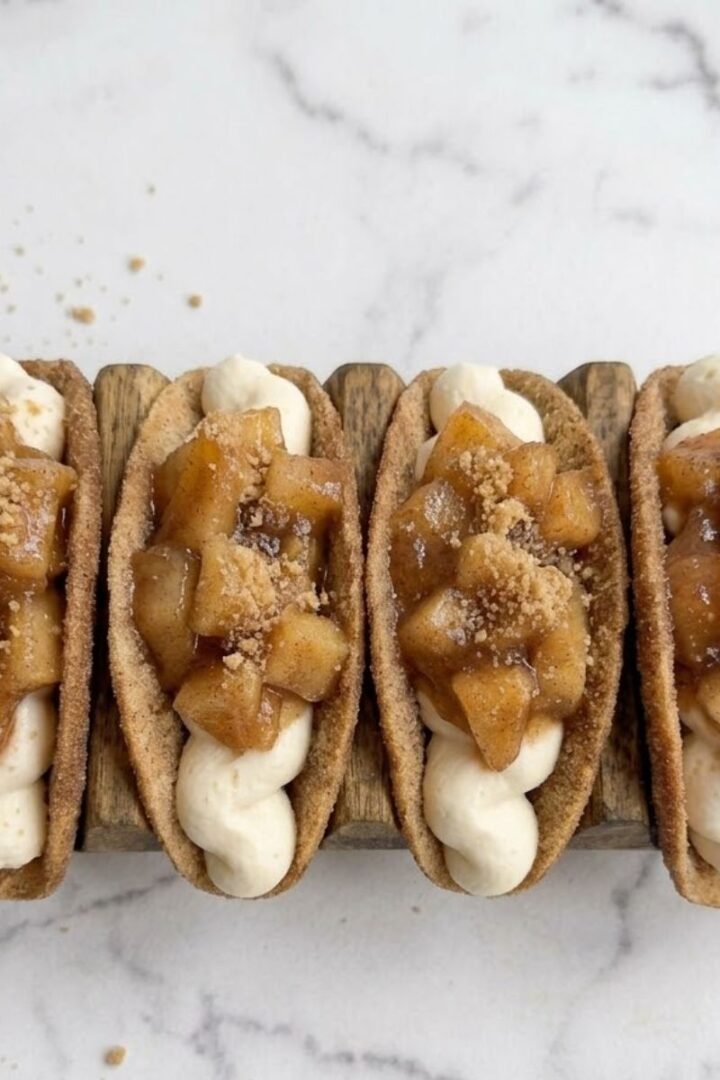
- Apple Pie Cheesecake Tacos25 Minutes
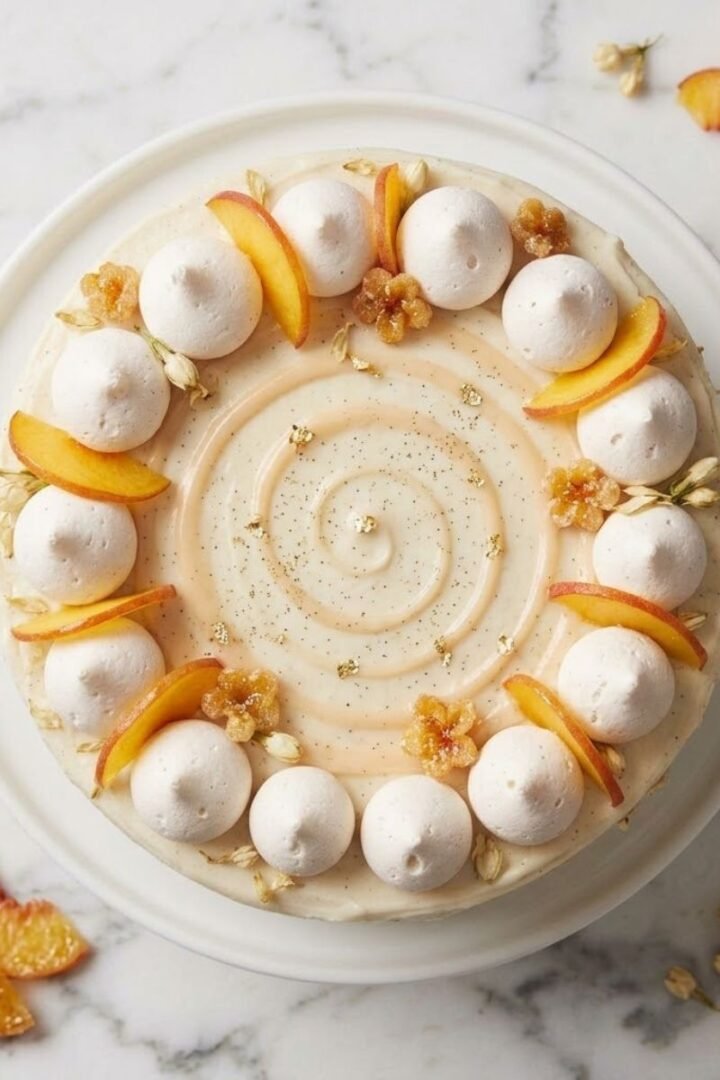
- Jasmine Peach Vanilla Cake50 Minutes
Honey Orange Ricotta Mousse Domes
Ingredients
Equipment
Method
- Line a fine mesh strainer with cheesecloth, spoon in the ricotta, and refrigerate overnight for at least 8 hours to drain excess moisture completely.
- Transfer drained ricotta to a large bowl and beat with a hand mixer on medium speed for 2 full minutes until completely smooth with no visible lumps.
- Add honey, orange zest, and vanilla extract to the beaten ricotta and mix briefly until evenly combined and the mixture smells fragrant.
- Sprinkle gelatin over cold water in a small bowl, let it bloom for 5 minutes until spongy, then set the bowl in a larger bowl of hot water and stir until fully dissolved and clear.
- Whip heavy cream in a separate chilled bowl to soft peaks so it holds a gentle shape but still moves slightly when the bowl tilts.
- Stir dissolved gelatin into the ricotta mixture first, then fold in the whipped cream in two additions using slow circular strokes to preserve the air.
- Lightly grease fluted silicone molds with neutral oil, spoon in the mousse to the top without air gaps, and smooth the surface flat with an offset spatula.
- Cover molds with plastic wrap and place in the freezer for a minimum of 4 hours or overnight until completely firm from edge to center.
- Remove molds from the freezer and rest at room temperature for 3 to 4 minutes, then place a dark plate over each mold and flip quickly, lifting the mold straight up to unmold cleanly.
- Drizzle warmed honey over the top of each dome so it runs slowly down the ridged sides and pools at the base, then scatter crushed pistachios, place a glazed mandarin segment in the center, and finish with fresh mint sprigs.
Leave a Reply