
Some of my favorite memories with Anna happen right at the dinner table, when everyone is finally together and the day slows down. These garlic bread rolls have a way of doing that; pulling us in, one warm roll at a time. As soon as they come out of the oven, brushed with garlicky butter and sprinkled with parsley, the whole family gathers instinctively, reaching, tearing, laughing, and sneaking extra pieces before plates are even set.

Jump to:
- Why You Will Love These Garlic Bread Rolls
- Background: When We Make These Garlic Bread Rolls
- How To Make Garlic Bread Rolls
- Ingredients For These Garlic Bread Rolls
- Instructions For Making Garlic Bread Rolls
- Substitutions For Different Dietary Needs
- Variations To Try With This Recipe
- Equipment You Will Need
- Storing Your Garlic Bread Rolls
- Aunty's Top Family Secret
- FAQs About Garlic Bread Rolls
- Bakery Fresh Made Simple
- Related
- Garlic Bread Rolls
Why You Will Love These Garlic Bread Rolls
This recipe creates bakery quality results with simple techniques. The soft roll base provides pillowy texture. Fresh garlic creates authentic flavor. Real butter adds richness. Fresh parsley brings color. Quick rise means less waiting. Brushing while hot ensures absorption.
This delivers impressive results without bread expertise. Kids enjoy mild garlic flavor. Adults appreciate authentic taste making these perfect for special dinners.
Background: When We Make These Garlic Bread Rolls
This shines during holiday season when we need crowd pleasing sides. Thanksgiving through Easter benefits from these golden rolls. We make this garlic bread rolls recipe when hosting because everyone requests seconds creating happy guests.
Family dinners feature these garlic bread rolls prominently. Friends say they taste better than restaurant versions. This works beautifully for pasta nights.
How To Make Garlic Bread Rolls
Quick Overview
Use store bought dinner roll dough or make homemade. Form into balls. Place in baking pan. Let rise until doubled. Mix melted butter with garlic and parsley. Brush rolls before baking. Bake until golden. Brush with more butter immediately after.
Ingredients For These Garlic Bread Rolls
For The Rolls:
- Store bought dinner roll dough
- All purpose flour for dusting
- Cooking spray
For The Garlic Butter:
- Butter
- Fresh garlic cloves
- Fresh parsley
- Garlic powder
- Salt
- Italian seasoning
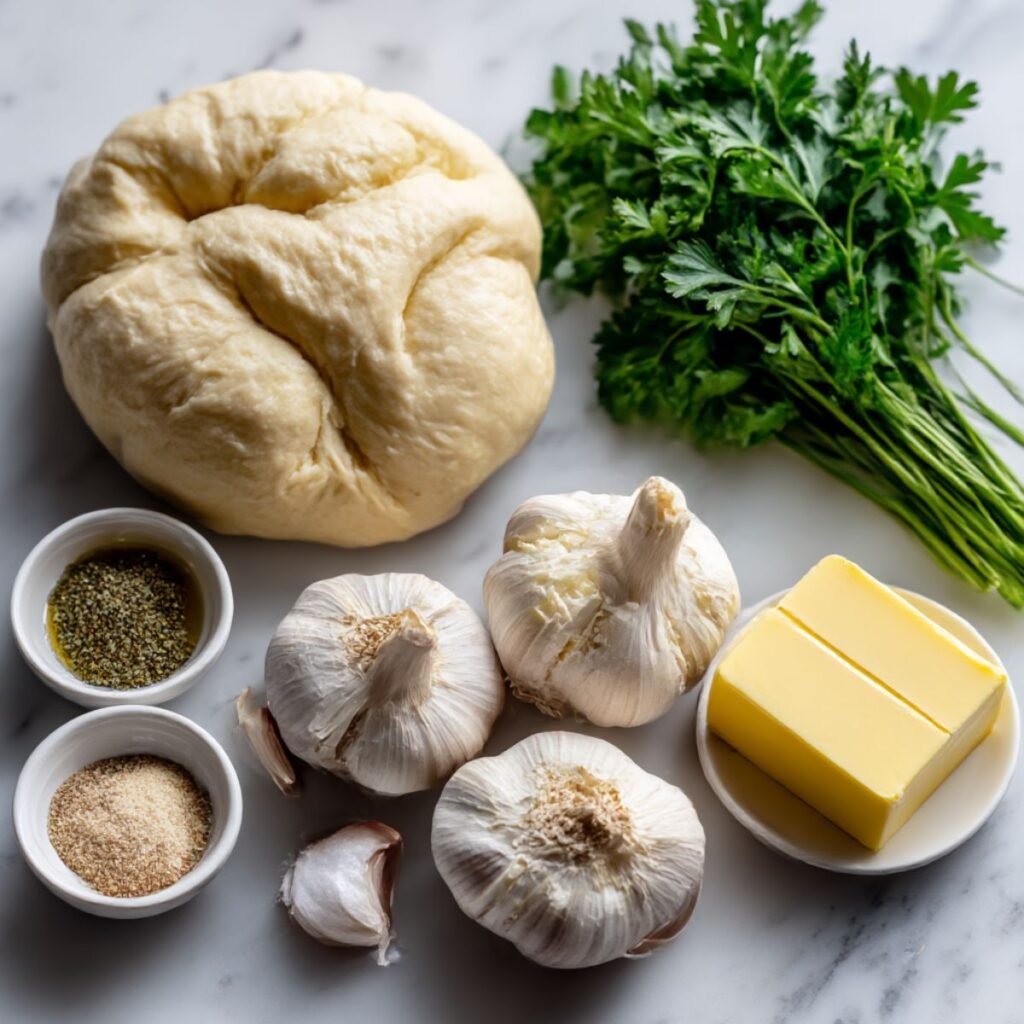
Aunty's Ingredient Notes:
Anna insists we use real butter not margarine for this garlic bread rolls recipe because it tastes richer. I learned that mincing garlic very finely creates better distribution. Fresh parsley tastes brighter than dried flakes. Brushing butter twice maximizes flavor.
Instructions For Making Garlic Bread Rolls
Preparing The Dough
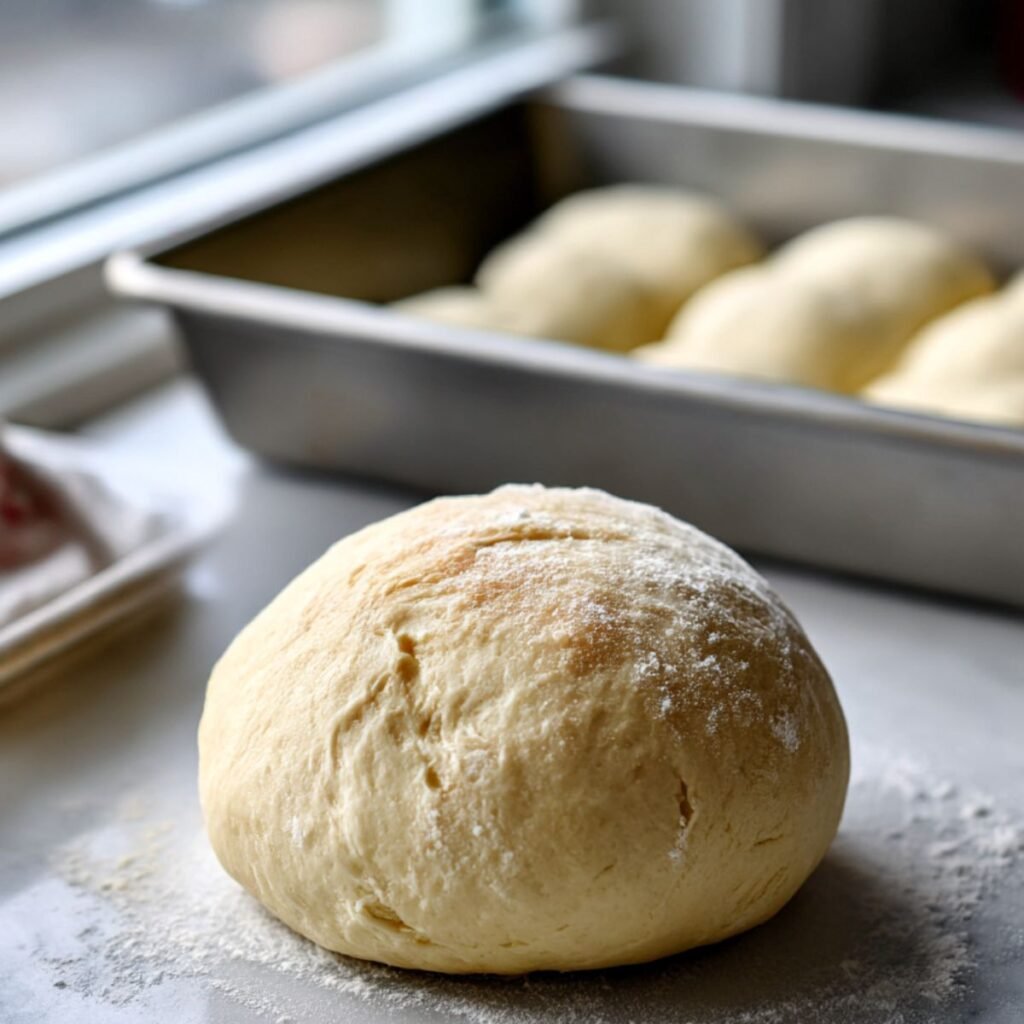
If using frozen dough thaw according to package directions. If using refrigerated dough let sit at room temperature 15 minutes. Lightly flour work surface. Divide dough into 12 equal pieces ensuring even baking.
Roll each piece into smooth ball between palms. Place balls in greased pan spacing slightly apart. They should almost touch. Cover with clean towel letting rise until doubled about 30 to 45 minutes.
Making Garlic Butter
Melt butter in small saucepan over low heat avoiding browning. Add minced fresh garlic cooking 1 minute until fragrant. Remove from heat stirring in chopped parsley, garlic powder, salt, and Italian seasoning.
Stir mixture well ensuring garlic distributes evenly throughout. The butter should be liquid enough to brush easily. If it solidifies rewarm gently. Reserve half for brushing after baking.
First Butter Brush
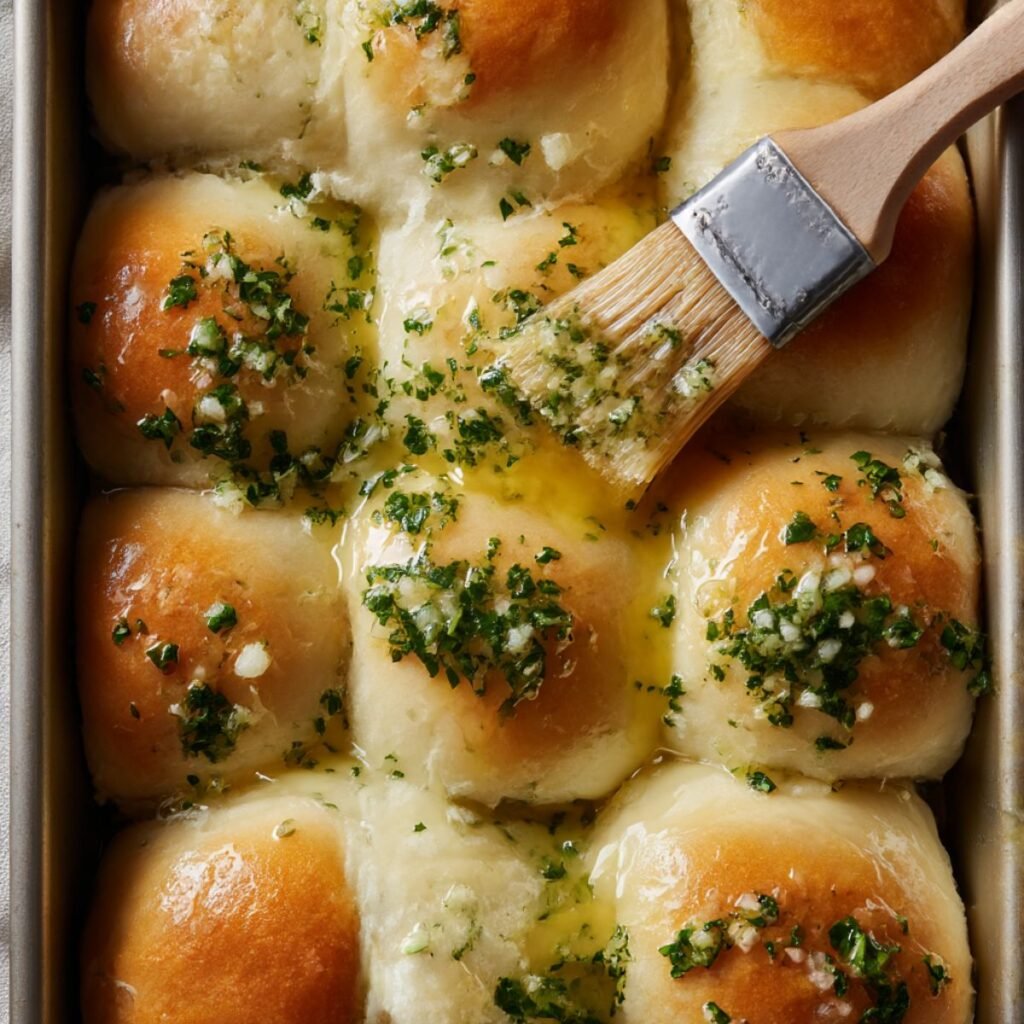
Once rolls have doubled preheat oven to 375°F. Brush risen rolls generously with half the garlic butter using pastry brush. Make sure to coat entire surface including sides. The butter will soak in during baking.
Don't be shy with butter. Use generous amount ensuring every surface gets coated. The rolls should look glossy. Any excess will pool at bottom creating crispy bottoms everyone loves.
Baking Until Golden
Bake rolls 15 to 18 minutes until tops turn golden brown and internal temperature reaches 190°F. The rolls should sound hollow when tapped. They will puff up beautifully creating soft texture. Kitchen will smell incredible.
Watch carefully during final minutes preventing over browning. If tops brown too quickly tent with foil. Remove from oven when golden. They continue cooking from residual heat so don't overbake.
Final Butter Brush
Immediately after removing from oven brush rolls with remaining garlic butter while piping hot. The heat helps butter absorb creating glossy appearance. Brush generously ensuring every roll gets equal treatment. Sprinkle with extra parsley if desired.
Let cool 5 minutes before serving allowing butter to set. Serve warm in basket lined with clean towel. Anna loves pulling them apart while steam rises creating perfect bread pull.
Substitutions For Different Dietary Needs
For dairy free use dairy free butter. For garlic sensitive reduce fresh garlic use garlic powder only. For herb variations try fresh basil or oregano creating different Italian profiles.
For whole wheat use whole wheat dough creating heartier texture. For gluten free use gluten free roll dough. For vegan use plant based butter for these garlic bread rolls.
Variations To Try With This Recipe
Cheesy: Add shredded parmesan to butter. Sprinkle cheese on top before baking. Extra rich indulgent version.
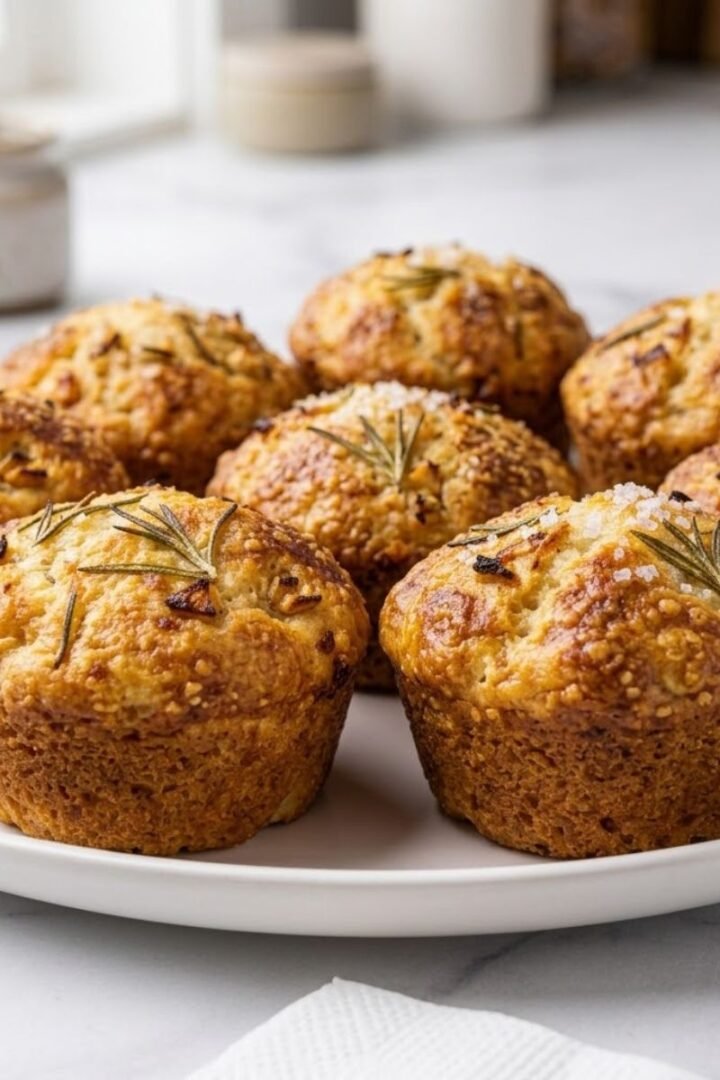
Herby: Use mix of fresh herbs like rosemary thyme basil. Mediterranean inspired aromatic variation.
Spicy: Add red pepper flakes to butter. Creates gentle heat balancing rich butter. Bold flavor.
Seeded: Brush with butter then sprinkle sesame seeds. Adds texture and visual interest.
Sweet Garlic: Add touch of honey to butter. Sweet savory balance reminiscent of Hawaiian rolls.
Equipment You Will Need
You need one mixing bowl if making from scratch for these garlic bread rolls. Baking pan holds rolls during rising. Pastry brush applies butter evenly. Small saucepan melts butter. Sharp knife divides dough. Clean towel covers rising dough. Measuring spoons portion ingredients.
Storing Your Garlic Bread Rolls
Room Temperature Storage
Store in airtight container at room temperature for up to 2 days. The rolls stay soft maintaining texture. Place paper towel in container absorbing excess moisture preventing sogginess.
Refrigerator Storage
Refrigerate in sealed container for up to 5 days maintaining freshness for these garlic bread rolls. Reheat in oven at 300°F for 5 minutes. Microwave individual rolls 10 to 15 seconds. Refrigeration extends shelf life though texture may firm slightly.
Freezer Storage
Freeze baked cooled rolls in freezer bag for up to 2 months. Thaw at room temperature then reheat. Or freeze unbaked shaped rolls before rise baking fresh anytime. This makes meal prep easy.
Reheating Tips
Wrap rolls in foil before reheating preventing drying. Brush with additional melted garlic butter after reheating. Anna loves that reheated rolls taste nearly as good as fresh making leftovers exciting.
Aunty's Top Family Secret
The real secret to perfect garlic bread rolls is brushing with garlic butter twice once before baking and once immediately after removing from oven while piping hot and using fresh minced garlic not jarred creating maximum flavor. Anna learned this watching me make first batch when I only brushed once creating bland rolls that lacked intense garlicky punch everyone expects from proper garlic bread making her disappointed. Now I always make extra butter mixture dividing in half so I can brush generously both times ensuring every roll gets double dose of buttery garlic goodness that soaks into hot bread creating incredible flavor throughout not just on surface.
FAQs About Garlic Bread Rolls
What are garlic rolls made of?
Garlic rolls are made of soft dinner roll dough formed into balls brushed with garlic butter containing melted butter fresh minced garlic chopped parsley and seasonings baked until golden creating tender bread with intense flavor.
What are Hawaiian rolls?
Hawaiian rolls are sweet soft dinner rolls made with pineapple juice or honey creating slightly sweet flavor and pillowy texture different from savory rolls though both work well for garlic bread variations.
Why are they called bread rolls?
They are called bread rolls because dough is rolled into round ball shape before baking creating individual portion sized servings that pull apart easily unlike loaf bread requiring slicing.
Are garlic rolls healthy?
Garlic rolls provide carbohydrates for energy and garlic offers health benefits but contain butter and refined flour making them indulgent treat best enjoyed in moderation as part of balanced diet.
Bakery Fresh Made Simple
These garlic bread rolls bring restaurant quality bread to your table without complicated techniques. Anna's excitement proves homemade can rival professional bakeries. The golden buttery exterior with soft fluffy interior makes every meal feel special.
Try our Stuffing Balls Recipe, Tiramisu Truffles, or Gingerbread Cheesecake for more amazing recipes your family will love creating joyful celebrations.
Come make these for your next dinner. Your family will beg you to make these every week. Happy baking from our kitchen!
Recipe by: Emma Miller
Family Rating: ⭐⭐⭐⭐⭐ (5/5 - Anna approved!)
Best Season: Year round
Kid Approved: Yes! Anna gives it two thumbs up
Related
Looking for other recipes like this? Try these:


Garlic Bread Rolls
Ingredients
Equipment
Method
- Thaw dough if frozen let sit room temperature divide into 12 pieces
- Roll each piece into smooth ball place in greased pan
- Cover with towel let rise until doubled 30 to 45 minutes
- Melt butter add minced garlic cook 1 minute add herbs seasonings
- Preheat oven to 375°F
- Brush risen rolls generously with half the garlic butter
- Bake 15 to 18 minutes until golden internal temp 190°F
- Immediately brush with remaining butter while hot
- Cool 5 minutes serve warm
Leave a Reply