
The kitchen smells incredibly calming today as the floral, citrusy aroma of bergamot from steeping Earl Grey tea fills the warm air. Anna is happily pressing graham cracker crumbs into the bottom of our square pan, her little hands working diligently to make an even layer. We are preparing a No-Bake Earl Grey Mousse Cheesecake together. This elegant, layered treat brings the sophisticated comfort of an afternoon tea party straight into our cozy kitchen, turning a regular weekend into a beautifully shared celebration.
Jump to:
Why You Will Love This No-Bake Earl Grey Mousse Cheesecake
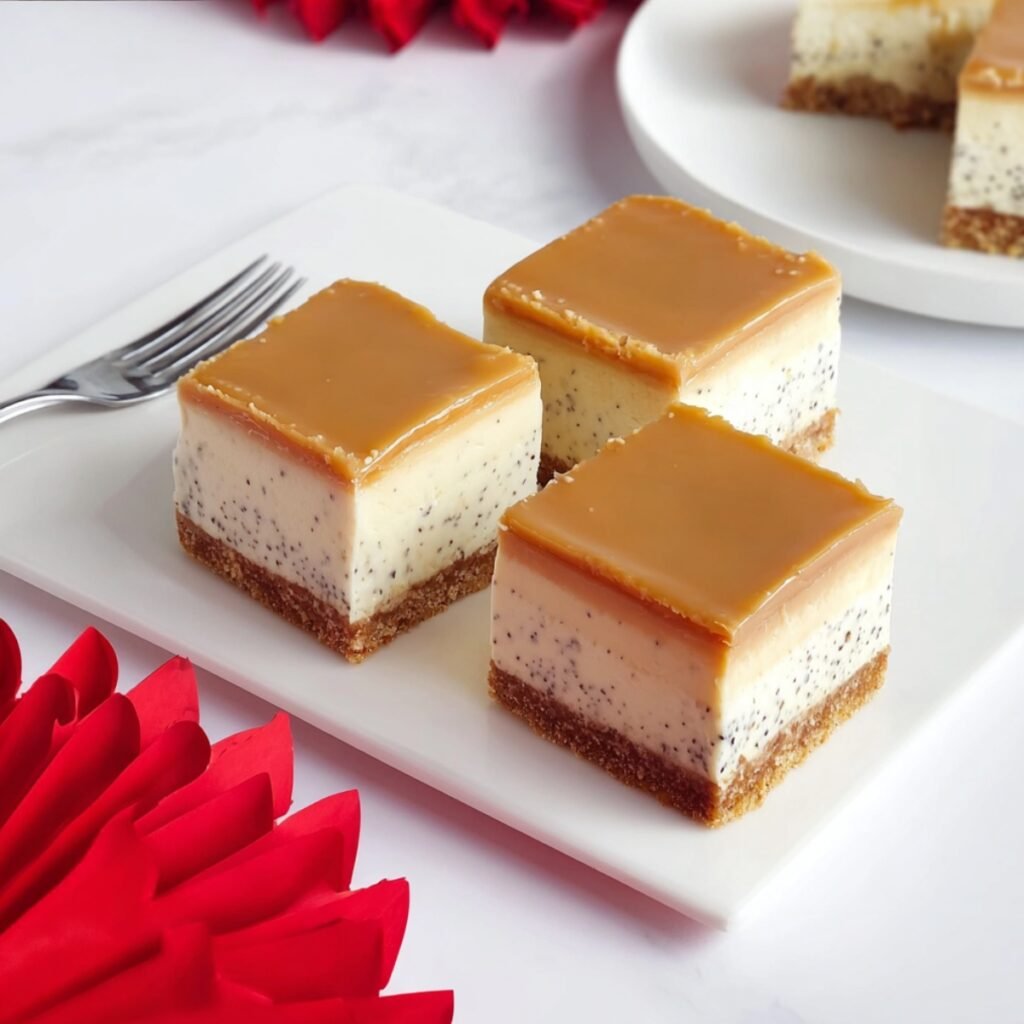
Finding tea desserts that feel light, airy, and sophisticated is a true culinary victory. This recipe perfectly answers the craving for a not too sweet dessert, balancing the rich creaminess of a cheesecake mousse with the delicate, aromatic bitterness of black tea. Anna loves looking at the tiny tea leaves speckled throughout the filling, and I love how beautifully an Earl Grey cheesecake slice holds its sharp, square shape. If you have been searching for refreshing desserts that impress without turning on the oven, these stunning layered squares will quickly become one of your favorite homemade desserts.
How To Make Earl Grey Cheesecake
My first attempt at making this dessert resulted in a very pale, flavorless cream because I didn't steep the tea long enough. Anna took a bite and said it just tasted like "regular milk." We learned together that highly concentrated tea-and adding a touch of the loose leaves directly into the batter-is the ultimate secret to unlocking that bold bergamot flavor. Now, seeing those perfectly sharp, glossy layers emerge from the pan is our favorite shared kitchen triumph.
Main Ingredients
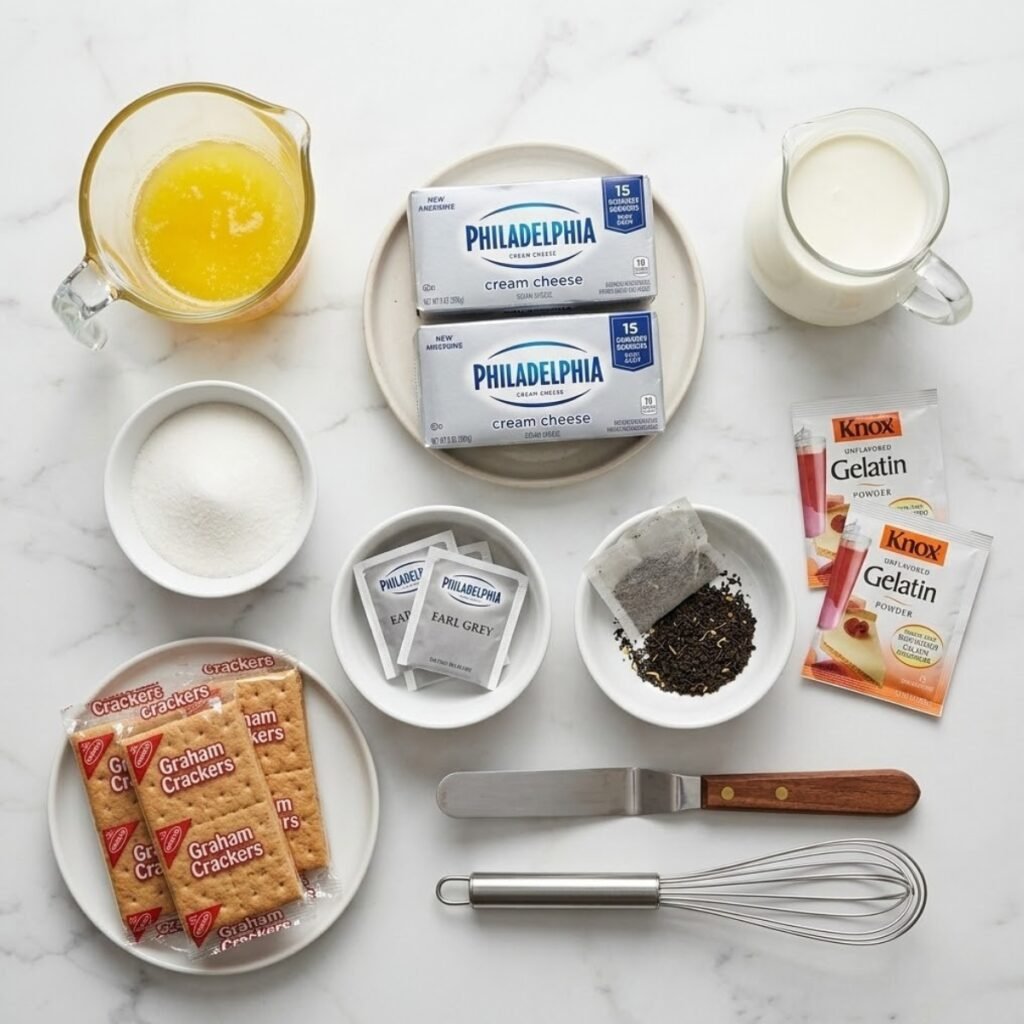
- Graham Crackers (1.5 cups crushed, to form the sturdy, buttery base)
- Cream Cheese (16 oz, softened to room temperature; using a full-fat block is essential for a proper no bake earl grey mousse cheesecake philadelphia style)
- Heavy Whipping Cream (1.5 cups, divided for steeping the tea and whipping into the mousse)
- Earl Grey Tea Bags (4 bags total; 3 for steeping the liquid, 1 opened to speckle the cheesecake mousse)
- Granulated Sugar (½ cup, keeps the profile perfectly balanced and not overly sweet)
- Unflavored Gelatin (2 teaspoons for the mousse, 1 teaspoon for the top jelly layer, ensuring clean, sharp slices)
Step by Step Instructions
1. Prepare the Crust
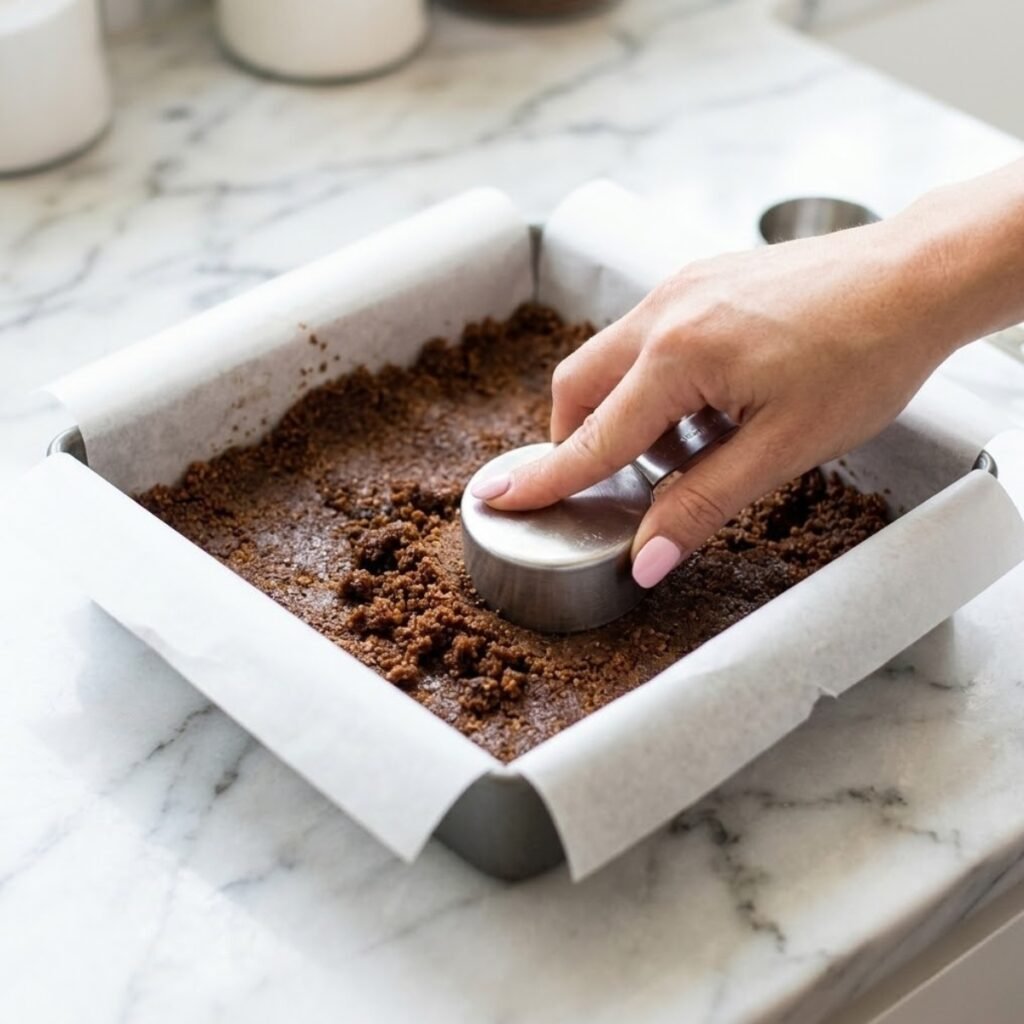
- Mix the crushed graham crackers with a quarter cup of melted butter until the mixture resembles wet sand.
- Press the crumbs firmly and evenly into the bottom of an 8x8-inch square baking pan lined with parchment paper.
- Place the pan in the freezer to set the crust while you prepare the delicate filling.
2. Infuse the Cream
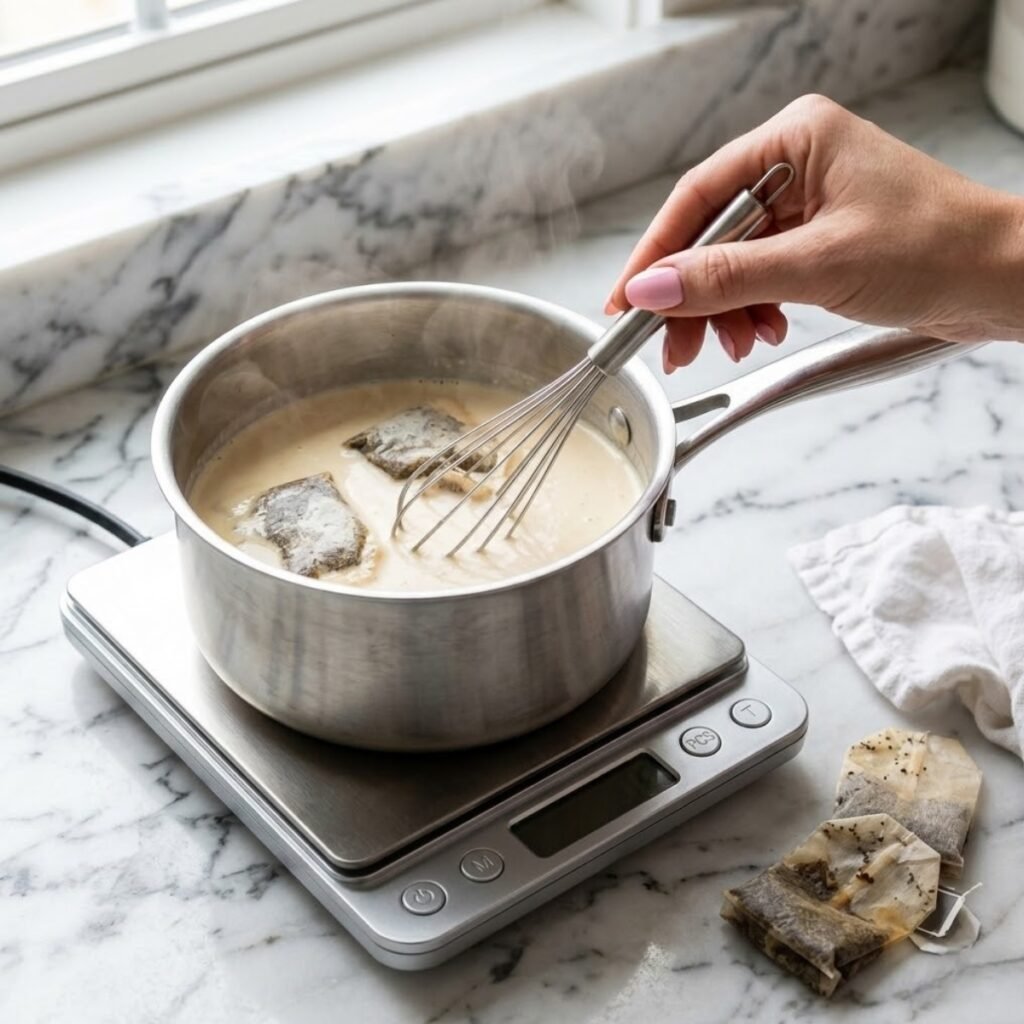
- Heat half a cup of the heavy cream in a small saucepan until gently simmering, then turn off the heat.
- Add three Earl Grey tea bags, cover, and let steep for 15 minutes. Squeeze the bags thoroughly before discarding to extract all the deep tea flavor.
- Let this concentrated tea-cream cool completely.
3. Build the Cheesecake Mousse
- In a small bowl, bloom 2 teaspoons of gelatin in two tablespoons of cold water, then microwave for 10 seconds until dissolved.
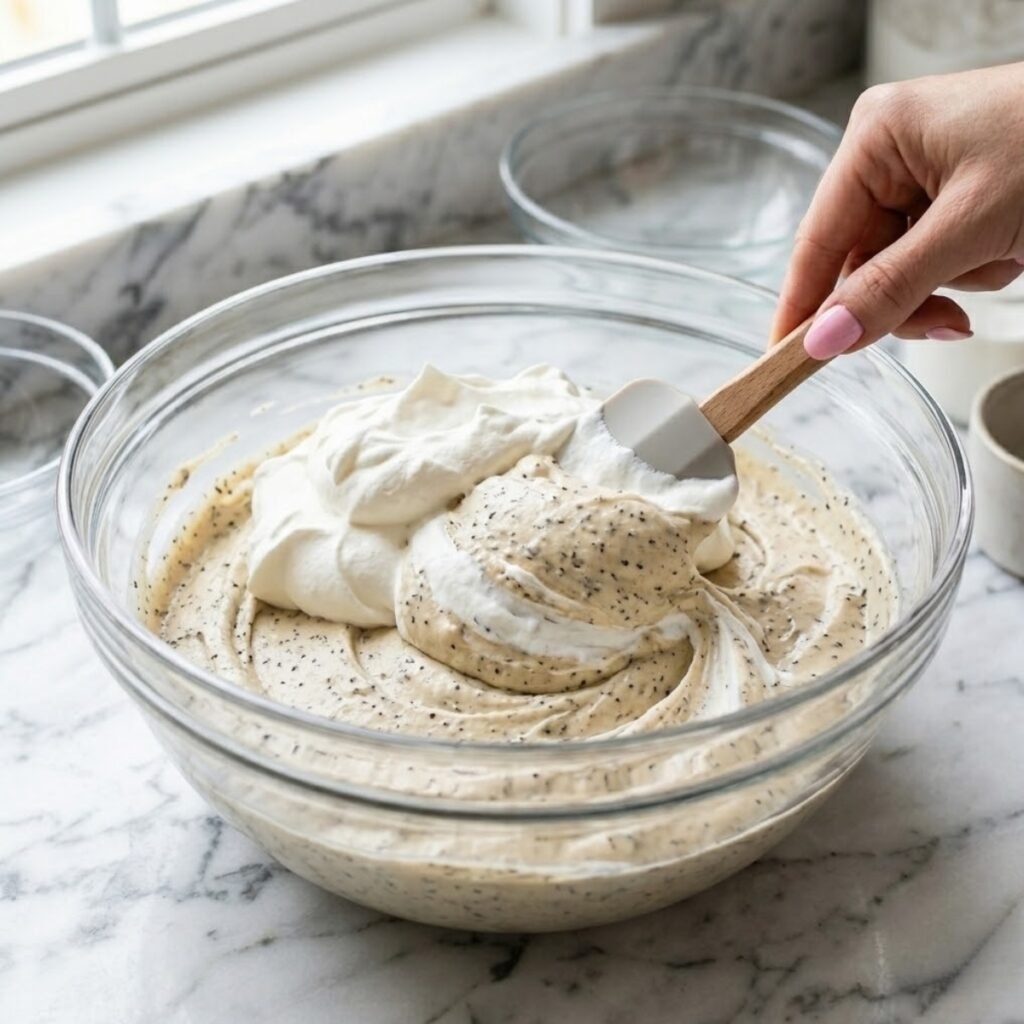
- Beat the softened cream cheese and sugar until perfectly smooth. Pour in the cooled tea-infused cream, the dissolved gelatin, and the contents of one dry Earl Grey tea bag (for those beautiful speckles).
- In a separate bowl, whip the remaining 1 cup of heavy cream to soft peaks, then gently fold it into the cream cheese mixture until airy.
- Pour the mousse over the chilled crust, smooth the top completely flat, and refrigerate for 2 hours.
4. Create the Glossy Tea Glaze
- Steep one more tea bag in a half cup of hot water with two tablespoons of sugar.
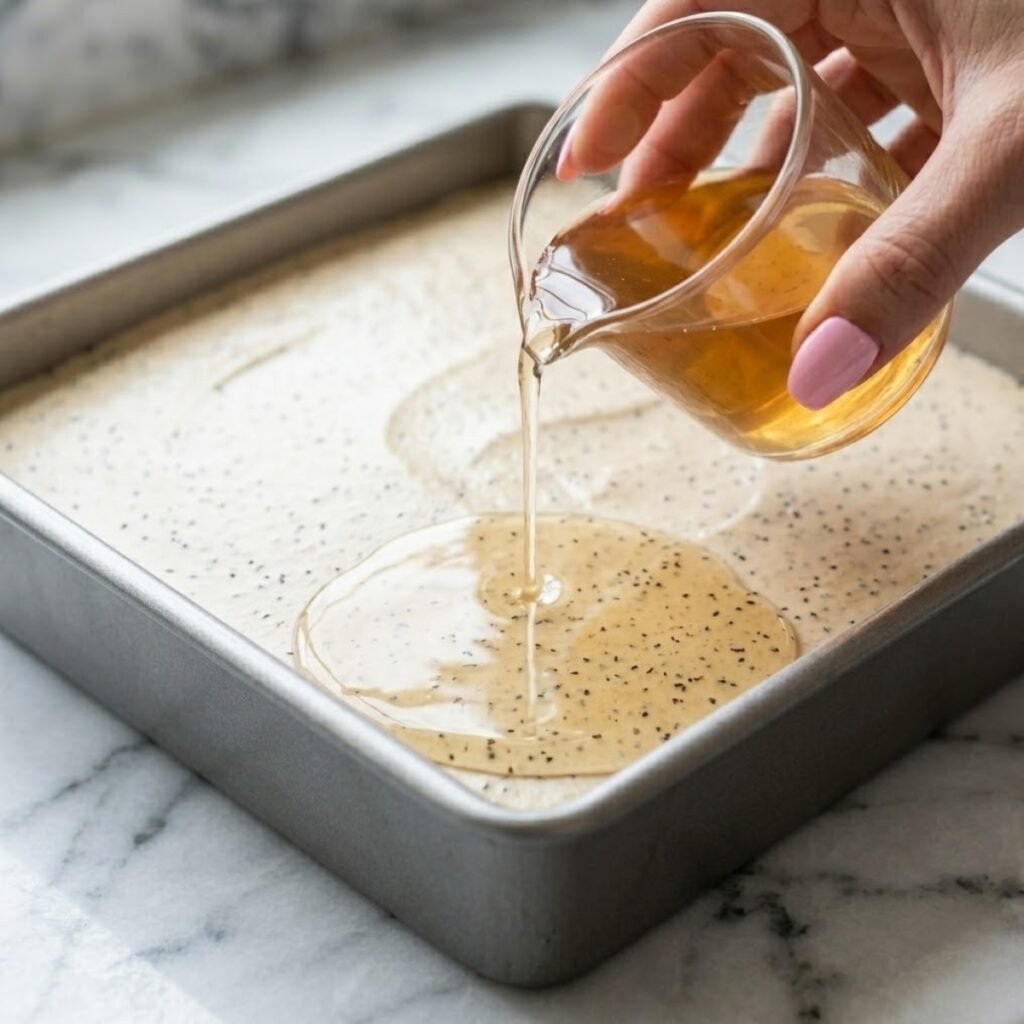
- Dissolve 1 teaspoon of gelatin into the hot tea, then let it cool to room temperature.
- Gently pour the clear, amber tea jelly over the set mousse layer.
- Refrigerate for another 3 hours, then slice into neat squares using a hot, sharp knife for the perfect presentation.
No-Bake Earl Grey Mousse Cheesecake Variations
Earl Grey Citrus Cheesecake
- Add a tablespoon of fresh lemon or orange zest to the cream cheese mixture.
- The bright acidity of the citrus highlights the bergamot oil in the tea, creating a vibrant, zesty twist that is perfect for spring.
Sweet Tea Cheesecake
- Swap the Earl Grey for a robust English Breakfast tea and slightly increase the sugar in the top jelly layer.
- Garnish with a candied lemon slice to mimic a glass of classic Southern iced tea, transforming it into an incredibly nostalgic lemon tea cheesecake.
The Baked Basque Twist
- If you prefer baked goods, you can infuse heavy cream with tea and use it in an Earl grey cheesecake basque recipe.
- This roasted, caramelized style is incredibly popular; many bakers use similar infusions to create a Hojicha Basque cheesecake recipe or emulate a famous Jaja Bakes Basque cheesecake, relying on high heat for a burnt top and gooey center.
Substitutions
- Earl Grey Tea: If you prefer different floral notes, an oolong tea cheesecake variation works beautifully using the exact same steeping method.
- Gelatin: For a vegetarian alternative, agar-agar powder can be used, though the setting ratios will need to be adjusted according to the package directions.
- Graham Crackers: Shortbread cookies or digestives make a wonderfully buttery and crumbly alternative for the base.
- Heavy Cream: While full dairy yields the best mousse texture, a high-fat coconut cream can be whipped as a dairy-free substitute for the airy component.
Equipment
- 8x8-inch Square Baking Pan (for those sharp, modern slices)
- Stand Mixer or Electric Hand Mixer
- Fine Mesh Sieve (if using loose leaf tea)
- Offset Spatula (for smoothing the mousse perfectly flat)
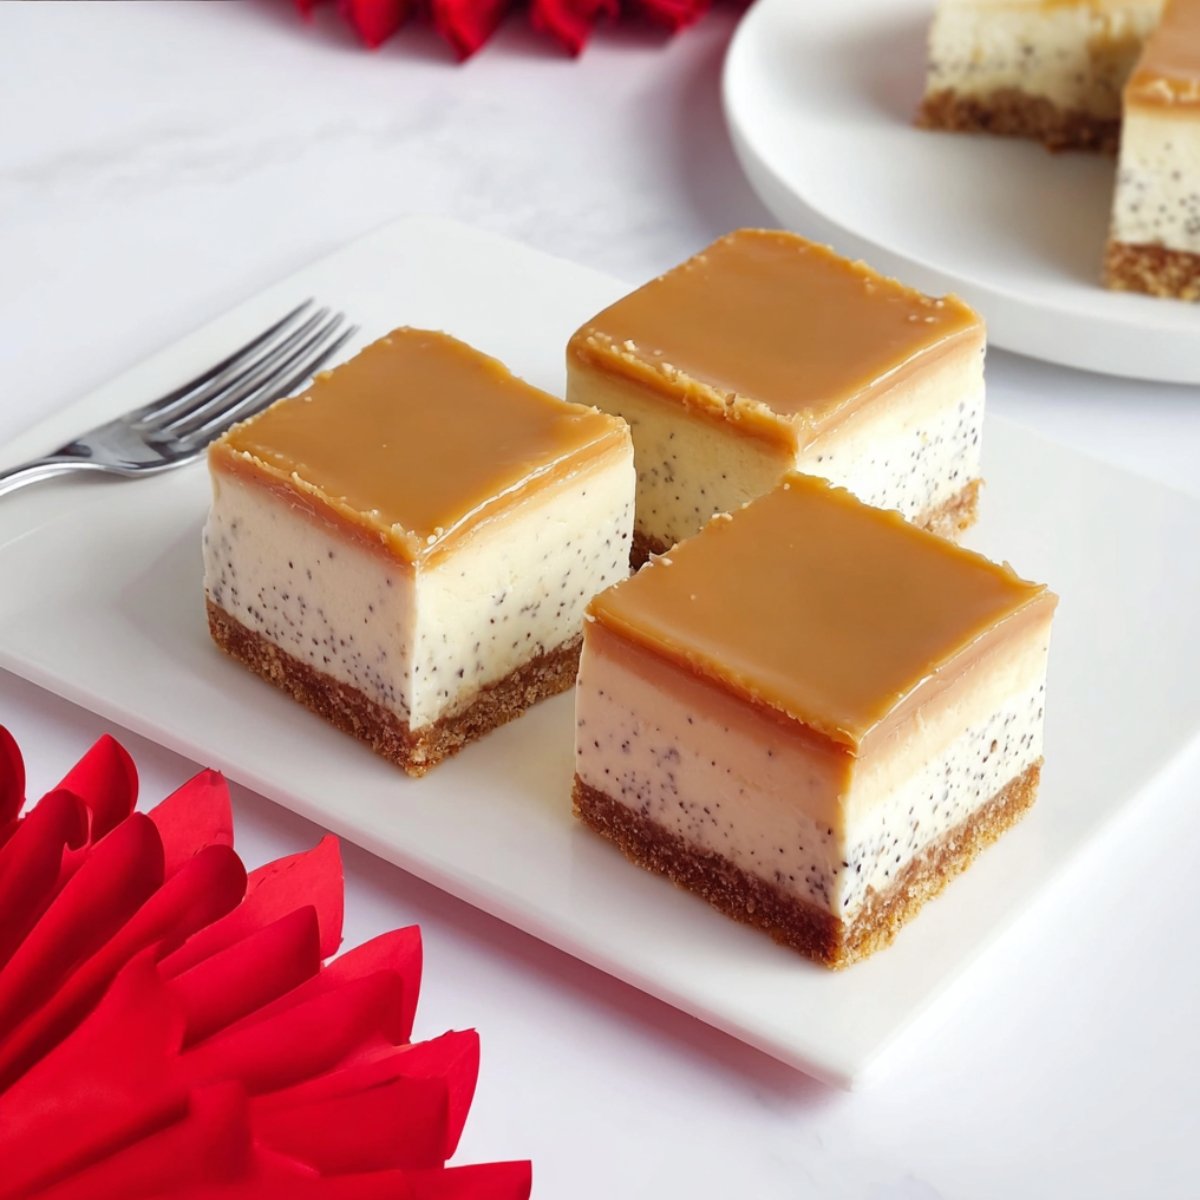
Emma's Tip: To get those flawless, bakery-style square slices shown in the image, freeze the fully set cheesecake for 30 minutes before cutting, and wipe your knife clean with a warm, damp cloth between every single cut!
Storage Tips
Make Ahead Strategy
- This is one of the most forgiving Earl Grey dessert recipes to prepare in advance, as the gelatin requires several hours to set properly.
- You can assemble the entire dessert up to two days before your event, keeping it wrapped tightly in the fridge.
Refrigeration
- Keep the sliced squares in an airtight container in the refrigerator for up to four days.
- Because of the delicate top jelly layer, avoid stacking the slices on top of one another.
Freezing
- You can freeze the fully set squares for up to one month.
- However, note that freezing and thawing gelatin-based clear glazes can sometimes cause them to lose their perfect, mirror-like gloss. Thaw very slowly in the refrigerator overnight.
My Grandma's Magic Touch
My grandmother always believed that tea time was sacred. She used to serve plain biscuits and hot Earl Grey tea exactly at four o'clock, claiming the citrusy steam could cure any bad mood. I shared this ritual with Anna today as we sprinkled the loose tea leaves into the creamy batter. She leaned over the bowl, inhaling deeply, and smiled, saying it smelled like "a warm hug." Translating my grandmother's simple afternoon tea into an elegant dessert makes passing down these flavors feel incredibly special.
FAQs
Why did my top jelly layer seep into the cheesecake mousse?
This happens if the mousse layer hasn't chilled long enough before the glaze is added, or if the tea glaze is poured on while it is still too hot. Ensure the mousse is firm to the touch and the glaze has cooled to room temperature before combining.
Can I make this as a traditional round cake?
Absolutely! An 8-inch or 9-inch round springform pan works perfectly. The square pan simply allows for the modern, sharp geometric slices seen in boutique bakeries.
Why is my mousse not holding its shape?
If your cream cheese was too cold, or if the gelatin wasn't fully dissolved before mixing, the structural integrity will fail. Always use room temperature cheese and ensure your bloomed gelatin is completely liquid before adding it to the batter.
A Sophisticated Slice of Comfort
The kitchen is calm as we finally plate our chilled, perfectly square slices. The amber tea jelly gleams under the lights, contrasting beautifully with the speckled cream beneath. Anna takes a tiny, careful bite and her eyes widen at the airy, melt-in-your-mouth texture. This elegant dessert feels just as special to share as a rich Chocolate Orange Cheesecake. If you are looking for other unique, flavor-forward treats this week, try our Honey Pistachio Ricotta Stuffed Dates for a quick appetizer, or bake a cozy Sticky Coconut Cake for the weekend. For now, we are perfectly content enjoying our modern take on afternoon tea.
Related
Looking for other recipes like No-Bake Earl Grey Mousse Cheesecake? Try these:
- Blueberry Lemonade Cupcakes35 Minutes
- Oreo Cheesecake Donut Burger15 Minutes
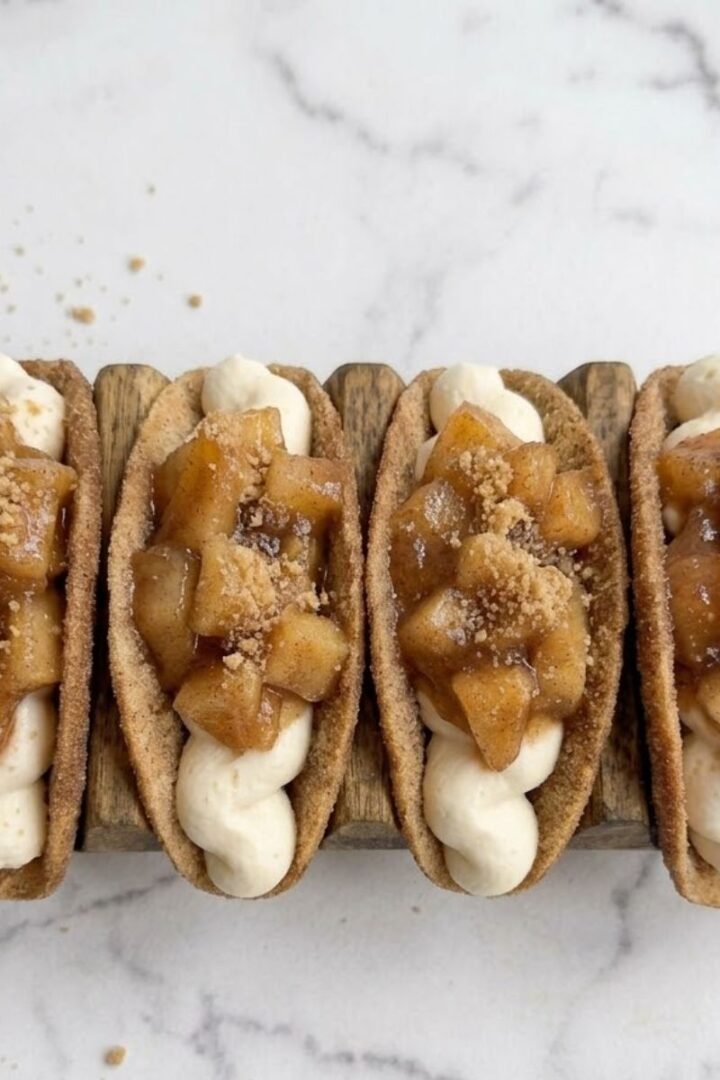
- Apple Pie Cheesecake Tacos25 Minutes
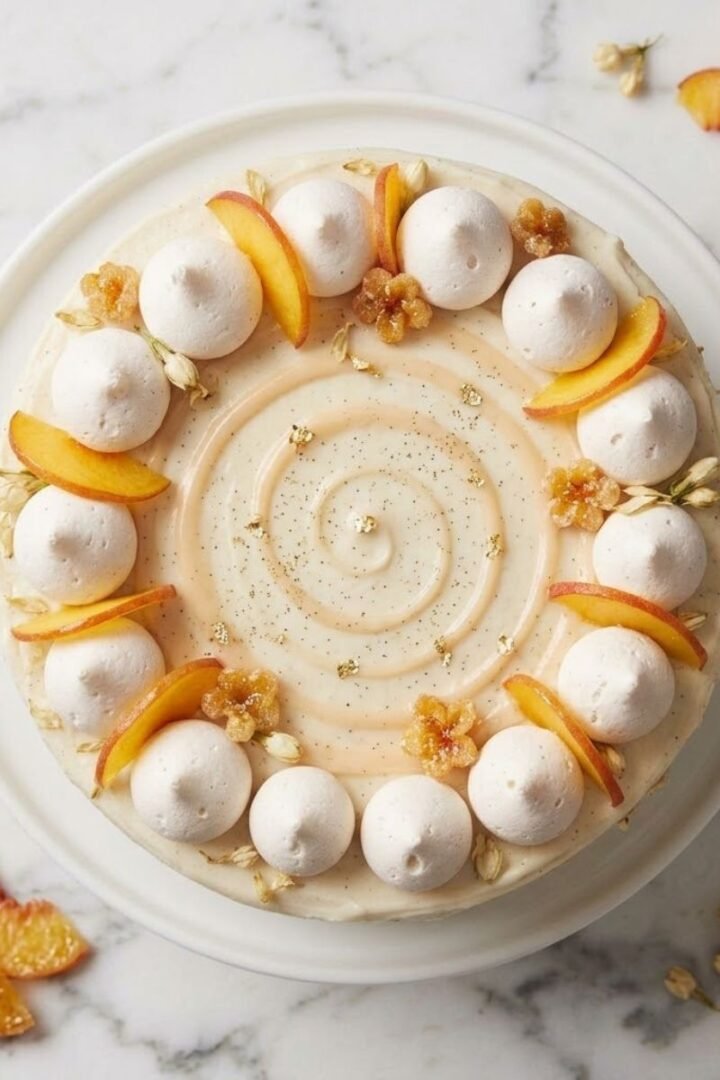
- Jasmine Peach Vanilla Cake50 Minutes
No-Bake Earl Grey Mousse Cheesecake
Ingredients
Equipment
Method
- Mix crushed graham crackers with melted butter and press firmly into a parchment-lined 8x8 square pan. Freeze to set.
- Simmer ½ cup heavy cream, add 3 tea bags, steep for 15 minutes, squeeze bags, and let cool entirely.
- Bloom 2 teaspoon gelatin in cold water, then dissolve in the microwave. Beat cream cheese and sugar until smooth.
- Add the infused cream, dissolved gelatin, and contents of 1 dry tea bag to the cheese. Fold in 1 cup of whipped heavy cream.
- Pour mousse over the crust, smooth flat, and refrigerate for 2 hours until firm.
- Steep 1 tea bag in ½ cup hot water with 2 tablespoon sugar. Dissolve 1 teaspoon gelatin into it and let cool to room temperature.
- Pour the cooled tea glaze over the set mousse and refrigerate for 3 more hours before slicing into squares.
Leave a Reply