
If there's one dessert that proves great treats don't need an oven or a serious name; it's no bake moose farts. These bite-sized Canadian classics are sweet, chewy, and packed with coconut, chocolate, and graham cracker goodness, all held together in minutes with zero baking stress. They're the kind of treat that makes people laugh first, then immediately ask for the recipe after one bite. Perfect for parties, holidays, or last-minute cravings, no bake moose farts are simple, nostalgic, and dangerously easy to keep grabbing from the fridge. Once you make them once, they quietly become a freezer and potluck staple.
Jump to:
Why These No Bake Moose Farts Will Become Your Go To Treat
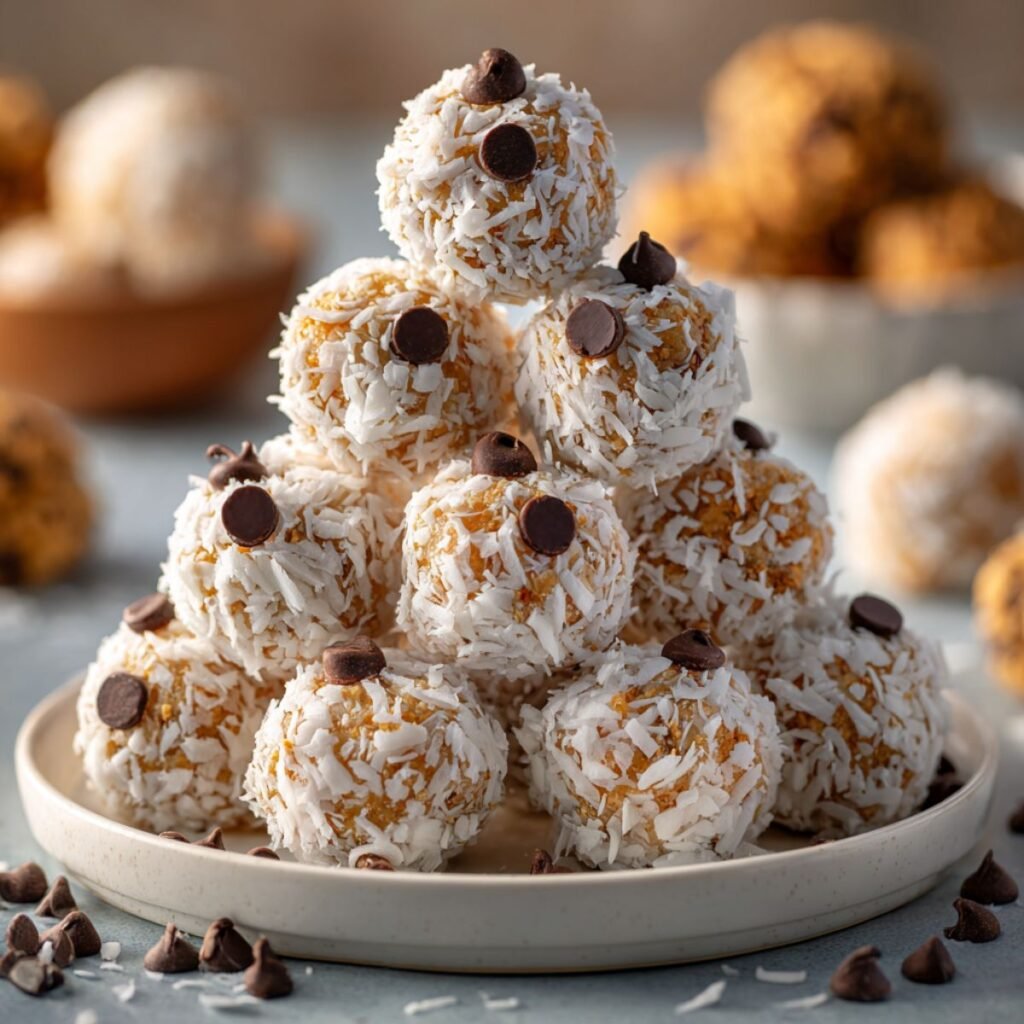
These irresistible no bake moose farts have completely revolutionized our dessert making by delivering bakery quality treats using no oven and taking only about fifteen minutes from start to finish. The combination of sweet coconut with melty chocolate chips and graham cracker crunch creates ultimate satisfaction that appeals to both kids like Anna and adults at holiday parties who keep sneaking extras.
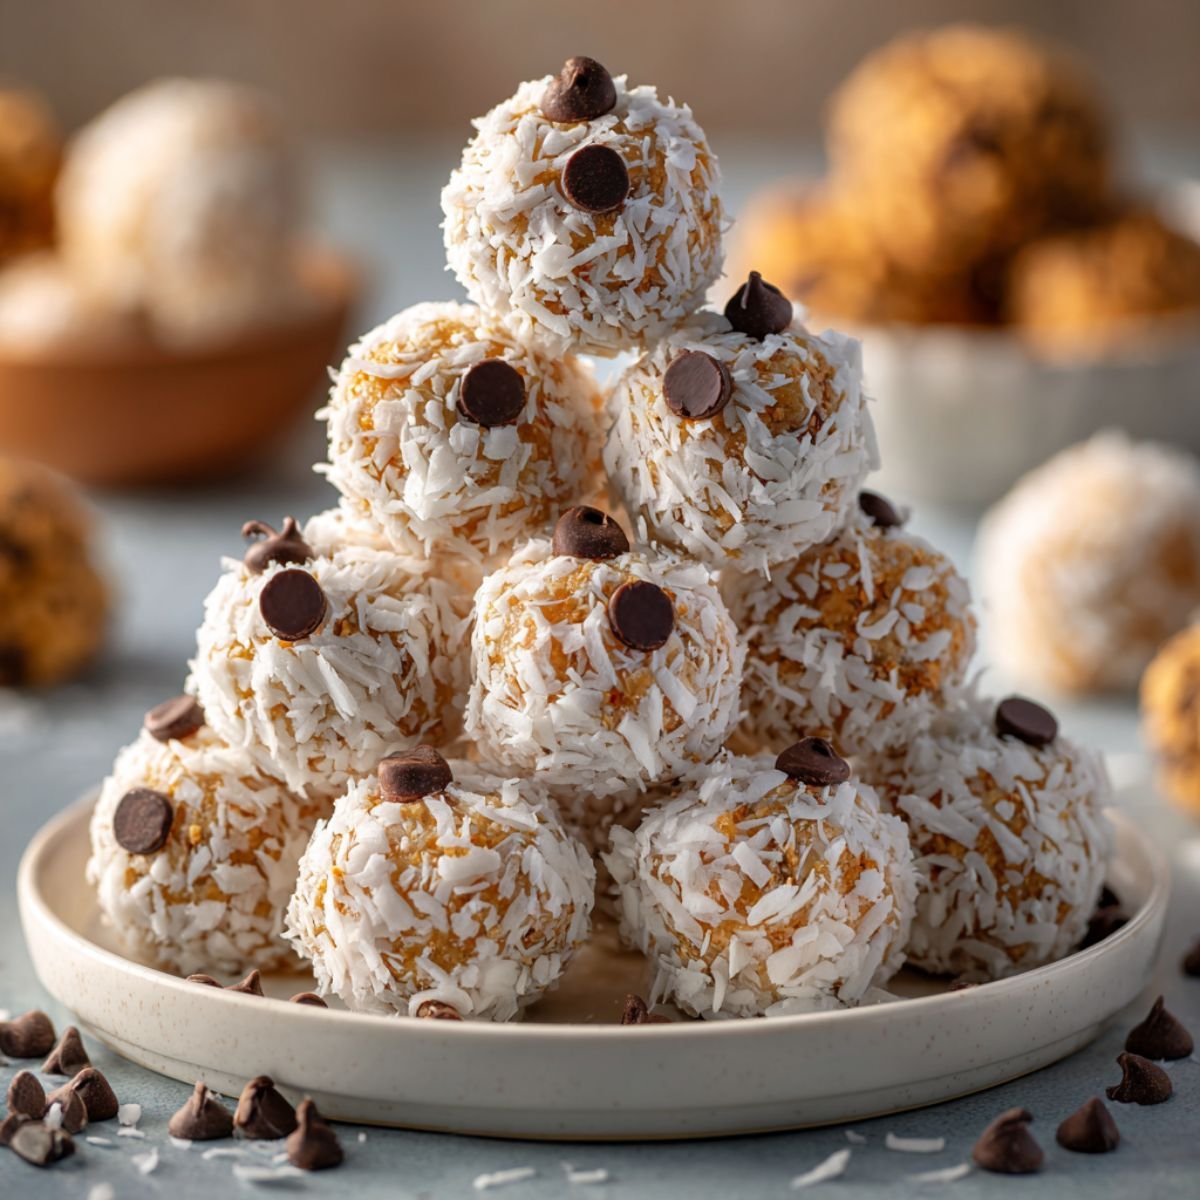
We especially love how these no bake moose farts look incredibly fancy with their snowball appearance but use just a few basic ingredients anyone probably has in their pantry right now. Anna rates them 10/10 for "having the funniest name ever and tasting amazing" while I appreciate how making no bake moose farts means not heating up my kitchen during summer or stressing about oven timing during busy holidays.
Background
The no bake moose farts represent classic Canadian prairie dessert tradition with quirky memorable name that makes everyone smile and ask for the recipe immediately. These treats have earned legendary status at our family gatherings because they deliver sweet coconut chocolate satisfaction while being genuinely easy enough for kids to help make successfully.
The beauty of homemade no bake moose farts lies in their simplicity and versatility for customizing with different mix ins or toppings. These bite sized treats work beautifully for holiday cookie exchanges, potlucks, school parties, or those afternoons when you need something sweet but don't want to turn on the oven or spend hours in the kitchen.
How To Make No Bake Moose Farts
Quick Overview
Mix coconut, graham crackers, chocolate chips and sweetened condensed milk together, roll into balls, then roll in extra toppings for easy no bake treats in 15 minutes.
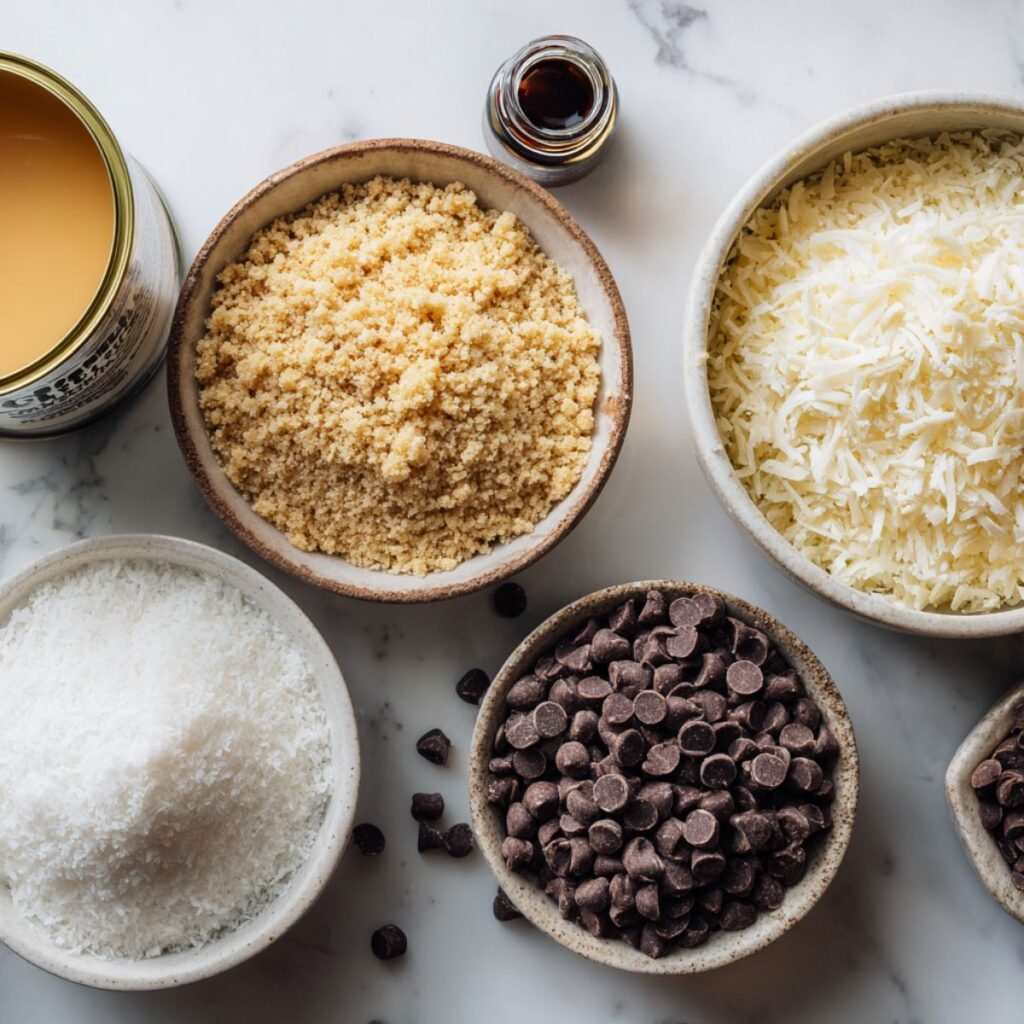
Ingredients
- Sweetened shredded coconut
Aunty says: This forms the base of our no bake moose farts and adds texture - Graham cracker crumbs
Anna's note: She helps me crush these in a bag with rolling pin - Sweetened condensed milk
Aunty says: The magical ingredient that holds everything together - Mini chocolate chips
Anna's observation: Regular size works but minis distribute better - Vanilla extract
Aunty says: Just a bit enhances all the other flavors - Additional coconut for rolling
Anna's wisdom: Makes them look like fancy snowballs - Additional chocolate chips for topping
Aunty says: Optional but makes them extra pretty - Graham cracker crumbs for coating
Anna's note: Some people like these rolled in crumbs instead
Instructions
Mix the Base Ingredients
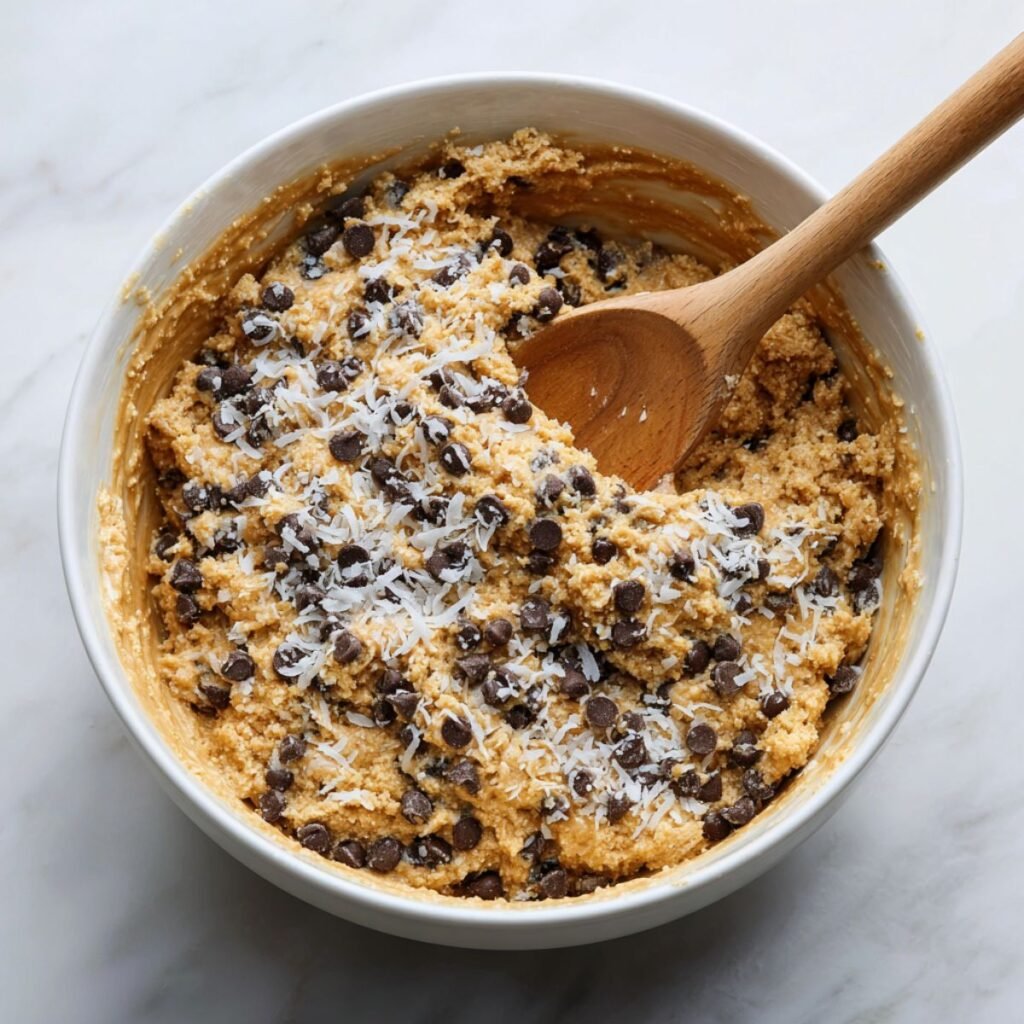
In large mixing bowl, combine sweetened shredded coconut, graham cracker crumbs, sweetened condensed milk, mini chocolate chips and vanilla extract. Stir everything together with wooden spoon or your hands until mixture is thoroughly combined and holds together when squeezed, with no dry pockets remaining anywhere.
Aunty says: The mixture should be sticky but manageable, like playdough that actually smells good enough to eat!
If mixture seems too dry and won't hold together properly, add another tablespoon or two of condensed milk until it reaches perfect consistency. If it's too wet and sticky to roll, add more coconut or graham cracker crumbs gradually.
Anna's observation: This is the fun part because you get to squish everything with your hands like making mud pies but way more delicious!
Roll into Perfect Balls
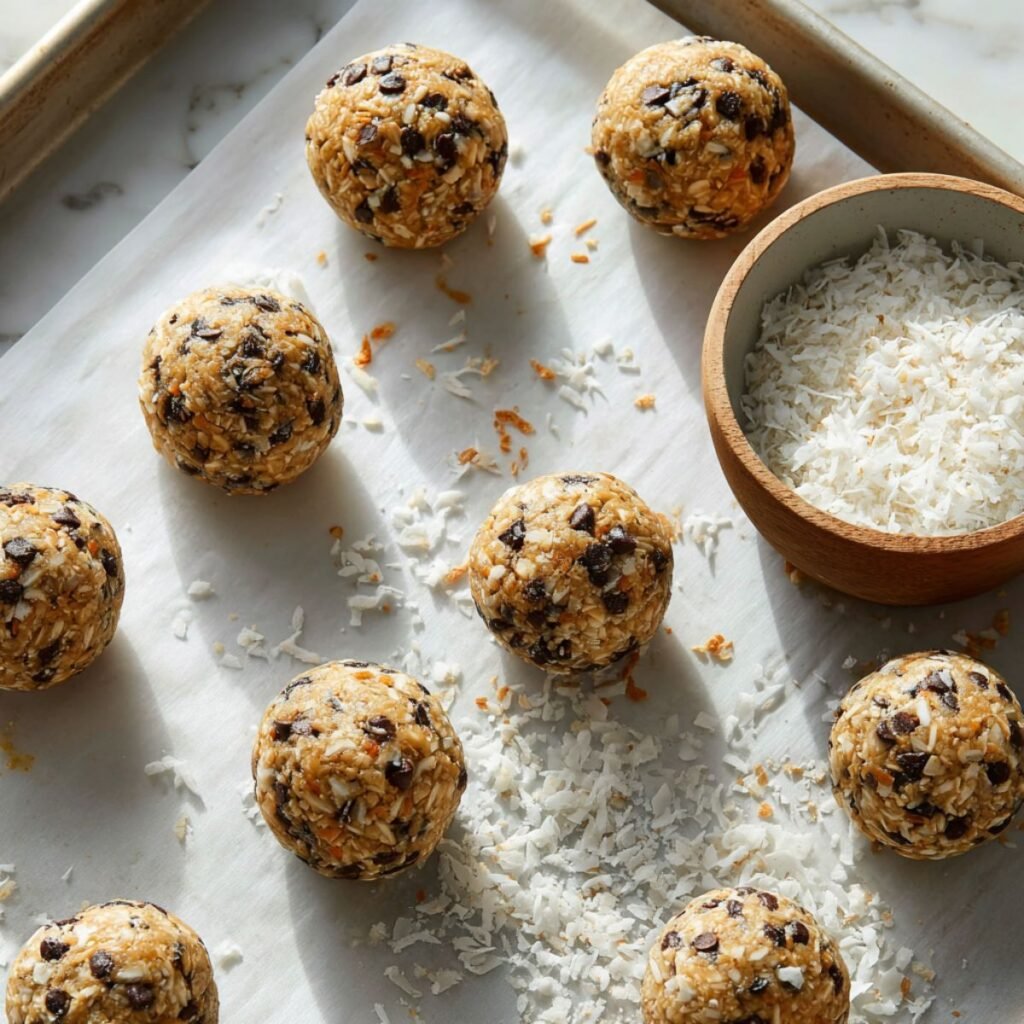
Scoop about one tablespoon of mixture and roll between your palms to form smooth balls roughly one inch in diameter. Place rolled balls on parchment lined baking sheet or large plate as you work through all the mixture, keeping hands slightly damp to prevent excessive sticking.
Aunty says: Damp hands are the secret to rolling these no bake moose farts without the mixture sticking to everything including your fingers!
You should get approximately 20 to 24 balls depending on how large you make them. Anna prefers making some smaller "baby moose farts" that are perfect single bite size for her friends at school.
Add Toppings and Chill
Roll each ball in additional shredded coconut to coat completely, creating that signature snowball appearance these no bake moose farts are known for. Gently press a few mini chocolate chips into top of each one for decoration and extra chocolate flavor in every bite.
Refrigerate for at least 30 minutes to firm up before serving, though they're honestly pretty good eaten immediately if you can't wait. The chilling helps them hold shape better and makes the texture slightly firmer and more truffle like instead of soft and crumbly.
Anna's note: The hardest part about making no bake moose farts is waiting for them to chill when they smell so good sitting right there in the fridge!
Substitutions
Coconut Alternatives Use finely chopped nuts like pecans or almonds for nut version of no bake moose farts that are equally delicious. Crushed vanilla wafers work for completely different texture profile.
Chocolate Options Replace mini chips with chopped dark chocolate, white chocolate chips, or peanut butter chips depending on your flavor preferences and what's available.
Allergy Friendly Use dairy free chocolate chips and check that graham crackers are dairy free for lactose intolerant guests enjoying these no bake moose farts.
Graham Cracker Swap Substitute crushed digestive biscuits, vanilla wafers, or even Oreo crumbs for different flavor base in your treats.
Variations
Peanut Butter Loaded Add half cup peanut butter to mixture for no bake moose farts with rich nutty flavor Anna calls "even more addictive than regular."
Double Chocolate Use chocolate graham crackers and add cocoa powder to mixture for intensely chocolatey no bake moose farts that chocolate lovers devour.
Holiday Festive Roll in colored sprinkles, crushed candy canes, or festive sugars for no bake moose farts perfect for Christmas, Easter, or birthday parties.
Nutty Crunch Add chopped pecans or walnuts to mixture for extra texture and flavor that makes these no bake moose farts even more interesting.
Coffee Infused Mix in instant espresso powder for sophisticated no bake moose farts that adults really appreciate at evening gatherings.
Equipment
Large mixing bowl provides enough space for combining all ingredients without making mess everywhere. Wooden spoon or sturdy spatula helps mix the thick sticky mixture thoroughly.
Cookie scoop ensures uniform sized no bake moose farts that look professional and bake evenly. Parchment paper lined baking sheet prevents sticking and makes cleanup absolutely effortless.
Small bowl holds extra coconut for rolling so you're not constantly reaching into the big bag with sticky hands.
Storage
Refrigerator Keeping
Store no bake moose farts in airtight container with parchment paper between layers to prevent sticking, refrigerated for up to 2 weeks. They actually taste even better after sitting a day or two as flavors meld together beautifully.
The coconut absorbs moisture over time making them slightly chewier and more cohesive. Anna claims day three no bake moose farts are "scientifically proven tastiest" though I'm not sure about her research methods.
Room Temperature
These no bake moose farts can sit at room temperature for a few hours during parties without issue, making them perfect for potlucks and cookie exchanges. Beyond that they start getting a bit soft in warm conditions.
In hot weather, keep them refrigerated until right before serving to maintain shape and texture everyone expects from properly made treats.
Freezer Storage
Freeze no bake moose farts in single layer on baking sheet until solid, then transfer to freezer bags for up to 3 months. Thaw in refrigerator overnight or at room temperature for 30 minutes before serving.
They maintain texture remarkably well through freezing, making them excellent make ahead option for holiday baking marathons when you're preparing multiple treats.
Aunty's Top Family Secret
My secret for the most incredible no bake moose farts that hold together perfectly and taste bakery quality lies in using the right ratio of wet to dry ingredients because too much condensed milk makes them fall apart into sticky messes while too little leaves them dry and crumbly instead of that perfect chewy texture everyone loves, plus toasting your coconut for just 5 minutes at 325°F before mixing creates deeper nutty flavor that elevates these from good to absolutely addictive. Most people either add way too much liquid trying to make mixing easier which creates formless blobs, or they skimp on condensed milk leaving sad dry balls that nobody wants to eat.
FAQs
Why is it called moose fart?
The name "moose farts" comes from Canadian prairie humor, likely because the round coconut covered balls supposedly resemble something humorous. The funny name makes these no bake treats memorable at parties.
Do Moose Farts need to be refrigerated?
Yes, no bake moose farts should be refrigerated for best texture and food safety since they contain sweetened condensed milk. They can sit at room temperature briefly during serving.
What is the best occasion for Moose Farts?
No bake moose farts work perfectly for holiday cookie exchanges, potlucks, school parties, or anytime you need easy impressive treats. The funny name makes them conversation starters.
Sweet Bites Made Hilariously Simple
These no bake moose farts bring bakery quality treats to your table using no oven and minimal effort while guaranteeing smiles and laughter from the memorable name alone. The sweet coconut, chocolate chips and graham cracker texture create desserts that disappear fast at every single gathering.
We'd love to hear about your no bake moose farts adventures! Did the name make everyone laugh like it does at our house? What toppings did you use? Share your experience in comments because our family enjoys hearing how others customize this quirky Canadian classic.
You might also enjoy our comforting Moist Lemon Cake Recipe, easy No Bake Peanut Butter Cheesecake Balls, healthy Beef Cabbage Recipe for more quick family favorites everyone loves. Each recipe brings satisfying flavors to your meal rotation.
Rate this recipe and join our Aunty Meals family! We can't wait to hear about your moose farts success stories.
Recipe By Emma Miller and Anna.
Related
Looking for other recipes like this? Try these:


No Bake Moose Farts
Ingredients
Equipment
Method
- Mix 2 cups coconut, graham crumbs, condensed milk, chocolate chips and vanilla until combined
- Mixture should hold together when squeezed, add more milk if too dry
- Scoop tablespoon portions and roll into one inch balls with damp hands
- Roll each ball in additional coconut to cover completely
- Press few mini chocolate chips into top of each ball
- Place finished balls on parchment lined baking sheet
- Refrigerate 30 minutes to firm up before serving
- Keep refrigerated in airtight container up to 2 weeks
- Serve chilled for best texture and flavor
- Share these treats with friends and family

Leave a Reply