
Anna held the bar up close and turned it slowly, studying the layers like she was reading something. "The green bits are in the blackberries," she said, not quite a question. I told her the pistachio cream got folded into the blackberry layer before it set, so the two marbled together during chilling. She set it back down and looked at the whole pan. "It looks like something from a jewellery shop," she said, and then ate half her bar before she finished the thought. Blackberry Pistachio Dream Bars are the dessert that earns that kind of attention.
Jump to:
Why You Will Love These Blackberry Pistachio Dream Bars
These bars are built for people who want a dessert that looks extraordinary on a board and tastes like it came from a small bakery, but does not require a single piece of specialist equipment or any oven technique beyond pressing a crust into a pan. The graham cracker base is buttery and sandy, the cream cheese layer underneath the blackberries is cool and lightly sweet, the blackberry topping is jammy and glossy, and the pistachios scattered across the surface add a salty, grassy crunch that keeps every bite from tasting like pure sweetness. Anna asked if we could bring them somewhere rather than keep them at home, which is the particular kind of compliment these bars are designed to receive.
How To Make Blackberry Pistachio Dream Bars
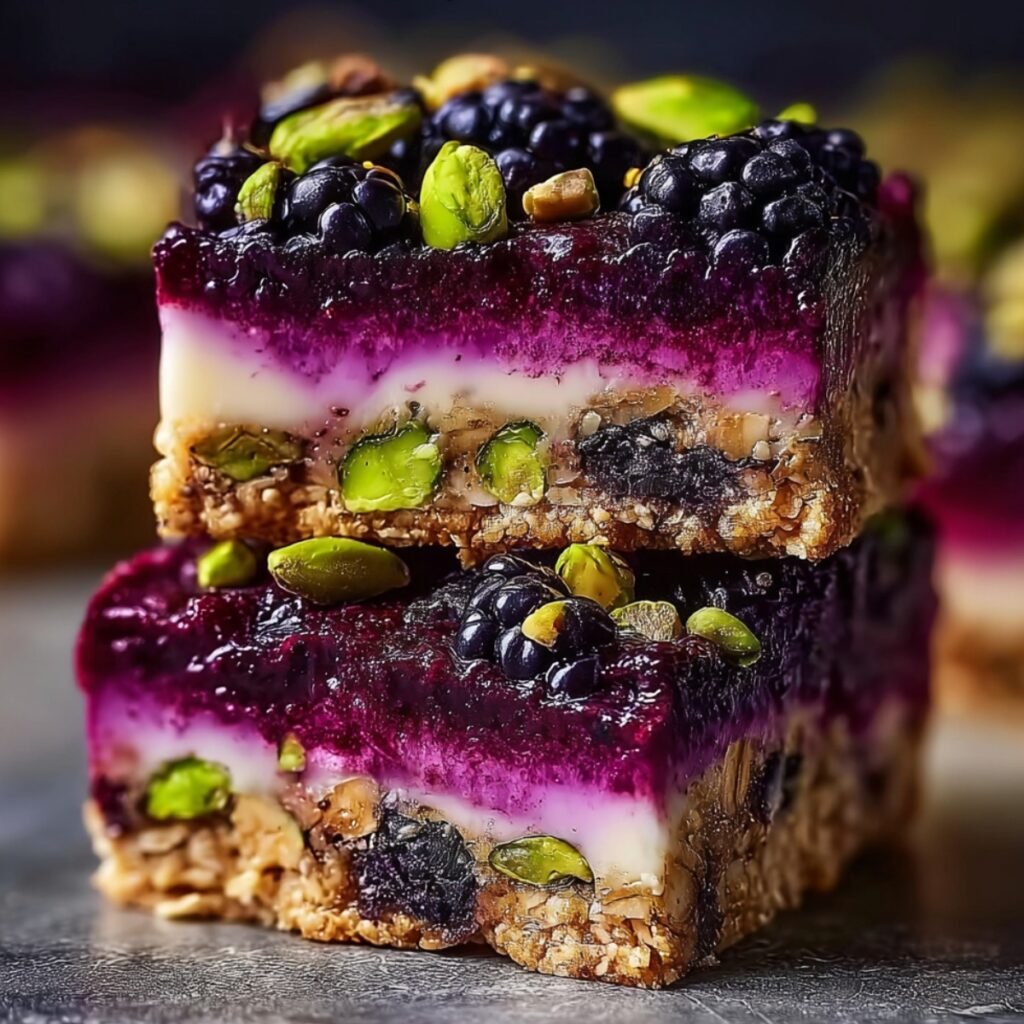
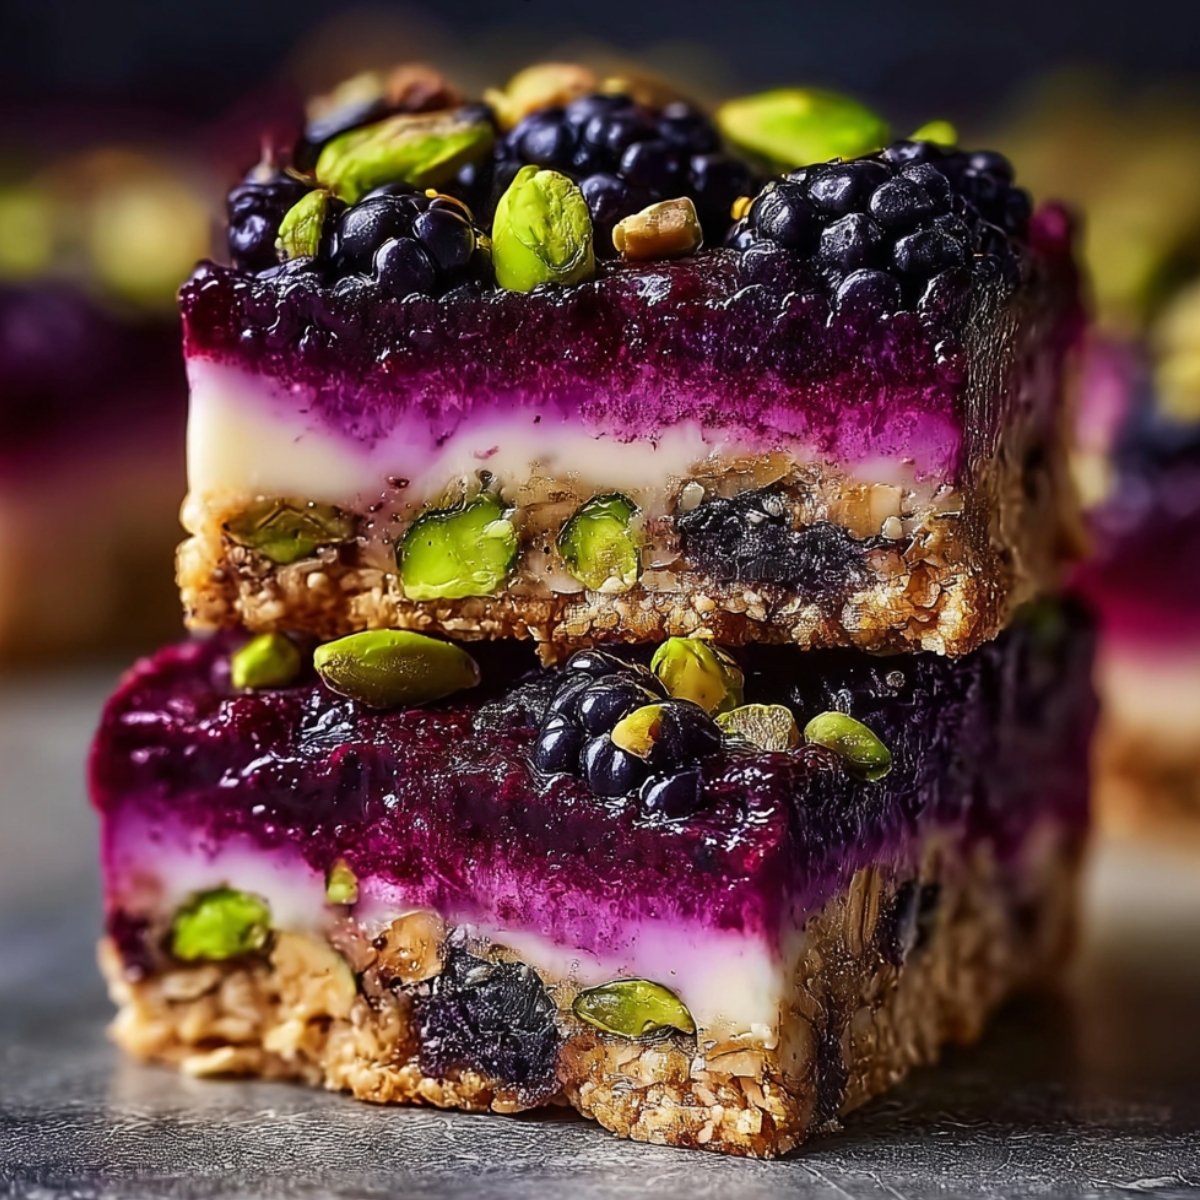
The first time I made these, I added the blackberry layer directly over the cream cheese before either had fully chilled, and the two layers blended together into a single purple-pink mass that had none of the distinct layer contrast visible in the image. Anna looked at the cross-section of the first bar and said it looked like a sunset, which was generous. The second attempt I chilled the cream cheese layer for a full hour before adding the blackberry topping and the layers sat cleanly on top of each other with a clear boundary between the white cream layer and the deep purple-black berry layer when the bar was cut. The pistachio cream folded into the blackberry topping produced the green marble effect visible throughout the image, and that step only works when the blackberry layer is slightly cooled before the pistachio cream goes in.
Main Ingredients
For the Graham Cracker Crust:
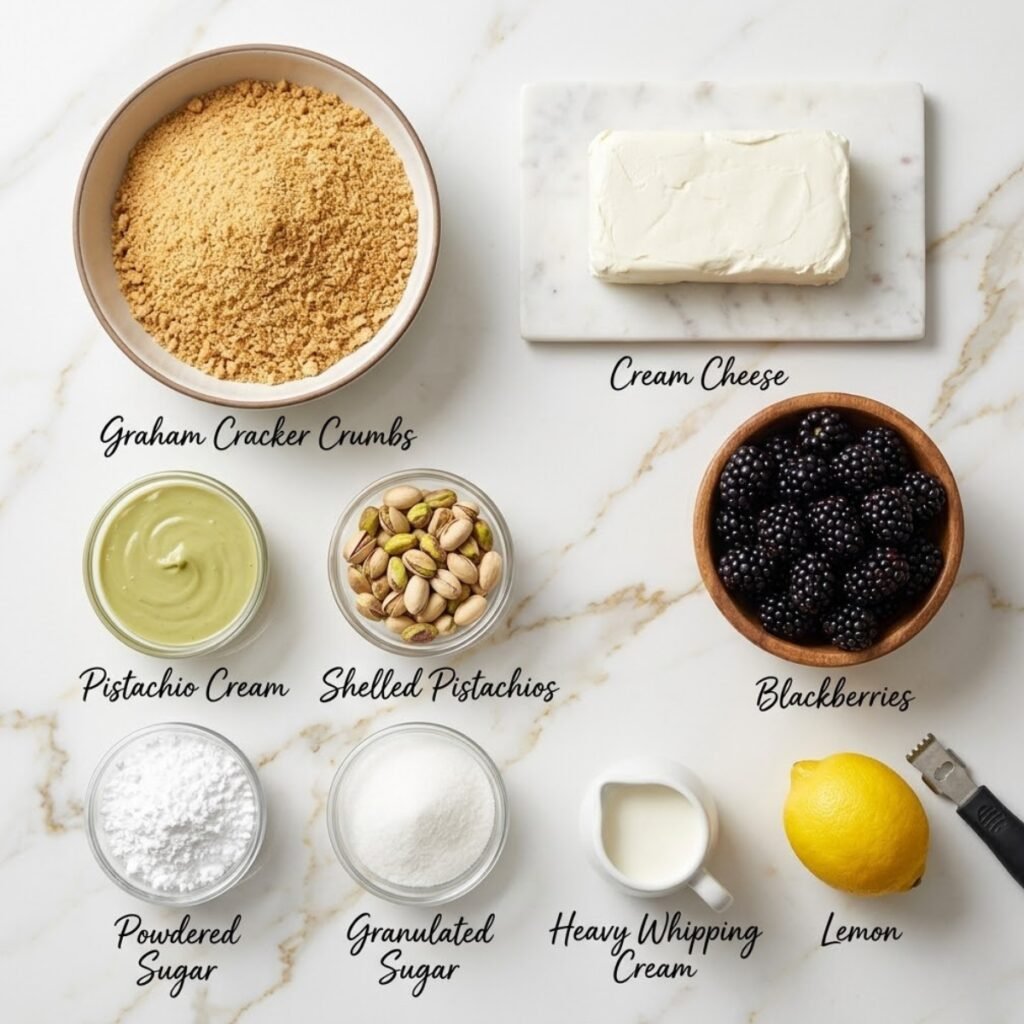
- 2 cups graham cracker crumbs (about 14 full crackers crushed fine; the crumbs should feel like coarse, slightly damp sand that holds together when pressed between two fingers)
- ⅓ cup granulated sugar (sweetens the crust and helps the butter bind the crumbs into a compact, sliceable base)
- 6 tablespoons unsalted butter, melted (the binding agent; press the crust firmly enough that it holds a clean edge when cut but not so firmly that it becomes too dense to eat with a fork)
For the Cream Cheese Layer:
- 8 oz full-fat cream cheese, room temperature (the pale lavender-white layer visible between the crust and the blackberry topping in the cross-section of the image; room temperature cream cheese beats smooth without lumps)
- ½ cup powdered sugar, sifted (dissolves into the cream cheese without the gritty texture that granulated sugar leaves in a no-bake filling)
- 1 teaspoon vanilla extract (adds depth and warmth to the cream cheese layer that prevents it from tasting flat against the sharp berry layer above)
- ½ cup heavy whipping cream, cold (whipped to medium-stiff peaks and folded into the cream cheese to lighten the layer and give it the mousse-like texture visible at the cross-section edge)
For the Blackberry Pistachio Topping:
- 3 cups fresh blackberries (the primary topping layer; fresh blackberries break down into a thick, glossy, deep purple-black compote that looks exactly like the image when cooked down with sugar and lemon)
- ⅓ cup granulated sugar (adjust based on the tartness of the berries; taste the cooked compote before adding the cornstarch and adjust if needed)
- 1 tablespoon lemon juice (the acid that lifts the color of the blackberry compote and balances the sweetness so the topping tastes bright rather than jammy and flat)
- 1 tablespoon cornstarch mixed with 2 tablespoons cold water (stirred into the hot compote to thicken it to a set, sliceable consistency that holds the pistachio cream in suspension during chilling)
- ½ cup pistachio cream or pistachio butter (the green element visible throughout the blackberry topping layer; stirred in by the spoonful while the compote is slightly warm so it marbles through the berries before the whole layer is poured over the cream cheese)
- ½ cup shelled pistachios, roughly chopped (scattered over the top of the finished bars as shown in the image; use unsalted roasted pistachios for the deepest green color and the clearest nutty crunch against the glossy blackberry surface)
Step by Step Instructions
Step 1: Make the Crust and Chill
- Preheat the oven to 350°F (175°C), line a 9x9 inch baking pan with parchment paper leaving a 2-inch overhang on two opposite sides so the finished slab can be lifted cleanly from the pan without the bars falling apart during removal.
- Combine the graham cracker crumbs and granulated sugar in a medium bowl, pour in the melted butter, and mix until every crumb is coated and the mixture holds together when pressed firmly between your fingers with the texture of damp sand.
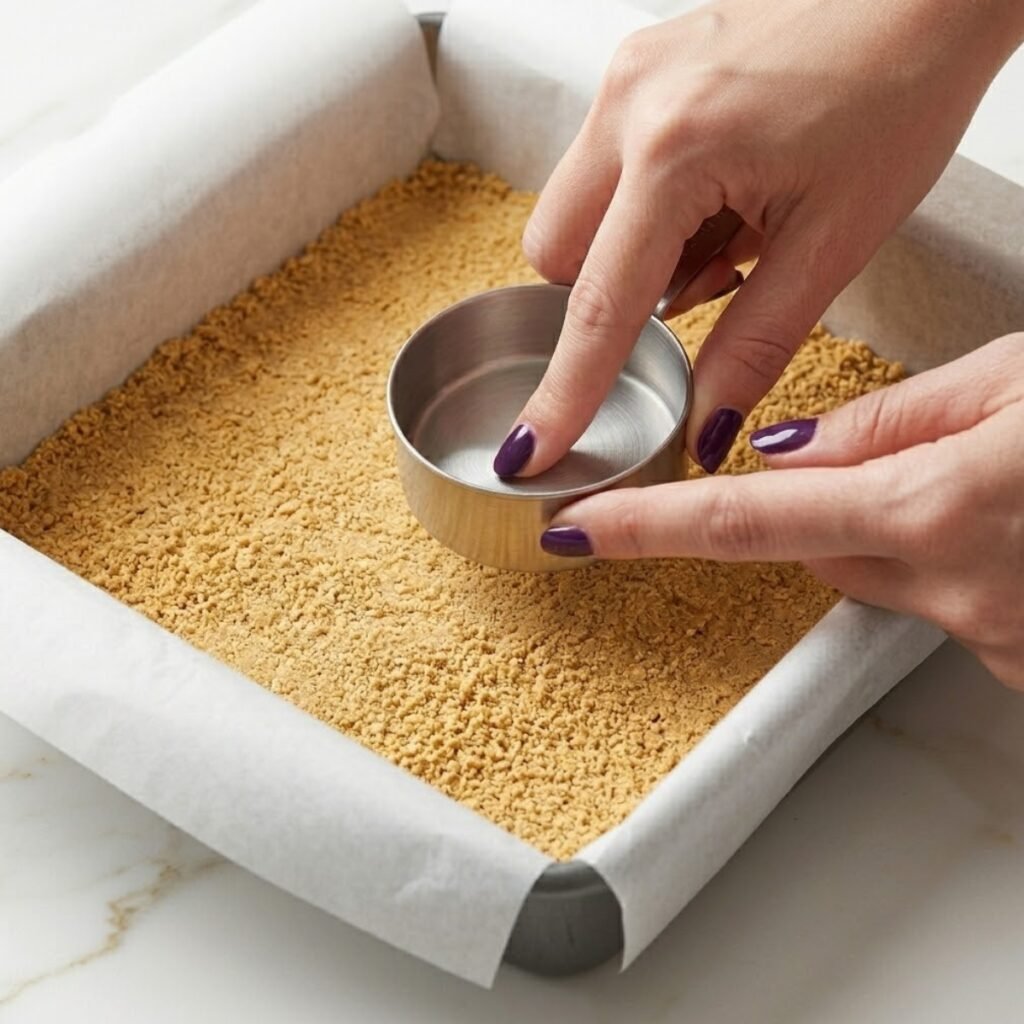
- Transfer the crust mixture into the lined pan and press it into a compact, completely even layer using the flat base of a measuring cup or a straight-sided glass, pressing from the center outward and then pressing the edges firmly against the sides of the pan so the crust has a clean, square perimeter.
- Bake the crust at 350°F for 10 to 12 minutes until the surface looks dry and the edges are lightly golden, then remove from the oven and allow to cool completely to room temperature on a wire rack before adding the cream cheese layer; a warm crust melts the cream cheese filling and prevents it from setting to a clean layer.
Step 2: Make the Cream Cheese Layer
- Beat the room temperature cream cheese in a large bowl with a hand mixer on medium speed for 2 minutes until completely smooth and lump-free, then add the sifted powdered sugar and vanilla extract and beat for another minute until the mixture looks light, creamy, and uniformly white.
- In a separate cold bowl, whip the cold heavy cream on high speed until it reaches medium-stiff peaks; the cream should hold a peak that curves gently at the tip rather than standing straight up, which indicates it has enough structure to lighten the cream cheese without collapsing into it during folding.
- Fold the whipped cream into the cream cheese mixture using a large spatula with slow, deliberate strokes from the bottom of the bowl upward until no white streaks remain and the filling looks uniformly smooth, slightly airy, and thick enough to spread without running.
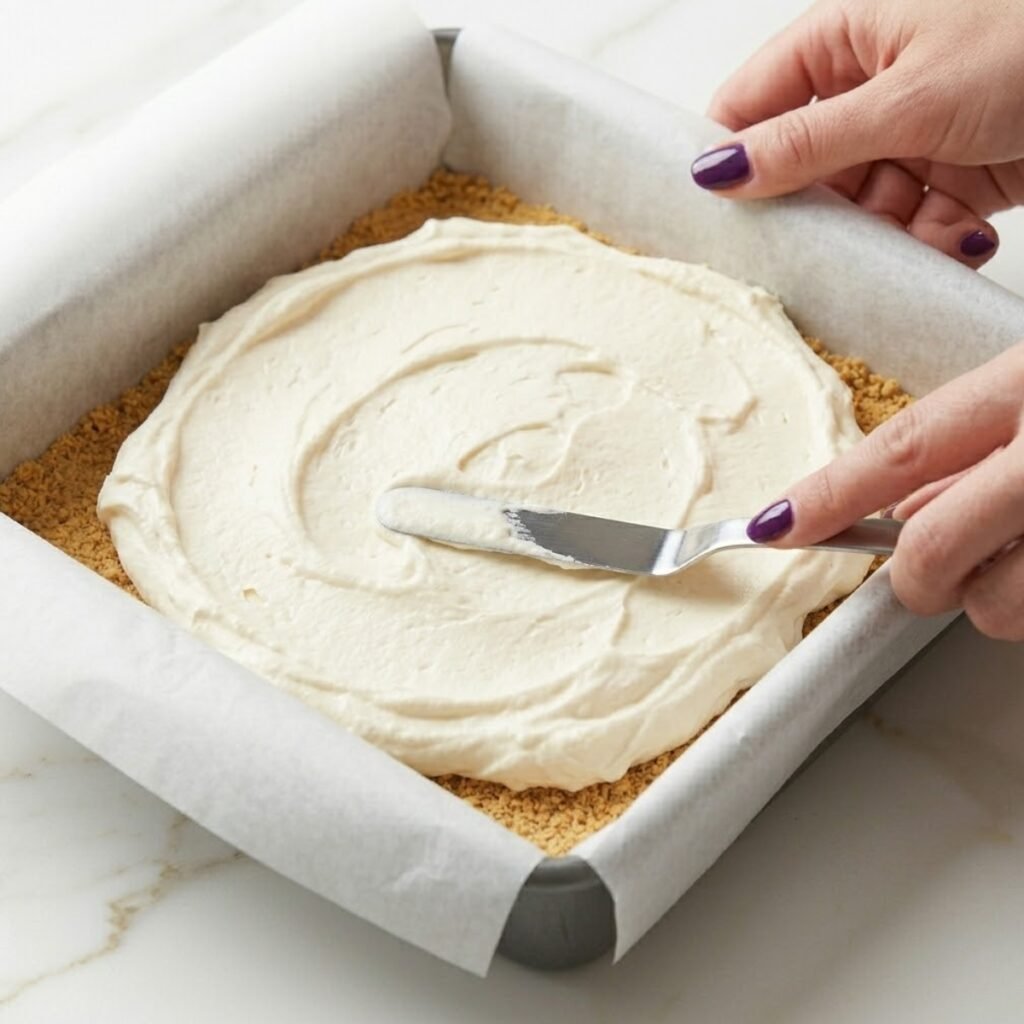
- Spread the cream cheese filling evenly over the fully cooled crust using an offset spatula, pressing it gently to the edges so the layer is smooth and level across the entire surface, then cover the pan with plastic wrap and refrigerate for a full hour before adding the blackberry layer.
Step 3: Make the Blackberry Pistachio Topping
- Combine the blackberries, granulated sugar, and lemon juice in a medium saucepan over medium heat and stir occasionally until the berries collapse and release their juice and the mixture comes to an active bubble, which takes about 6 to 8 minutes; the compote will turn a deep, glossy purple-black as the juice reduces and the berry skins break down.
- Stir the cornstarch-water slurry into the bubbling compote, reduce the heat to low, and stir continuously for 1 to 2 minutes until the mixture thickens to a consistency that coats the back of a spoon heavily and falls in slow, thick ribbons rather than pouring freely; remove from heat.
- Allow the blackberry compote to cool for 10 minutes until it is warm but no longer steaming, then drop the pistachio cream in by the tablespoon in 4 to 5 separate spots spread across the surface of the compote and use a skewer or chopstick to drag slowly through the two mixtures in a figure-eight motion, creating the green marble visible throughout the berry layer in the image without fully blending the two colors together.
- Taste the finished topping and adjust with additional lemon juice or sugar if needed, then proceed to the next step while the topping is still pourable but not hot.
Step 4: Layer, Chill, Garnish, and Cut
- Remove the pan from the refrigerator and check that the cream cheese layer is fully set and firm to the touch at the center before pouring the blackberry topping; if the center still feels soft, return the pan for another 30 minutes before proceeding.
- Pour the warm blackberry pistachio topping slowly over the set cream cheese layer, beginning at the center of the pan and allowing it to spread outward naturally; use the offset spatula to guide it gently to all four corners without pressing down and disturbing the cream cheese layer beneath.
- Scatter the roughly chopped pistachios generously and evenly across the entire surface of the blackberry topping while it is still warm so the nuts sink very slightly into the surface and hold in place when the bars are cut and served, rather than rolling off a fully set surface.
- Cover the pan loosely with plastic wrap without pressing it onto the surface and refrigerate for a minimum of 4 hours, or overnight for the cleanest, most sliceable result; lift the slab from the pan using the parchment overhangs, set on a cutting board, and cut into bars using a sharp knife wiped clean between each cut so every bar has a defined, visible cross-section showing all three layers.
Blackberry Pistachio Dream Bars Variations
Raspberry Pistachio Cheesecake Bars
- Replace the blackberries with an equal quantity of fresh or frozen raspberries and cook the compote using the same method; raspberries break down faster than blackberries and produce a brighter, more vivid red-pink compote with a slightly sharper, more tart flavor that contrasts strongly against the mild cream cheese layer.
- Reduce the sugar in the raspberry compote by a tablespoon since raspberries are naturally more tart than blackberries and the tartness should be preserved rather than balanced out so the finished bar has a clear sweet-sour contrast from layer to layer.
- The green pistachio cream marbeled through the bright red raspberry compote produces a color combination that looks noticeably more dramatic than the blackberry version when the bars are cut and plated, because the red and green sit at maximum color contrast against each other.
- Anna prefers this version served at a table where she can watch people notice the color before they taste it, because she says the reaction is the same every time and she has not gotten tired of it.
Cherry Pistachio Cheesecake Bars
- Replace the blackberries with 3 cups of fresh pitted sweet cherries or jarred sour cherries drained of their liquid, which produce a deeper garnet-red compote with a more complex, slightly floral flavor that pairs especially well with the nutty pistachio cream.
- Add a small pinch of cinnamon and a drop of almond extract to the cherry compote while it cooks, which deepens the cherry flavor in a way that complements the pistachio cream without reading as a distinct spice note in the finished bar.
- The texture of the cherry compote is slightly chunkier than the blackberry version because cherry flesh holds more structure during cooking than blackberry seeds and skin; this produces a topping with visible whole or halved cherry pieces embedded in the glossy sauce rather than a smooth jam-like layer.
- This variation works especially well for a holiday dessert board where the garnet and green color combination has a seasonal quality that makes the bars look intentional and considered alongside other winter desserts.
Blackberry Pistachio Dream Bars With Dark Chocolate Crust
- Replace the graham cracker crumbs with an equal quantity of chocolate wafer cookie crumbs for a dark, slightly bitter crust base that provides an additional flavor layer beneath the cream cheese and intensifies the contrast between the pale filling and the deep purple-black berry topping.
- Add a tablespoon of cocoa powder to the crust mixture alongside the crushed cookie crumbs before adding the butter, which deepens the chocolate character of the base and gives the bottom edge of each bar a distinctly dark appearance when cut.
- Drizzle 1 oz of melted dark chocolate over the finished bars in thin zigzag lines across the pistachio surface before the chopped pistachio scatter goes on, then refrigerate for 10 minutes so the chocolate sets before the nuts are added.
- This version is the one I make when the occasion calls for something that sits in the intersection between elegant and indulgent, and the dark chocolate crust gives each bar a slightly more sophisticated edge that makes them feel appropriate for an adult dessert table rather than a casual family tray.
Substitutions
- Graham cracker crumbs can be replaced with crushed digestive biscuits, speculoos cookies, or vanilla wafers in the same quantity; speculoos adds a spiced, caramel note to the crust that pairs beautifully with the blackberry topping, and vanilla wafers produce a slightly sweeter, softer crust that holds together neatly under the cream cheese layer.
- Pistachio cream in the topping can be replaced with pistachio butter blended smooth with a teaspoon of honey and a tablespoon of coconut cream if commercial pistachio cream is unavailable; blend the shelled pistachios with the honey and cream in a food processor until smooth before marbling into the warm blackberry compote.
- Fresh blackberries can be replaced with frozen blackberries used directly from frozen, added to the saucepan without thawing; frozen blackberries break down faster in the pan and release their pigment more readily, producing a compote with an equally deep color that sets at the same rate as the fresh version after the cornstarch is added.
- Heavy whipping cream in the cream cheese layer can be replaced with full-fat coconut cream chilled overnight and skimmed of its solid top layer, which whips to a similar consistency and produces a filling with a mild coconut undertone that does not compete with the blackberry or pistachio flavors when used in the measured quantity required.
Equipment
- 9x9 inch baking pan
- Parchment paper with 2-inch overhang on two sides
- Medium saucepan for the blackberry compote
- Hand mixer or stand mixer
- Two mixing bowls (one for cream cheese, one for whipping cream)
- Offset spatula for spreading the cream cheese and blackberry layers
- Sharp knife for cutting the finished bars (wipe between each cut)
- Wire rack for cooling the baked crust
- Skewer or chopstick for marbling the pistachio cream into the blackberry layer
Emma Tip: For the cleanest bar cuts, refrigerate the fully set slab for at least 30 minutes after lifting it from the pan and before cutting. A knife run under hot water and dried quickly before each cut produces a cleaner edge through the cream cheese layer than a cold or dry knife, which tends to drag the filling rather than slicing through it cleanly.
Storage Tips
Make Ahead Strategy
- These bars are one of the best make-ahead desserts for a gathering because every component benefits from overnight chilling and the slab is actually easier to cut into bars on the second day than on the first.
- The graham cracker crust can be baked, cooled, and stored at room temperature covered loosely with plastic wrap up to 2 days before the cream cheese and blackberry layers are added; the baked crust holds its texture well at room temperature and does not need refrigeration while it waits for the filling.
- The blackberry pistachio compote can be made up to 3 days in advance and stored in a sealed jar in the refrigerator; reheat gently in a small saucepan over low heat until just pourable before marbling in the pistachio cream and pouring over the set cream cheese layer.
Refrigeration
- Cut bars store well in a single layer in an airtight container in the refrigerator for up to 4 days; stack them between sheets of parchment paper if storing more than one layer so the pistachio topping does not stick to the cream cheese bottom of the bar above it.
- The crust softens slightly after the second day of refrigerator storage as the moisture from the cream cheese layer migrates downward, but the texture remains pleasant and the flavor of the fully assembled bar deepens and becomes more cohesive as the components have time to integrate.
- Do not store uncovered in the refrigerator because the blackberry surface will absorb refrigerator odors over time and the pistachio color fades from bright green to a slightly duller olive when exposed to circulating air for more than a few hours.
Freezing
- Uncut slabs freeze well wrapped tightly in two layers of plastic wrap followed by a layer of foil for up to 6 weeks; thaw overnight in the refrigerator and cut into bars while still cold for the cleanest cross-section.
- Individual cut bars can also be frozen in a single layer on a parchment-lined tray until solid, then stacked between parchment sheets in a sealed freezer bag for up to 6 weeks.
- The blackberry topping loses some of its glossy finish after freezing and thawing as the cornstarch structure breaks down slightly, but the flavor remains excellent and a brief 30-minute rest at room temperature after thawing restores some of the visual appeal before serving.
My Grandma's Secret Worth Sharing
Emma's grandmother kept a jar of pistachio paste in the refrigerator alongside the jam she made every autumn, and she used it the way most people use butter, spread on toast, stirred into warm cream, spooned into pastry. She said pistachios tasted like something that was deciding whether to be sweet or savory and had not made up its mind yet, which was what made them interesting in a dessert that already had something sharp and dark from the fruit. When Anna tasted the pistachio cream for the first time straight from the spoon, she tilted her head the way she does when she is trying to decide how she feels about something. Then she took a second spoonful and said she had decided. That is exactly the reaction my grandmother would have expected.
FAQs
Why do my Blackberry Pistachio Dream Bars layers blend together instead of staying distinct?
The cream cheese layer was not fully set before the blackberry topping was added. The cream cheese filling needs a full hour in the refrigerator to firm enough that a warm topping poured over the top sits on the surface rather than sinking in and blending with it. The blackberry topping also needs to be cooled to warm, not hot, before it is poured; a very hot compote will melt the top of the cream cheese layer and the two will combine at the boundary. Chill the cream cheese for the full hour, cool the compote for 10 minutes after cooking, and pour slowly from the center outward.
How do I get the green pistachio marble to look like the image?
Drop the pistachio cream into the warm but not hot compote in 4 to 5 separate spots rather than adding it all in one place. Then use a skewer or the tip of a chopstick to drag slowly through the two mixtures in a figure-eight or S-curve motion, moving through each pistachio drop once rather than stirring repeatedly. The goal is to streak the green through the dark purple without fully blending the two; 3 to 4 slow passes through the pan is usually enough. If the pistachio cream is too thick to marble, warm it briefly in a small bowl over hot water or in the microwave for 10 seconds before dropping it into the compote.
Can I use frozen blackberries for this blackberry pistachio dream bars recipe?
Yes, frozen blackberries work well and often produce a deeper, more intensely colored compote than fresh because they have been frozen at peak ripeness and release their pigment very readily when heated. Add them to the saucepan directly from frozen without thawing; they will release enough liquid on their own as they heat to prevent the sugar from burning against the base of the pan before the berries have softened.
The Bar That Made the Whole Pan Disappear
Anna counted how many bars were on the board twice before they went to the table, convinced someone had already taken one. She carried the board herself with the expression she reserves for things she considers genuinely impressive, and set it down in the center where everyone could see. Three bars were gone before she made it back to the kitchen for plates. If these become the dessert your table remembers from a particular afternoon, you might also love our Greek Yogurt Jello for a lighter, fruit-forward dessert that sets in a glass with just as much visual appeal and far less effort, our Mini Blackberry Lavender Cheesecakes when you want individually portioned small-format desserts with that same berry and cream combination in a different form, or our Two Minute Protein Brownie for the evenings between baking projects when something chocolate and fast is the only answer that makes sense. Make these once for a table full of people who deserve something that earns a second look before the first bite.
Related
Looking for other recipes like Blackberry Pistachio Dream Bars? Try these:
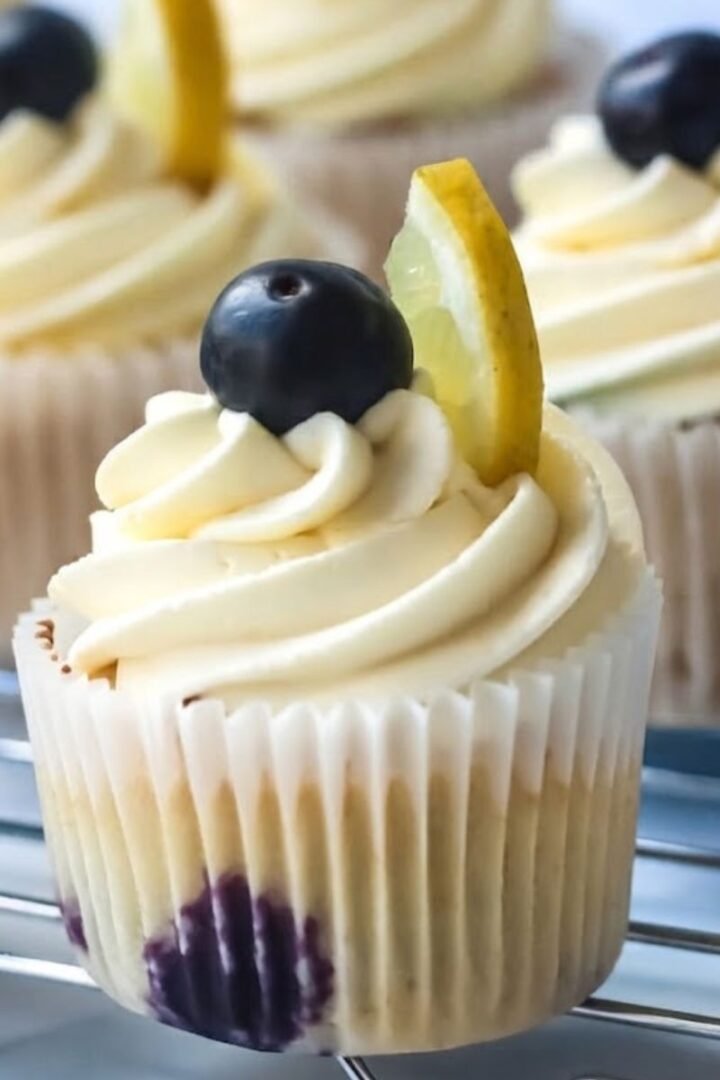
- Blueberry Lemonade Cupcakes35 Minutes
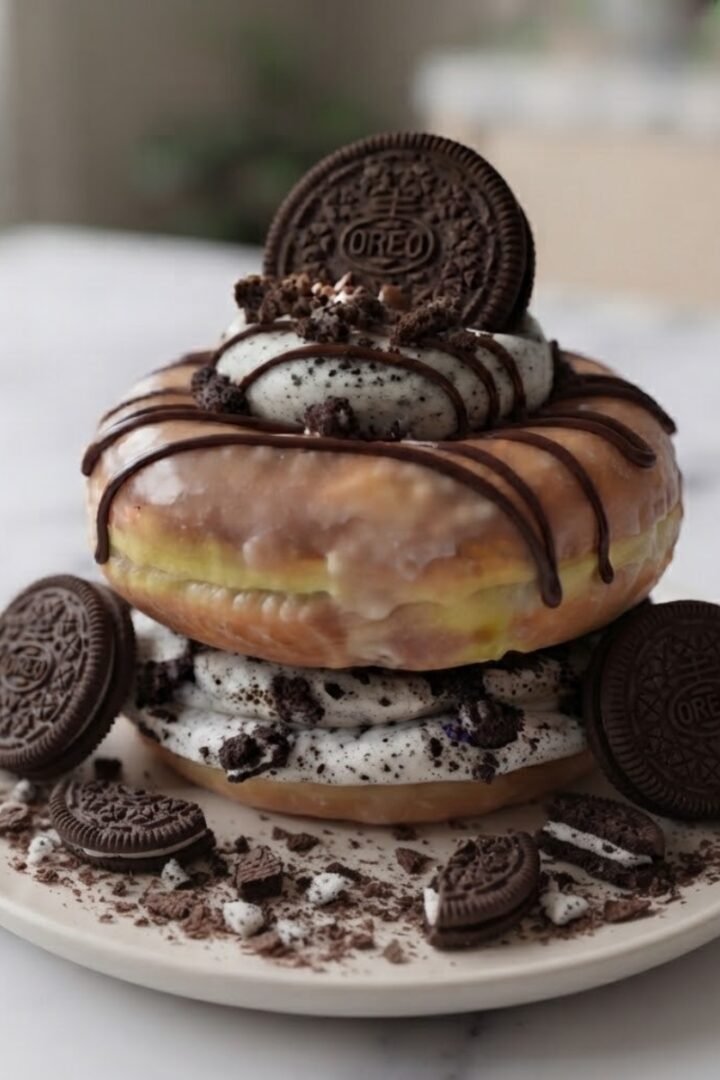
- Oreo Cheesecake Donut Burger15 Minutes
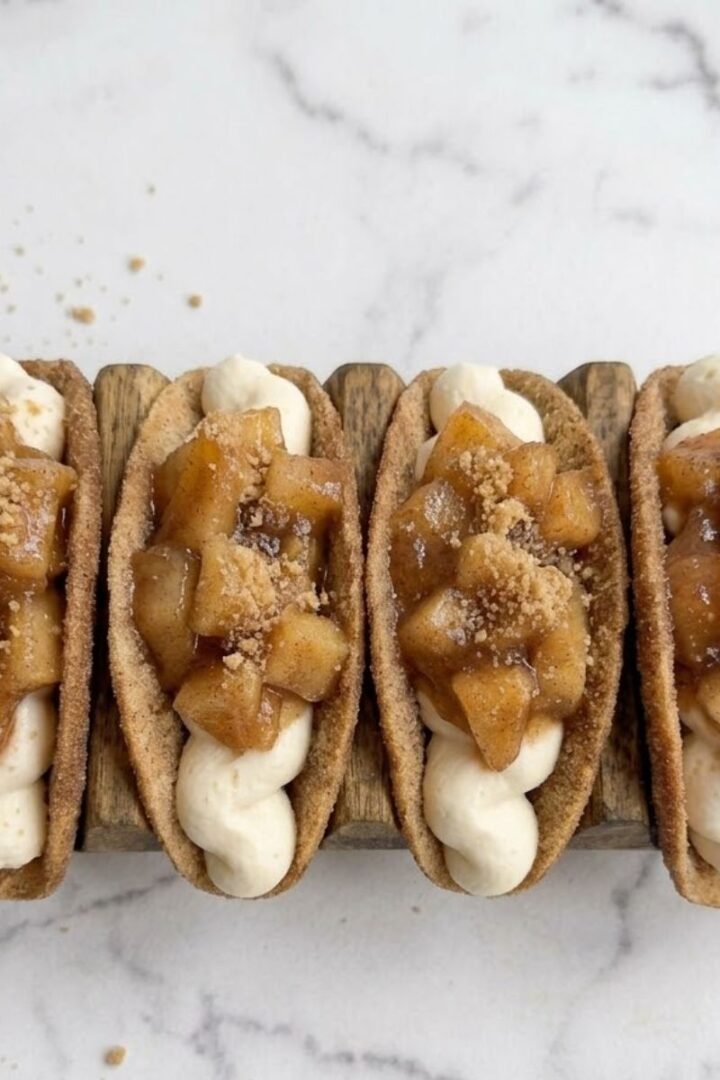
- Apple Pie Cheesecake Tacos25 Minutes
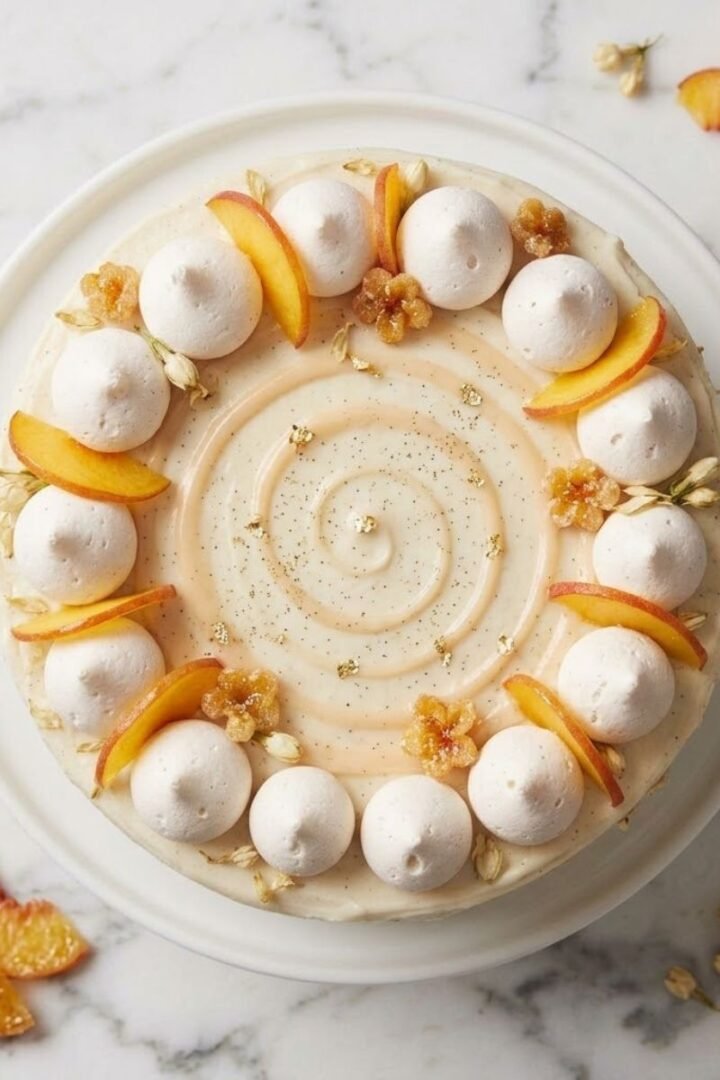
- Jasmine Peach Vanilla Cake50 Minutes
Blackberry Pistachio Dream Bars
Ingredients
Equipment
Method
- Preheat the oven to 350°F (175°C) and line a 9x9 inch baking pan with parchment paper leaving a 2-inch overhang on two sides; combine the graham cracker crumbs, sugar, and melted butter in a bowl, stir until every crumb is coated, then press firmly into a completely even layer in the lined pan using the flat base of a measuring cup.
- Bake the crust at 350°F for 10 to 12 minutes until the surface looks dry and the edges are lightly golden, then remove from the oven and allow to cool completely to room temperature on a wire rack before adding any filling.
- Beat the room temperature cream cheese on medium speed for 2 minutes until completely smooth and lump-free, add the sifted powdered sugar and vanilla extract, and beat for 1 more minute until light and creamy.
- Whip the cold heavy cream in a separate bowl to medium-stiff peaks, then fold it into the cream cheese mixture using a large spatula with slow strokes from the bottom upward until no white streaks remain and the filling looks uniformly smooth and slightly airy.
- Spread the cream cheese filling evenly over the fully cooled crust using an offset spatula, pressing gently to the edges so the layer is smooth and level, then cover with plastic wrap and refrigerate for a full hour before adding the blackberry layer.
- Combine the blackberries, sugar, and lemon juice in a medium saucepan over medium heat, stir occasionally until the berries collapse and the mixture comes to an active bubble (6 to 8 minutes), then stir in the cornstarch-water slurry and stir continuously on low for 1 to 2 minutes until the compote thickens to a coat-the-spoon consistency; remove from heat.
- Allow the compote to cool for 10 minutes, then drop the pistachio cream in 4 to 5 spots across the surface and drag a skewer through in slow figure-eight motions to marble the green through the dark purple without fully blending; the result should look like the swirled topping visible in the image.
- Remove the pan from the refrigerator, confirm the cream cheese layer is fully set and firm at the center, pour the warm blackberry pistachio topping slowly from the center outward, scatter the chopped pistachios evenly across the surface while the topping is still warm, cover loosely without pressing the wrap onto the surface, and refrigerate for a minimum of 4 hours or overnight before lifting from the pan, cutting with a hot wiped knife, and serving.
Leave a Reply