
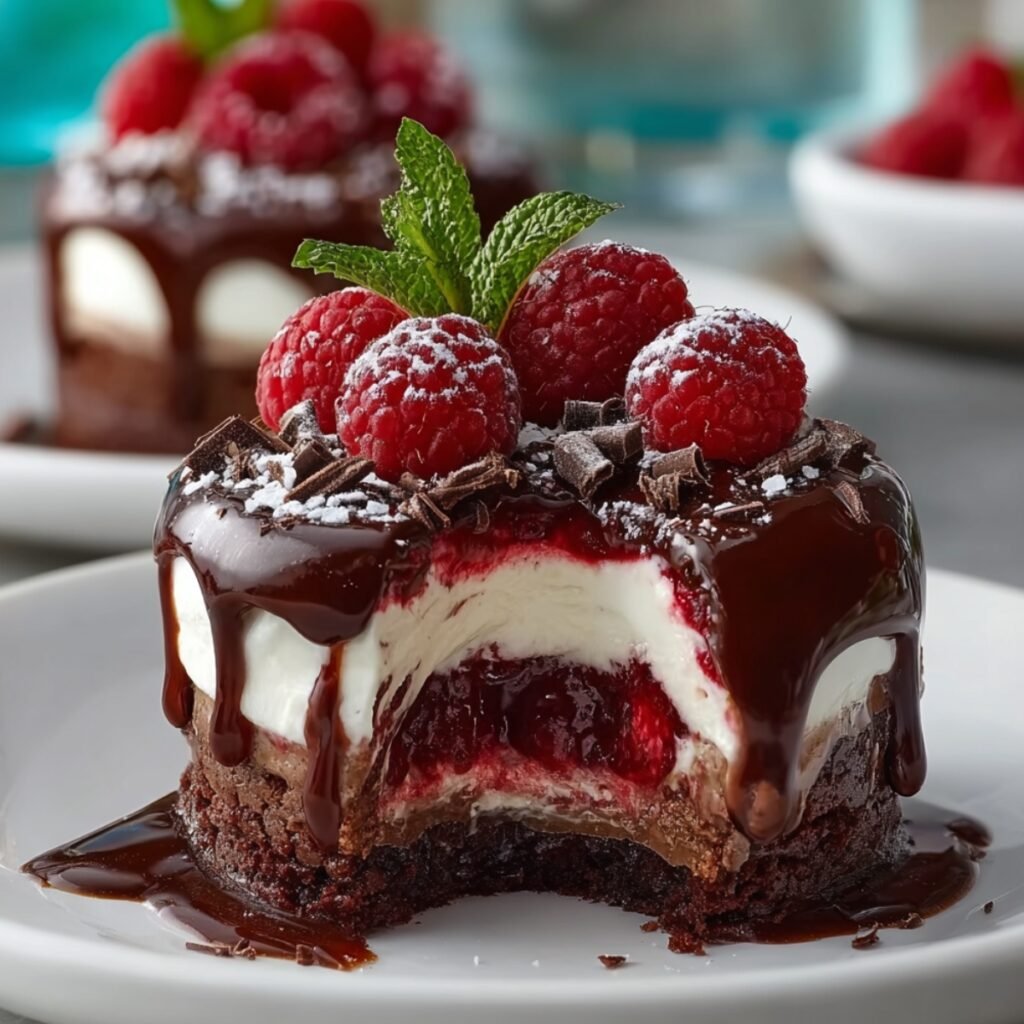
Anna stood at the counter holding a single raspberry and staring at the sliced dome like it contained a secret. The cross-section showed everything at once: a dark chocolate brownie base, a layer of pure white vanilla cheesecake, a hidden pocket of deep red raspberry filling in the center, a smooth chocolate mousse dome on top, and a glossy dark chocolate ganache dripping down the sides in slow, heavy ribbons. Two whole raspberries and a mint sprig sat at the crown. She looked at me and said she needed to know exactly how we made that. Chocolate Raspberry Cheesecake Domes have been our most ambitious kitchen afternoon ever since.
Why You Will Love These Chocolate Raspberry Cheesecake Domes
Every element in this dessert serves a purpose and every layer tells you something different when you cut through. The brownie base gives a fudgy, dense anchor. The vanilla cheesecake layer is cool and slightly tangy against the chocolate. The raspberry compote hidden in the center bursts when the spoon reaches it. The chocolate mousse dome on top is airy and deeply flavored. The ganache pulls everything together visually and the raspberries on top make it look like something from a patisserie window even when made in a home kitchen.
How To Make Chocolate Raspberry Cheesecake Domes
The first time I attempted these, I unmolded them too early and the cheesecake layer had not set firmly enough to hold the dome shape. Anna watched one collapse sideways on the plate and asked if we were still serving it. We did, and it tasted identical, but the lesson was locked in immediately: every layer needs its full freezing time before the next one goes in and the whole assembled dome needs at least four hours in the freezer before the ganache ever touches it. Patience between layers is the only technique that matters here.
Main Ingredients
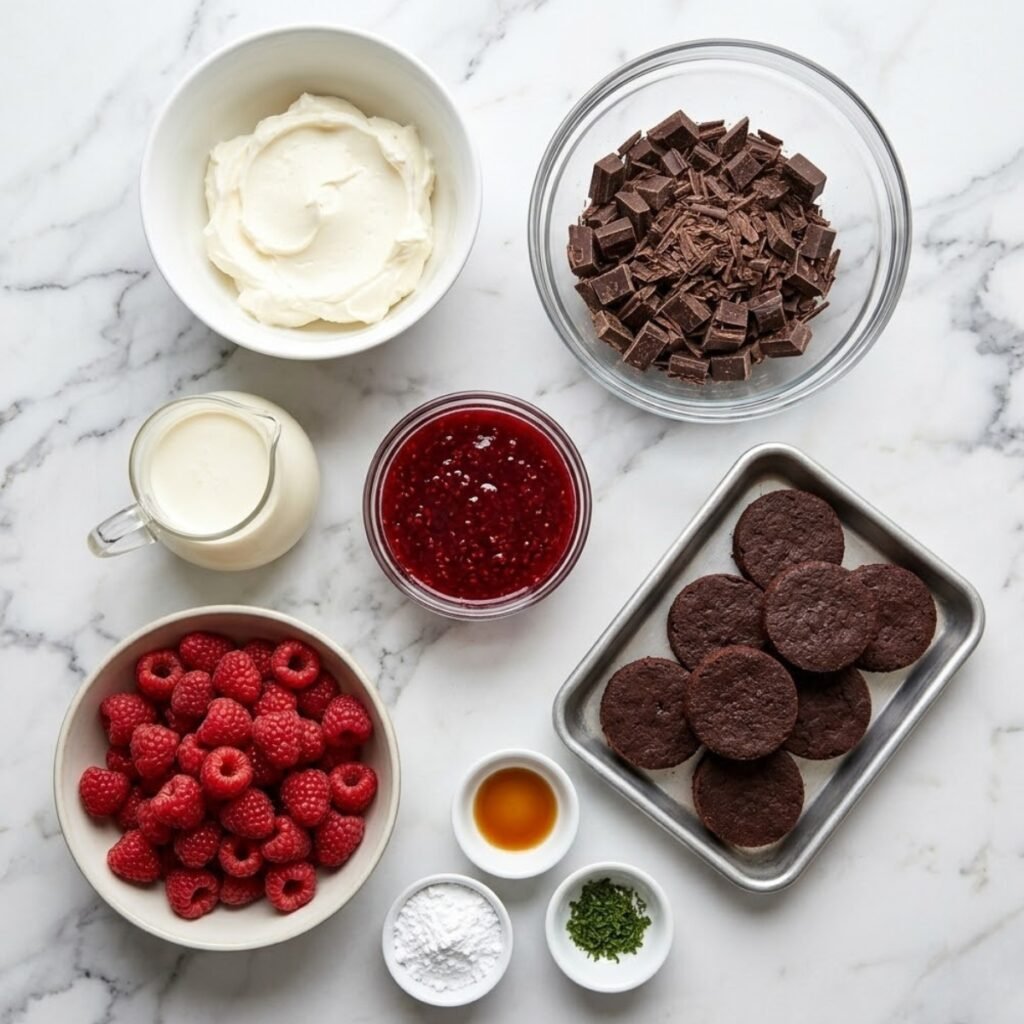
- 150g dark chocolate brownie base, baked and cooled (the dense, fudgy chocolate disc that forms the base of each dome visible in the cut cross-section; bake in a thin sheet and cut into circles to fit the mold diameter)
- 250g full-fat cream cheese, room temperature (the vanilla cheesecake layer that sits white and cool between the brownie base and the chocolate mousse)
- 100ml heavy cream, whipped to soft peaks (folded into the cream cheese for a lighter, airy cheesecake texture that sets firmly when frozen)
- 3 tablespoons powdered sugar (sweetens the cheesecake layer without making it heavy)
- 1 teaspoon vanilla extract (the defining flavor note of the white cheesecake layer visible as a pale interior layer in the image)
- ½ cup raspberry compote or thick raspberry jam (the vivid red hidden filling visible bursting from the center of the cut dome in the image)
- 200g dark chocolate, chopped (divided between the mousse and the ganache)
- 200ml heavy cream, divided (100ml for the mousse and 100ml for the ganache)
- 1 teaspoon powdered gelatin, bloomed in 1 tablespoon cold water (sets the chocolate mousse dome firmly enough to unmold cleanly)
- Fresh raspberries and mint sprigs for garnish (the twin raspberry crown and mint visible at the top of each finished dome)
- Powdered sugar for dusting (the light snow visible over the raspberries in the finished image)
Step by Step Instructions
Step 1: Bake the Brownie Base and Prepare the Molds
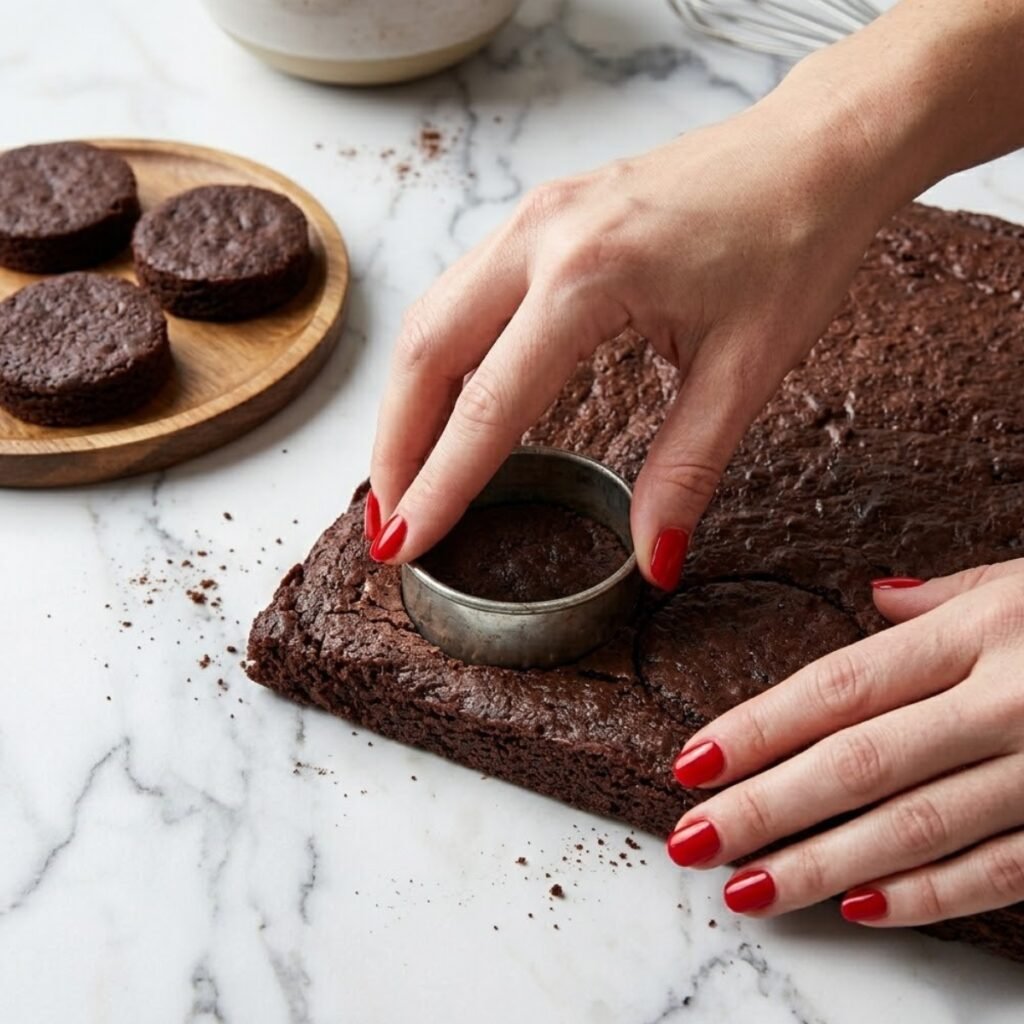
- Bake your preferred brownie recipe in a thin sheet pan at 175°C for 18 to 20 minutes until just set with a slight fudge in the center then cool completely before cutting
- Use a round cutter the same diameter as the base of your dome molds to cut neat brownie circles that will form the base of each finished dome
- Lightly grease silicone dome molds with a neutral oil so every layer releases cleanly without pulling on the sides when unmolded
- Set the prepared molds on a flat tray that fits in your freezer and have all ingredients at the right temperature before beginning the layers
Step 2: Make and Freeze the Vanilla Cheesecake Layer
- Beat room-temperature cream cheese with powdered sugar and vanilla extract on medium speed for 2 minutes until completely smooth and no lumps remain
- Whip 100ml of cold heavy cream to soft peaks in a separate chilled bowl then fold it into the cream cheese mixture in two additions using slow circular strokes
- Spoon the cheesecake mixture into the prepared dome molds filling each one to just below the halfway point so there is room for the mousse layer above it
- Make a small well in the center of the cheesecake layer with the back of a spoon then spoon a generous teaspoon of raspberry compote directly into the well so it is hidden inside the dome and freeze for 1 hour until fully firm
Step 3: Make the Chocolate Mousse and Complete the Dome
- Bloom gelatin in cold water for 5 minutes then dissolve by placing the bowl in hot water and stirring until completely clear
- Melt 100g of the chopped dark chocolate in a heatproof bowl over simmering water until smooth then allow it to cool to room temperature but not set
- Whip the remaining 100ml of cold heavy cream to soft peaks then stir the dissolved gelatin into the cooled chocolate and fold in the whipped cream in two additions until no streaks remain
- Remove the molds from the freezer and spoon the chocolate mousse over the set cheesecake layer filling to the top of each mold then press a brownie circle firmly onto the mousse base so it sits flat and flush with the mold rim, cover and freeze for a minimum of 4 hours or overnight
Step 4: Unmold, Glaze, and Garnish
- Remove the molds from the freezer and allow 2 to 3 minutes at room temperature then flex the silicone mold gently and invert each dome onto a wire rack set over a tray so the brownie base faces down and the smooth dome faces up
- Make the ganache by heating the remaining 100ml of heavy cream until just simmering then pouring it over the remaining 100g of chopped dark chocolate and stirring slowly until completely smooth and glossy
- Allow the ganache to cool to 35°C so it is pourable but thick enough to cling to the dome surface then spoon it slowly over the top of each frozen dome so it drips down the sides in thick ribbons as shown in the image
- Immediately place two fresh raspberries side by side on top of the ganache at the crown of each dome, tuck a small mint sprig between them, dust lightly with powdered sugar, and transfer to serving plates before the ganache sets completely
Chocolate Raspberry Cheesecake Domes Variations
Easy No-Bake Chocolate Raspberry Cheesecake Domes
- Replace the baked brownie base with a no-bake version made from blended Oreo cookies and melted butter pressed into circles and frozen until firm
- Use the same cheesecake and mousse layers without any changes as both are already no-bake components
- The Oreo base gives a slightly crunchier, more cookie-like anchor that contrasts nicely with the soft layers above it
- This version removes the oven entirely and makes the recipe accessible on any day when baking feels like too many steps
Philadelphia Chocolate Raspberry Cheesecake Domes
- Use full-fat Philadelphia cream cheese specifically for the cheesecake layer as its slightly denser, tangier profile holds up more firmly when frozen and sliced
- Increase the cream cheese quantity to 300g and reduce the whipped cream to 70ml for a denser, more traditional New York-style cheesecake layer inside the dome
- The cut cross-section will show a thicker, creamier white layer that holds its shape even more cleanly when the dome is sliced at room temperature
- Anna prefers this version because the cheesecake flavor is stronger and more pronounced against the dark chocolate ganache
White Chocolate Raspberry Cheesecake Domes
- Replace the dark chocolate in both the mousse and the ganache with good-quality white chocolate for a pale, ivory-toned dome instead of the dark version in the image
- White chocolate ganache sets slightly firmer than dark so allow it to cool to 32°C before pouring to get the same dripping ribbon effect
- The raspberry compote center becomes the most visually dramatic element in the cut slice against the white interior and the ivory ganache exterior
- Dust with freeze-dried raspberry powder instead of powdered sugar for a pink-tinted crown that photographs beautifully against the pale dome
Substitutions
Raspberry Compote: Thick store-bought raspberry jam works directly in place of homemade compote. Warm it slightly so it loosens enough to spoon into the cheesecake well without disturbing the set layer below. Strawberry or blackcurrant jam makes an equally vivid hidden center with a slightly different flavor profile. Dark Chocolate: A mixture of equal parts dark and milk chocolate creates a slightly sweeter, less intense mousse and ganache that suits younger palates well. The color of the ganache will be slightly lighter than the deep brown visible in the image but the dripping ribbon effect works identically. Powdered Gelatin: Agar agar can replace gelatin in the mousse at a 1 to 1 ratio dissolved in warm liquid on the stovetop. Note that agar sets firmer than gelatin so reduce the quantity by a quarter teaspoon to keep the mousse texture soft and sliceable rather than rubbery after freezing. Fresh Raspberries for Garnish: Frozen raspberries placed on top while the ganache is still wet work well if fresh are unavailable. Allow them to thaw for 10 minutes first so they do not melt the ganache surface on contact. The powdered sugar dusting can be added after they are fully in place.
Equipment
- Silicone dome molds (6cm to 7cm diameter; silicone releases frozen layers cleanly without cracking)
- Round cutter matching dome base diameter for the brownie circles
- Hand mixer or stand mixer for the cheesecake layer
- Heatproof bowl and saucepan for the ganache and chocolate melting
- Wire rack set over a tray for the ganache pour
- Instant-read or candy thermometer for checking ganache temperature before pouring
- Offset spatula for smoothing layers inside the molds
Emma Tip: If you do not have a thermometer for the ganache, test it by letting a small drop fall from the spoon onto a cold plate. It should move slowly and leave a thick trail without fully spreading flat. If it spreads too thin, wait another 2 minutes and test again. Getting this temperature right is the single step that determines whether the ganache drapes in thick ribbons or runs straight off the dome.
Storage Tips
Make Ahead Strategy
- The fully assembled frozen domes can be made up to 3 days ahead and stored in the freezer before the ganache is applied
- Apply the ganache and add the raspberry and mint garnish on the day of serving so the glaze stays glossy and the fruit looks fresh
- Remove from the freezer 20 to 25 minutes before serving so the layers thaw to the right temperature for clean slicing and a visible, distinct cross-section
Refrigeration
- Once ganached and garnished, the domes keep in the refrigerator for up to 2 days in a loosely covered container so the raspberry and mint garnish stays intact
- The ganache will lose its high-gloss finish after refrigerating overnight but remains set and fully intact on the dome surface
- Serve within 30 minutes of removing from the refrigerator for the best texture in all layers
Freezing
- Assembled ungarnished domes freeze for up to 2 weeks individually wrapped in plastic wrap then stored in a sealed container
- Thaw in the refrigerator for 2 hours or at room temperature for 25 minutes before applying the ganache so the glaze adheres to a cold but not fully frozen surface
- Never refreeze after the ganache has been applied as the surface cracks when refrozen and the presentation is lost
My Grandma's Secret Worth Sharing
Emma's grandmother made individual frozen desserts long before they appeared in any cookbook she owned. She said the secret to anything with layers was to treat each one like it was the only thing you were making that day. Anna learned that lesson standing beside the freezer, resisting the urge to check on the molds every fifteen minutes. The real insight though was about the ganache temperature. Her grandmother tested it on the inside of her wrist the way she tested baby bottles, which is not something Emma recommends repeating, but the principle behind it was sound: the ganache must feel barely warm rather than hot before it touches the dome or it melts the mousse beneath it. That one small act of patience between the ganache and the mold is what creates the thick, draping ribbons visible running down the sides of every dome in the image.
FAQs
Why did my chocolate raspberry cheesecake dome collapse when I unmolded it?
The dome was not frozen long enough before unmolding. Every layer needs its own full freeze time and the completed dome needs a minimum of 4 hours in the freezer before it can be unmolded cleanly. If the cheesecake layer was still soft when the mousse went in, the structure cannot support itself during unmolding. Always check that each layer feels completely firm before adding the next and never rush the final freeze.
How do I make easy no-bake chocolate raspberry cheesecake domes?
Replace the baked brownie base with blended Oreo cookies mixed with melted butter, pressed into circles, and frozen until firm before assembly. The cheesecake and mousse layers are both already no-bake so no other changes to the recipe are needed. This version is entirely oven-free and produces the same layered cross-section and ganache finish visible in the image.
Why is my ganache running straight off the dome instead of draping in ribbons?
The ganache was too warm when poured or the dome was not cold enough to slow the flow. The ganache must be cooled to approximately 35°C before pouring so it is thick enough to cling to the curved surface rather than sliding off. The dome should come straight from the freezer and onto the wire rack immediately before the ganache is poured so the cold surface slows the drip and creates the ribbon effect shown in the image.
The Spoon Cuts Through and the Raspberry Filling Runs
Anna cut hers slowly, watching each layer appear in the cross-section: the dark brownie base, the white cheesecake, the red raspberry center, the chocolate mousse, and the ganache dripping down the side of the slice onto the plate. She looked up and said it looked like a diagram of everything she liked about dessert in one piece. That is exactly what it is. If you are building a full dessert table around something this dramatic, Dulce de Leche Mousse brings a soft caramel warmth that sits quietly beside the raspberry brightness without competing with it. When something layered and Italian is needed for contrast, Classic Cannoli Squares offer that flaky, ricotta-filled elegance that feels effortless beside this more composed dessert. And for a citrus note that lightens the table after so much chocolate, Honey Orange Ricotta Mousse Dome brings that clean, fresh finish that makes every dessert around it taste more intentional. Make these domes once and leave a comment below telling us how your cross-section turned out.
Related
Looking for other recipes like Chocolate Raspberry Cheesecake Domes? Try these:
- Blueberry Lemonade Cupcakes35 Minutes
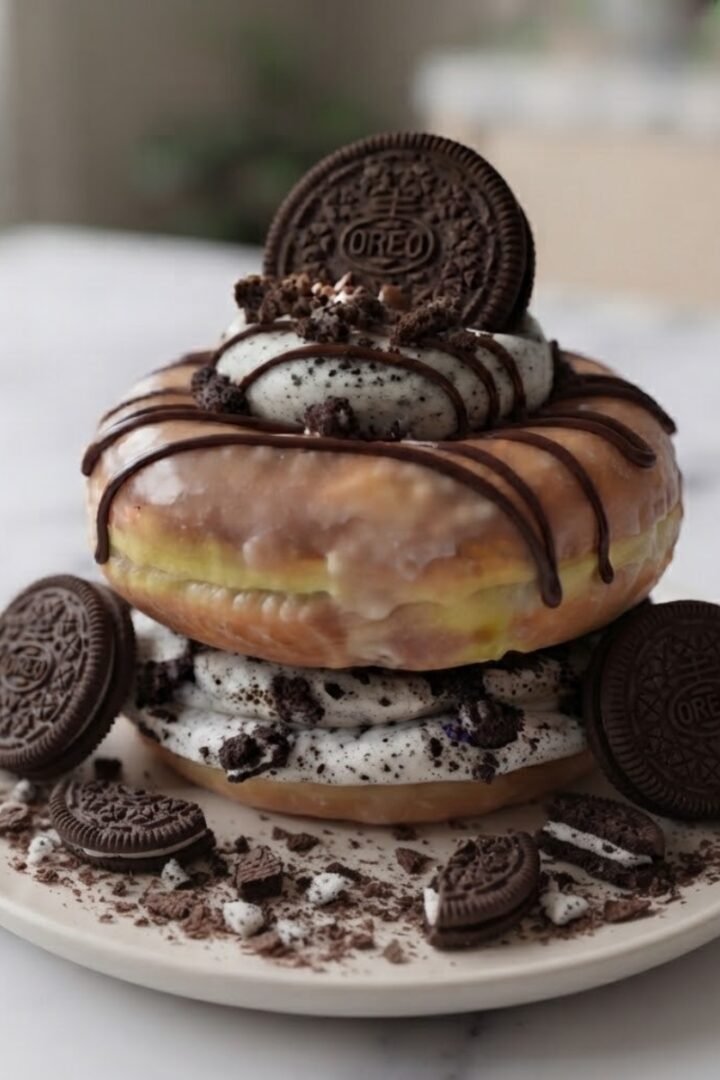
- Oreo Cheesecake Donut Burger15 Minutes
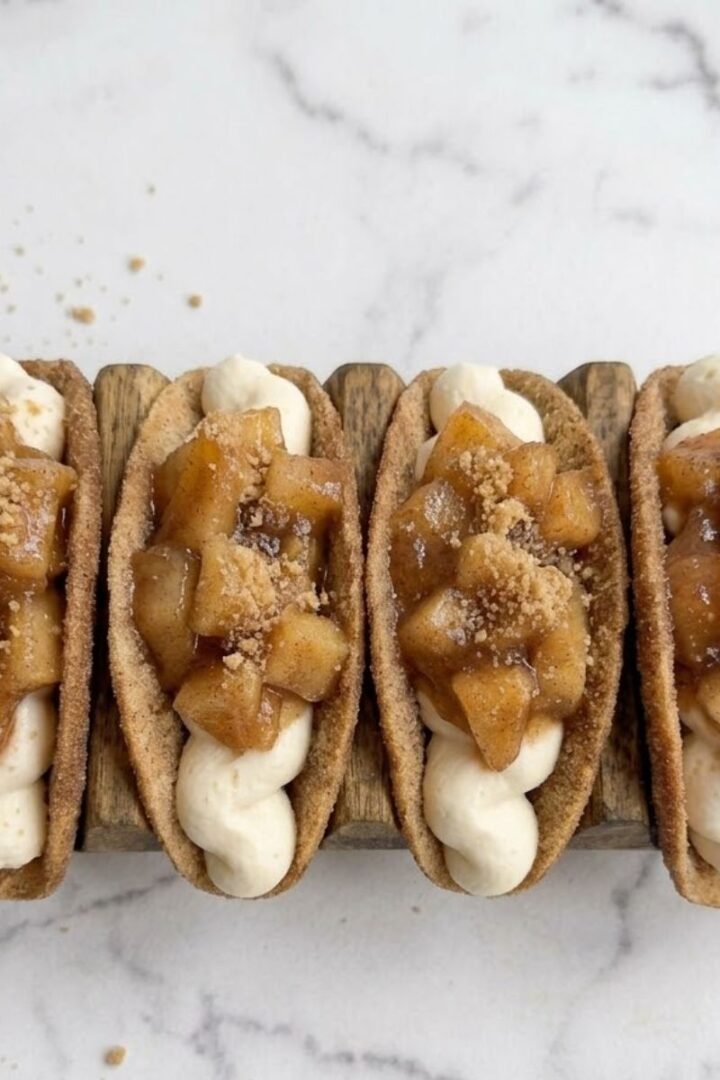
- Apple Pie Cheesecake Tacos25 Minutes
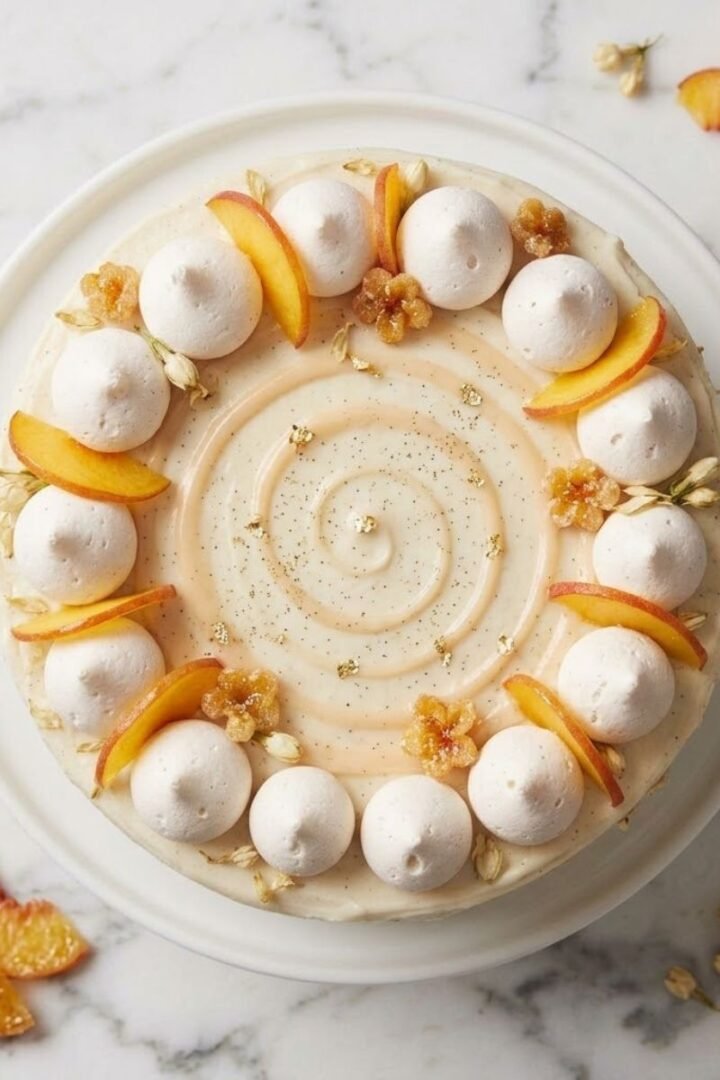
- Jasmine Peach Vanilla Cake50 Minutes

Chocolate Raspberry Cheesecake Domes
Ingredients
Equipment
Method
- Bake brownie in a thin sheet at 175°C for 18 to 20 minutes until just set, cool completely, then cut into circles matching the diameter of your dome mold bases.
- Lightly grease silicone dome molds with neutral oil and set on a flat freezer-safe tray, then beat room-temperature cream cheese with powdered sugar and vanilla for 2 minutes until completely smooth.
- Fold soft-peak whipped cream into the cream cheese in two additions, then spoon into molds to just below halfway and make a small well in the center of each portion with the back of a spoon.
- Spoon a generous teaspoon of raspberry compote into the center well of each cheesecake portion so the filling is fully hidden inside, then freeze for 1 hour until completely firm.
- Bloom gelatin in cold water for 5 minutes, dissolve in hot water until clear, then melt 100g dark chocolate until smooth and cool to room temperature before combining with dissolved gelatin.
- Fold soft-peak whipped cream into the cooled chocolate-gelatin mixture in two additions until no streaks remain, then spoon over the frozen cheesecake layer filling each mold to the top.
- Press a brownie circle firmly onto the mousse base of each mold so it sits flush with the rim, cover tightly with plastic wrap, and freeze for a minimum of 4 hours or overnight until completely solid.
- Remove molds from the freezer, rest 2 to 3 minutes, then flex the silicone and invert each dome onto a wire rack set over a tray so the brownie base faces down and the smooth dome faces up.
- Heat 100ml cream until just simmering, pour over the remaining 100g chopped dark chocolate, stir slowly until completely smooth, then cool to 35°C before pouring over the domes.
- Spoon ganache slowly over each dome so it drapes down the sides in thick ribbons, immediately place two raspberries at the crown, tuck a mint sprig between them, dust lightly with powdered sugar, and transfer to serving plates.
Leave a Reply