
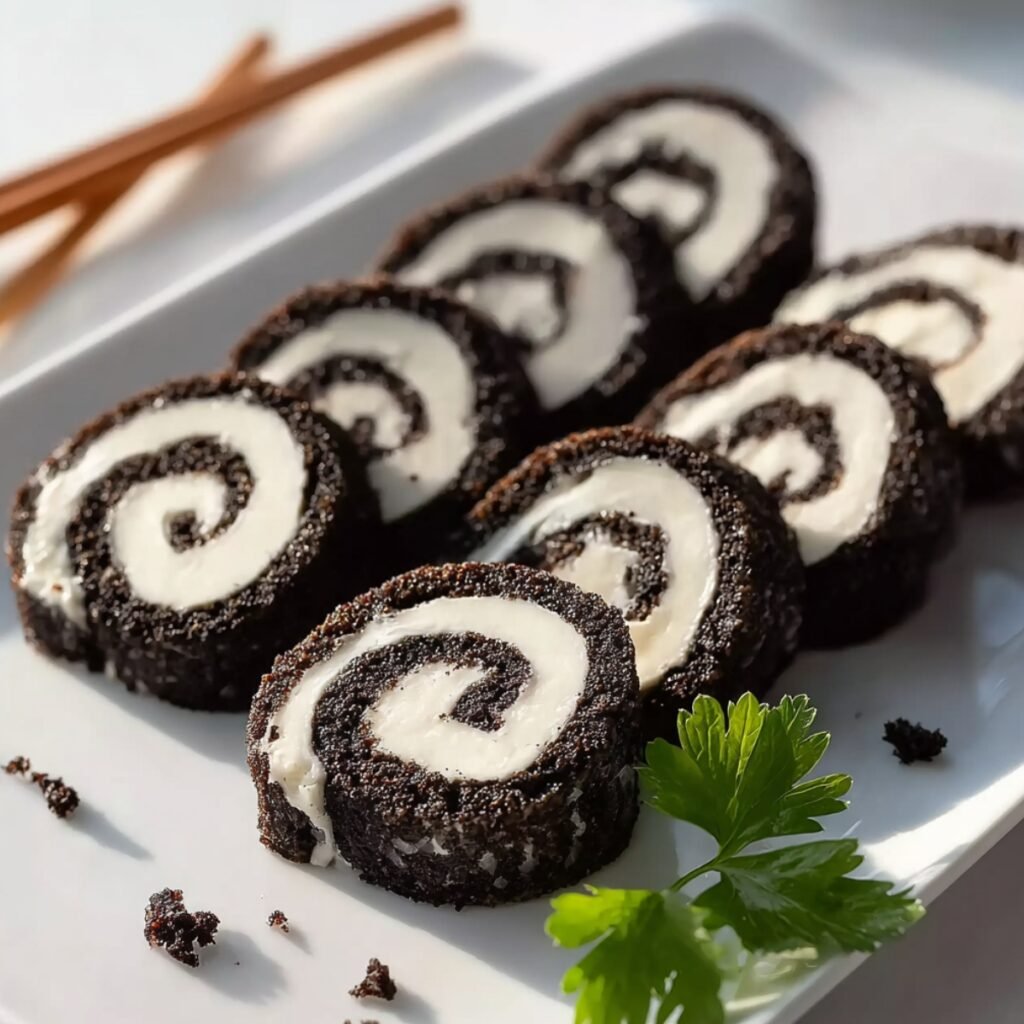
The dark chocolate crumbs smelled deeply sweet as Anna carefully separated the cookies from their white cream centers this afternoon. Our kitchen counters were covered in a light dusting of cocoa, and the air felt playful with anticipation as we began rolling. We are making Oreo Sushi Rolls, a delightful, no-bake treat that turns simple chocolate cookies into a beautifully swirled dessert snack.
Jump to:
Why You Will Love This Oreo Sushi Rolls
This recipe turns a favorite lunchbox cookie into a creative afternoon bonding project that everyone will talk about. It offers the perfect mix of rich cocoa wafer and smooth cream, rolled up tight like a whimsical sweet sushi roll. Making these provides a wonderful tactile activity for little hands while creating a striking, restaurant-style dessert bite.
How To Make Oreo Sushi Rolls
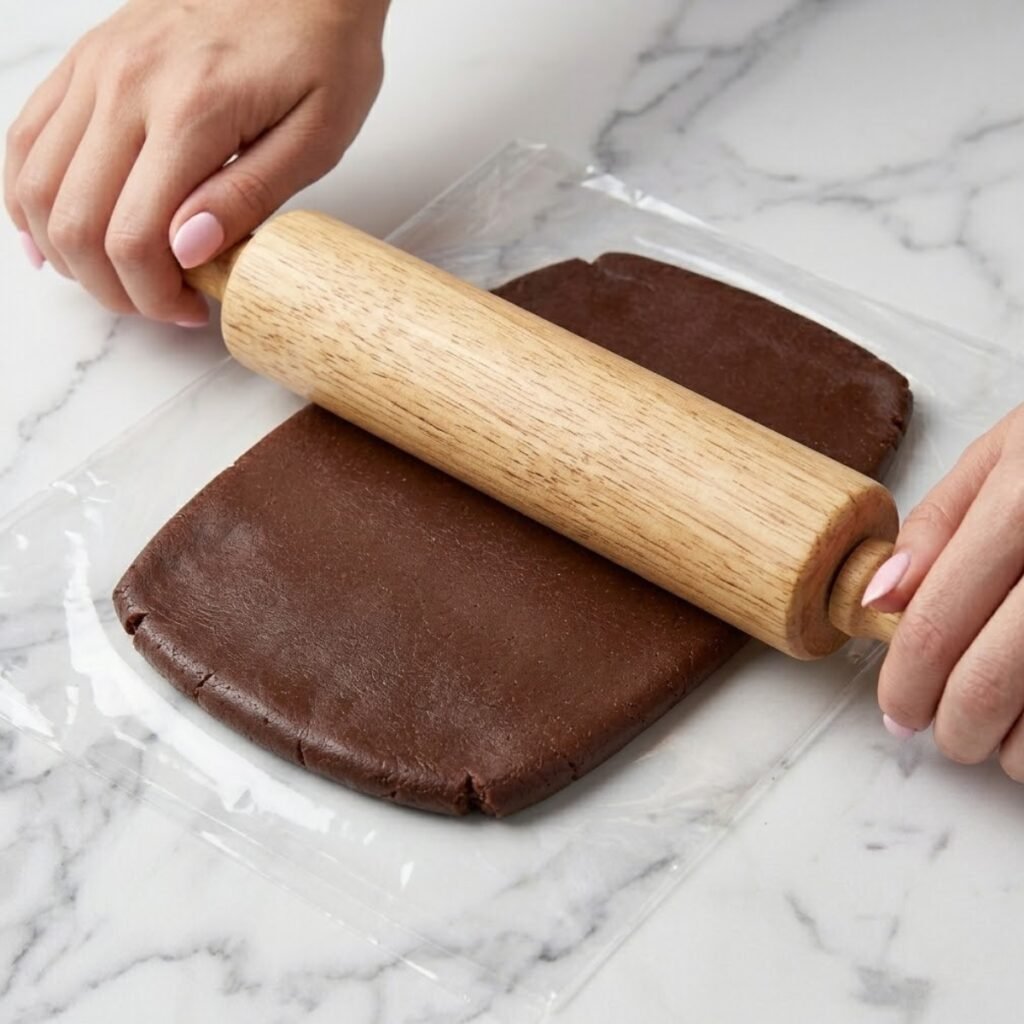
My first attempt at rolling these was a total mess because the cookie dough dried out and cracked across the center. Anna giggled as the roll split into pieces, but we fixed our small mistake by adding a tiny splash of extra milk. Now, we work together to roll the dark chocolate dough smoothly over the plastic wrap until it looks clean.
Main Ingredients
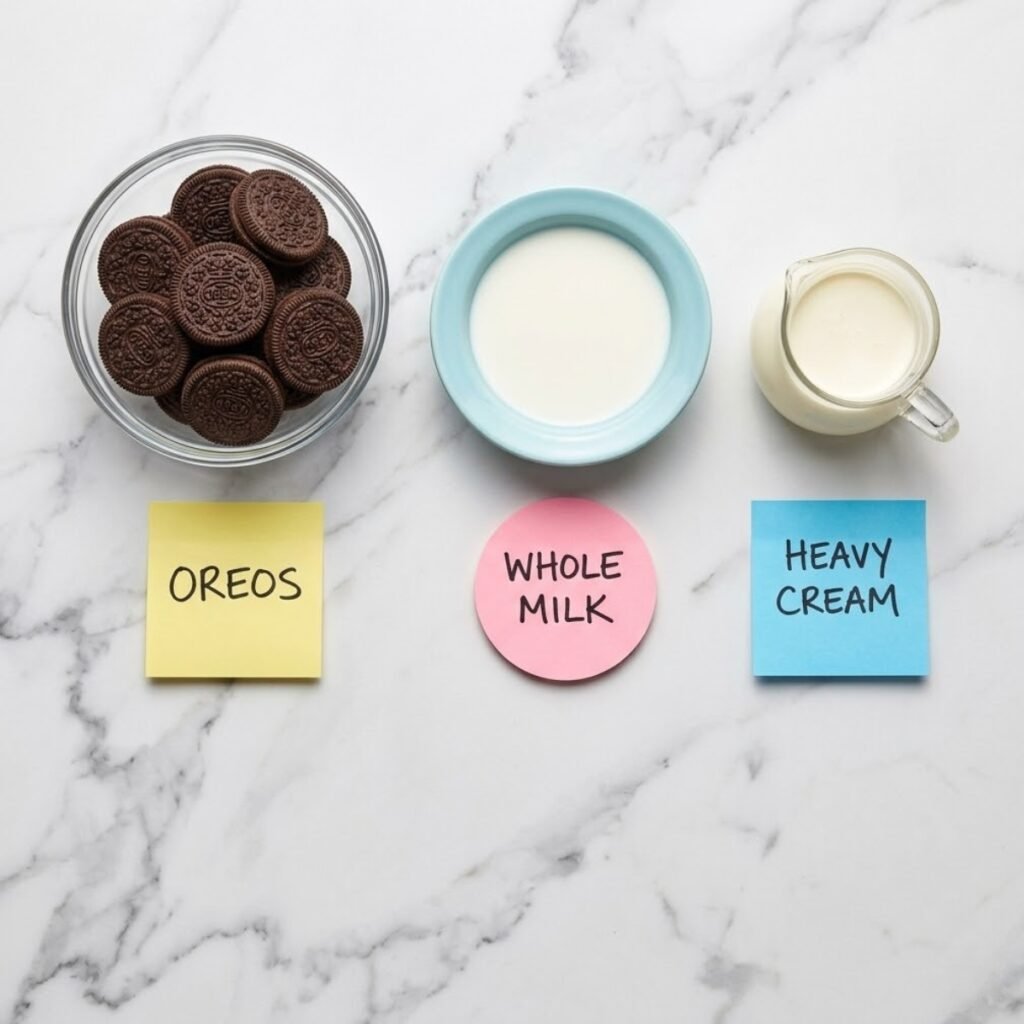
- 15 Oreo cookies because you need the perfect balance of chocolate wafers and sweet white cream stuffing.
- 3 tablespoons whole milk which acts as the binding agent to turn cookie crumbs into dough.
- 1 tablespoon heavy cream to smooth out the cream filling so it spreads without tearing.
Step by Step Instructions
Separate the Cookies
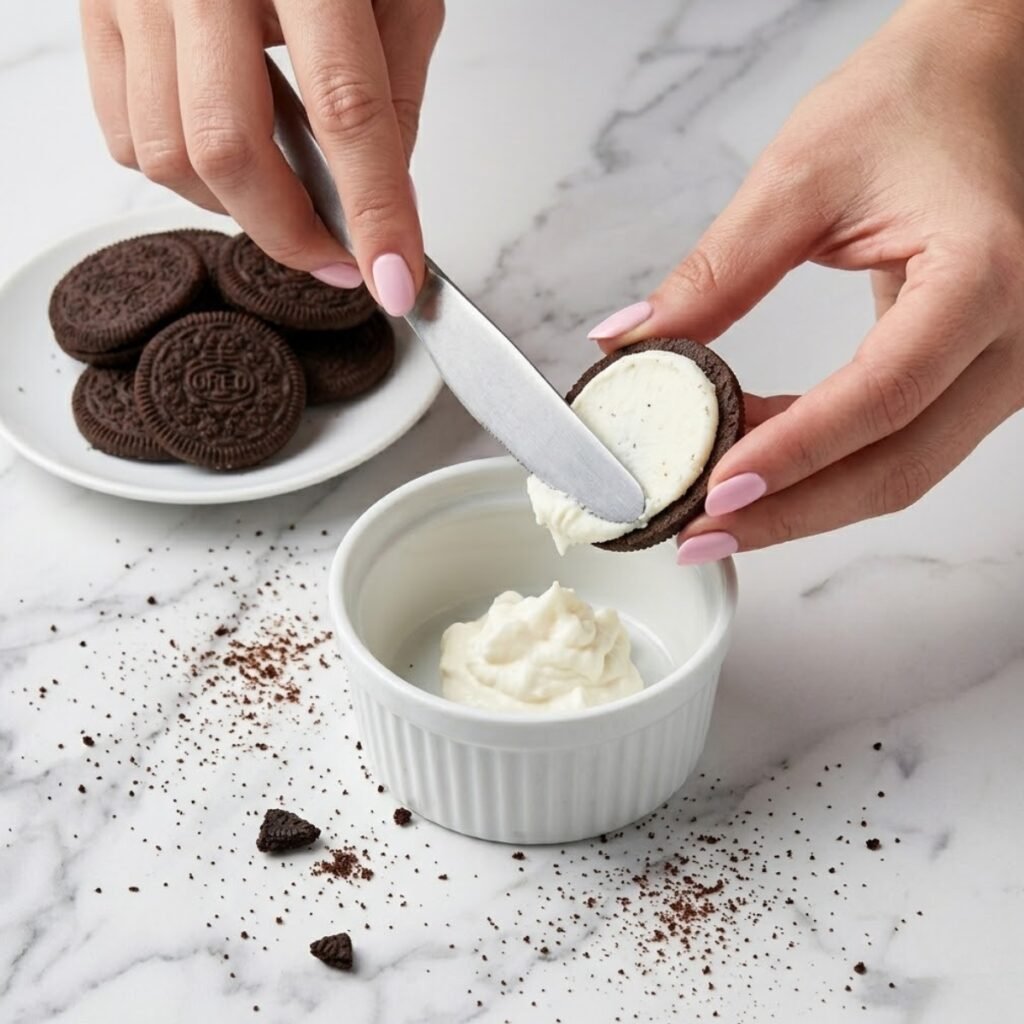
- Split each sandwich cookie open carefully by twisting the dark chocolate wafers apart.
- Scrape the white cream filling into a medium mixing bowl using a butter knife.
- Place the chocolate cookie halves into a separate heavy-duty plastic storage bag.
- Keep the two parts completely separate until you are ready to assemble the rolls.
Crush and Bind
- Crush the chocolate wafers inside the sealed bag using a heavy rolling pin.
- Roll over the bag until the cookies turn into a very fine powder.
- Pour the crumbs into a bowl and stir in the milk until combined.
- Knead the dark mixture with your hands until it forms a smooth dough.
Roll the Fillings
- Flatten the chocolate cookie dough between two sheets of clear plastic wrap smoothly.
- Roll the dough into a clean rectangle shape about one-quarter inch thick.
- Whisk the heavy cream into the reserved white cookie filling until completely smooth.
- Spread the white cream evenly across the top of the flattened chocolate dough.
Shape and Slice
- Lift the plastic wrap gently to roll the dough up into a log.
- Roll tightly away from yourself so the center forms a clean white spiral.
- Wrap the log in plastic and chill in the fridge for thirty minutes.
- Slice the chilled log with a warm knife into bite-sized sushi pieces.
Oreo Sushi Rolls Variations
Anna's Mint Chocolate Twist
- Add two drops of pure peppermint extract into the white cream filling mixture.
- Use Mint Oreos as your base to give the outer dough a green tint.
- This variation adds a cooling flavor contrast that cuts through the sweet sugar.
Peanut Butter Center
- Spread a thin layer of creamy peanut butter directly over the white filling.
- Use a splash of warm water if the peanut butter is too thick.
- It creates a rich, nutty flavor profile that mimics gourmet candy rolls beautifully.
Golden Vanilla Sushi
- Substitute traditional chocolate Oreos with Golden Oreos for a bright vanilla look.
- Add a dash of colorful sprinkles to the white filling before rolling up.
- This version looks beautiful on birthday party dessert platters for young kids.
Substitutions
- Oat Milk: Use oat milk instead of whole milk to keep the cookie dough moist.
- Cream Cheese: Swap the heavy cream for softened cream cheese to add a tangy flavor.
- Chocolate Chips: Roll the log in mini chocolate chips before slicing for an extra crunch.
- Coconut Oil: Use a teaspoon of melted coconut oil if your cookie dough seems dry.
Equipment
- Heavy rolling pin
- Ziploc storage bag
- Plastic wrap
- Sharp chef's knife
Emma's Tip: Dip your knife in warm water and wipe it clean between each slice to keep the white spirals looking sharp and neat.
Storage Tips
Refrigeration
- Keep the sliced sushi rolls inside a sealed airtight container in the fridge.
- Store for up to four days to prevent the filling from softening too much.
Freezing
- Place the unsliced log wrapped in plastic inside a freezer bag for a month.
- Thaw in the refrigerator for one hour before slicing into individual sushi pieces.
Reheating
- Do not apply heat to this recipe as the cream center will melt.
- Serve directly from the refrigerator or let sit at room temperature for five minutes.
My Grandma's Secret Worth Sharing
Grandma used to tell me that the secret to wrapping any sweet roll lay in the tension of your hands. She would stand behind me at the counter, gently guiding my fingers to pull the paper back tightly as the dough rolled forward. "If you don't roll it tight, Emma, the love inside will slip right out," she would whisper with a smile. Now, I guide Anna's little hands using those exact words, watching her concentrate as we shape our sweet chocolate log together.
FAQs
Why is my cookie dough cracking when I roll it?
Your dough is likely a bit too dry from extra cookie crumbs. Work in an extra half teaspoon of milk with your hands until the texture feels pliable like playdough.
How do I stop the white filling from oozing out the sides?
Make sure your filling isn't too warm or wet before you start rolling the dough. Chilling the white cream filling for ten minutes before spreading will keep it firm and neat.
Can I use a food processor to crush the cookies?
Yes, a food processor will give you a very fine, uniform crumb which makes an incredibly smooth dough. Just pulse the chocolate wafers until no large chunks remain.
A Whimsical Sweet Roll to End the Afternoon
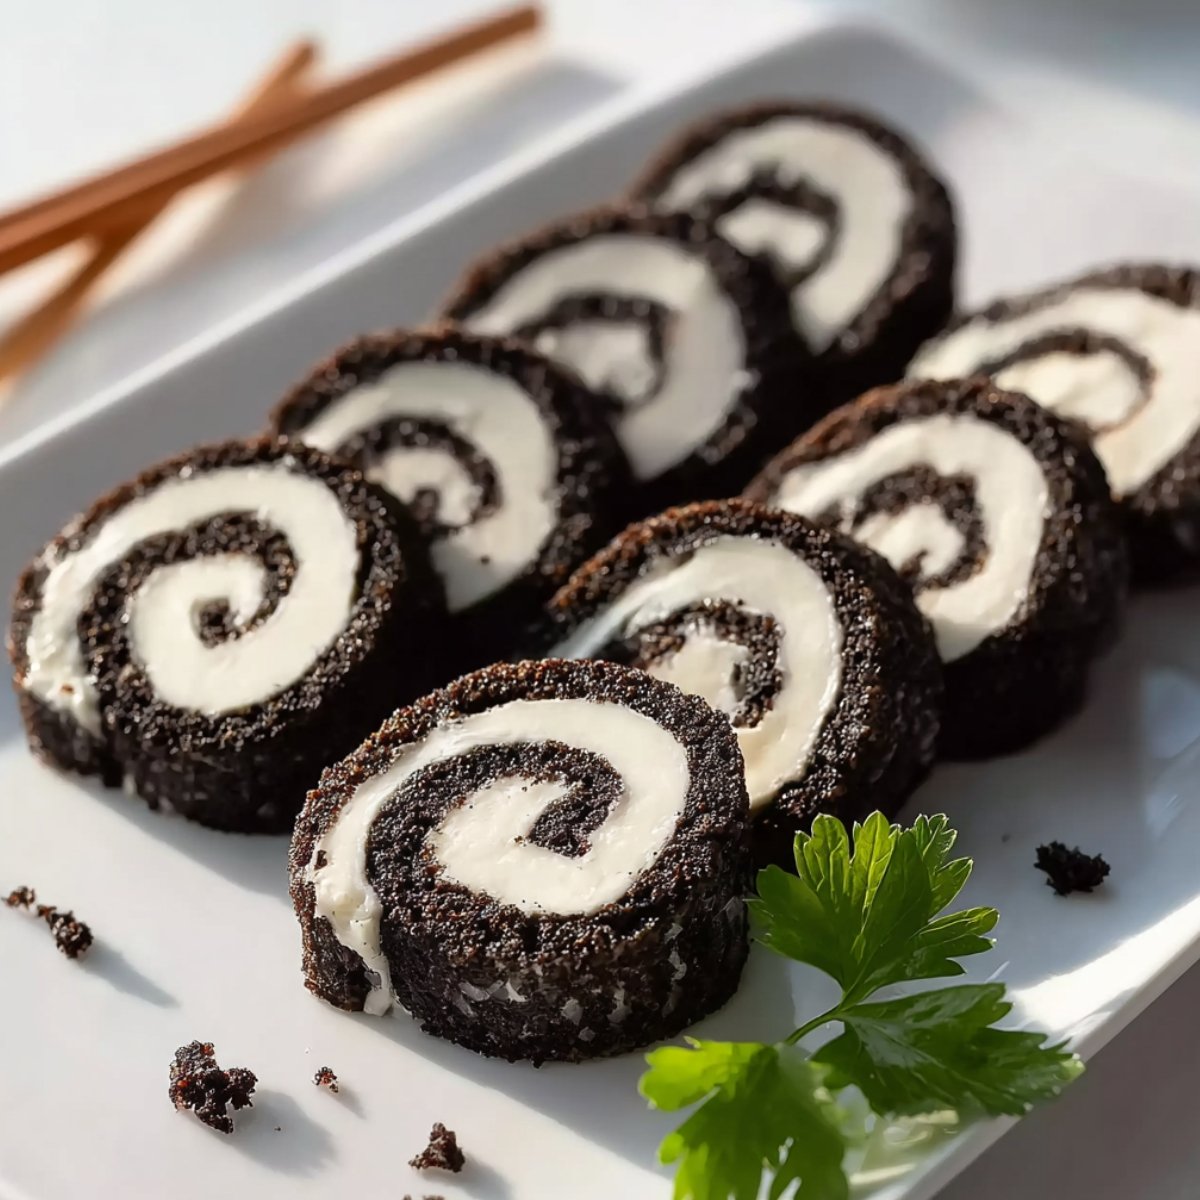
As the clock struck four, Anna carefully arranged our sliced treats onto a bright white plate, creating a perfect line just like the picture in Oreo-Sushi-Rolls.webp. We sat down together with two sets of chopsticks, laughing as we tried to pick up the sweet spirals. This fun afternoon reminded me of making our Pistachio Raspberry Crunch Cheesecake for parties, or building those delicate Chocolate Caramel Cheesecake Bites. It has that same playful, creative energy as our weekend project making Blackberry Pistachio Dream Bars.
Star Rate this recipe and let us know how your little kitchen helpers enjoyed rolling up their own sweet dessert treats today!
Related
Looking for other recipes like Oreo Sushi Rolls? Try these:
- Blueberry Lemonade Cupcakes35 Minutes
- Oreo Cheesecake Donut Burger15 Minutes
- Apple Pie Cheesecake Tacos25 Minutes
- Jasmine Peach Vanilla Cake50 Minutes



Oreo Sushi Rolls
Ingredients
Equipment
Method
- Separate the cream filling from the chocolate wafers into two distinct bowls using a butter knife.
- Crush the chocolate wafers inside a sealed plastic bag with a rolling pin into powder.
- Mix the crushed crumbs with whole milk until it forms a cohesive and pliable dough ball.
- Roll the chocolate dough flat between sheets of plastic wrap until it forms a neat rectangle.
- Whisk the heavy cream into the sweet cookie filling until the texture becomes easily spreadable.
- Spread the white cream filling evenly across the top surface of the flattened cookie dough.
- Roll the dough tightly inside the plastic wrap into a log to create internal spirals.
- Slice the chilled log using a sharp warm knife into clean bite-sized sushi rolls immediately.




Leave a Reply